
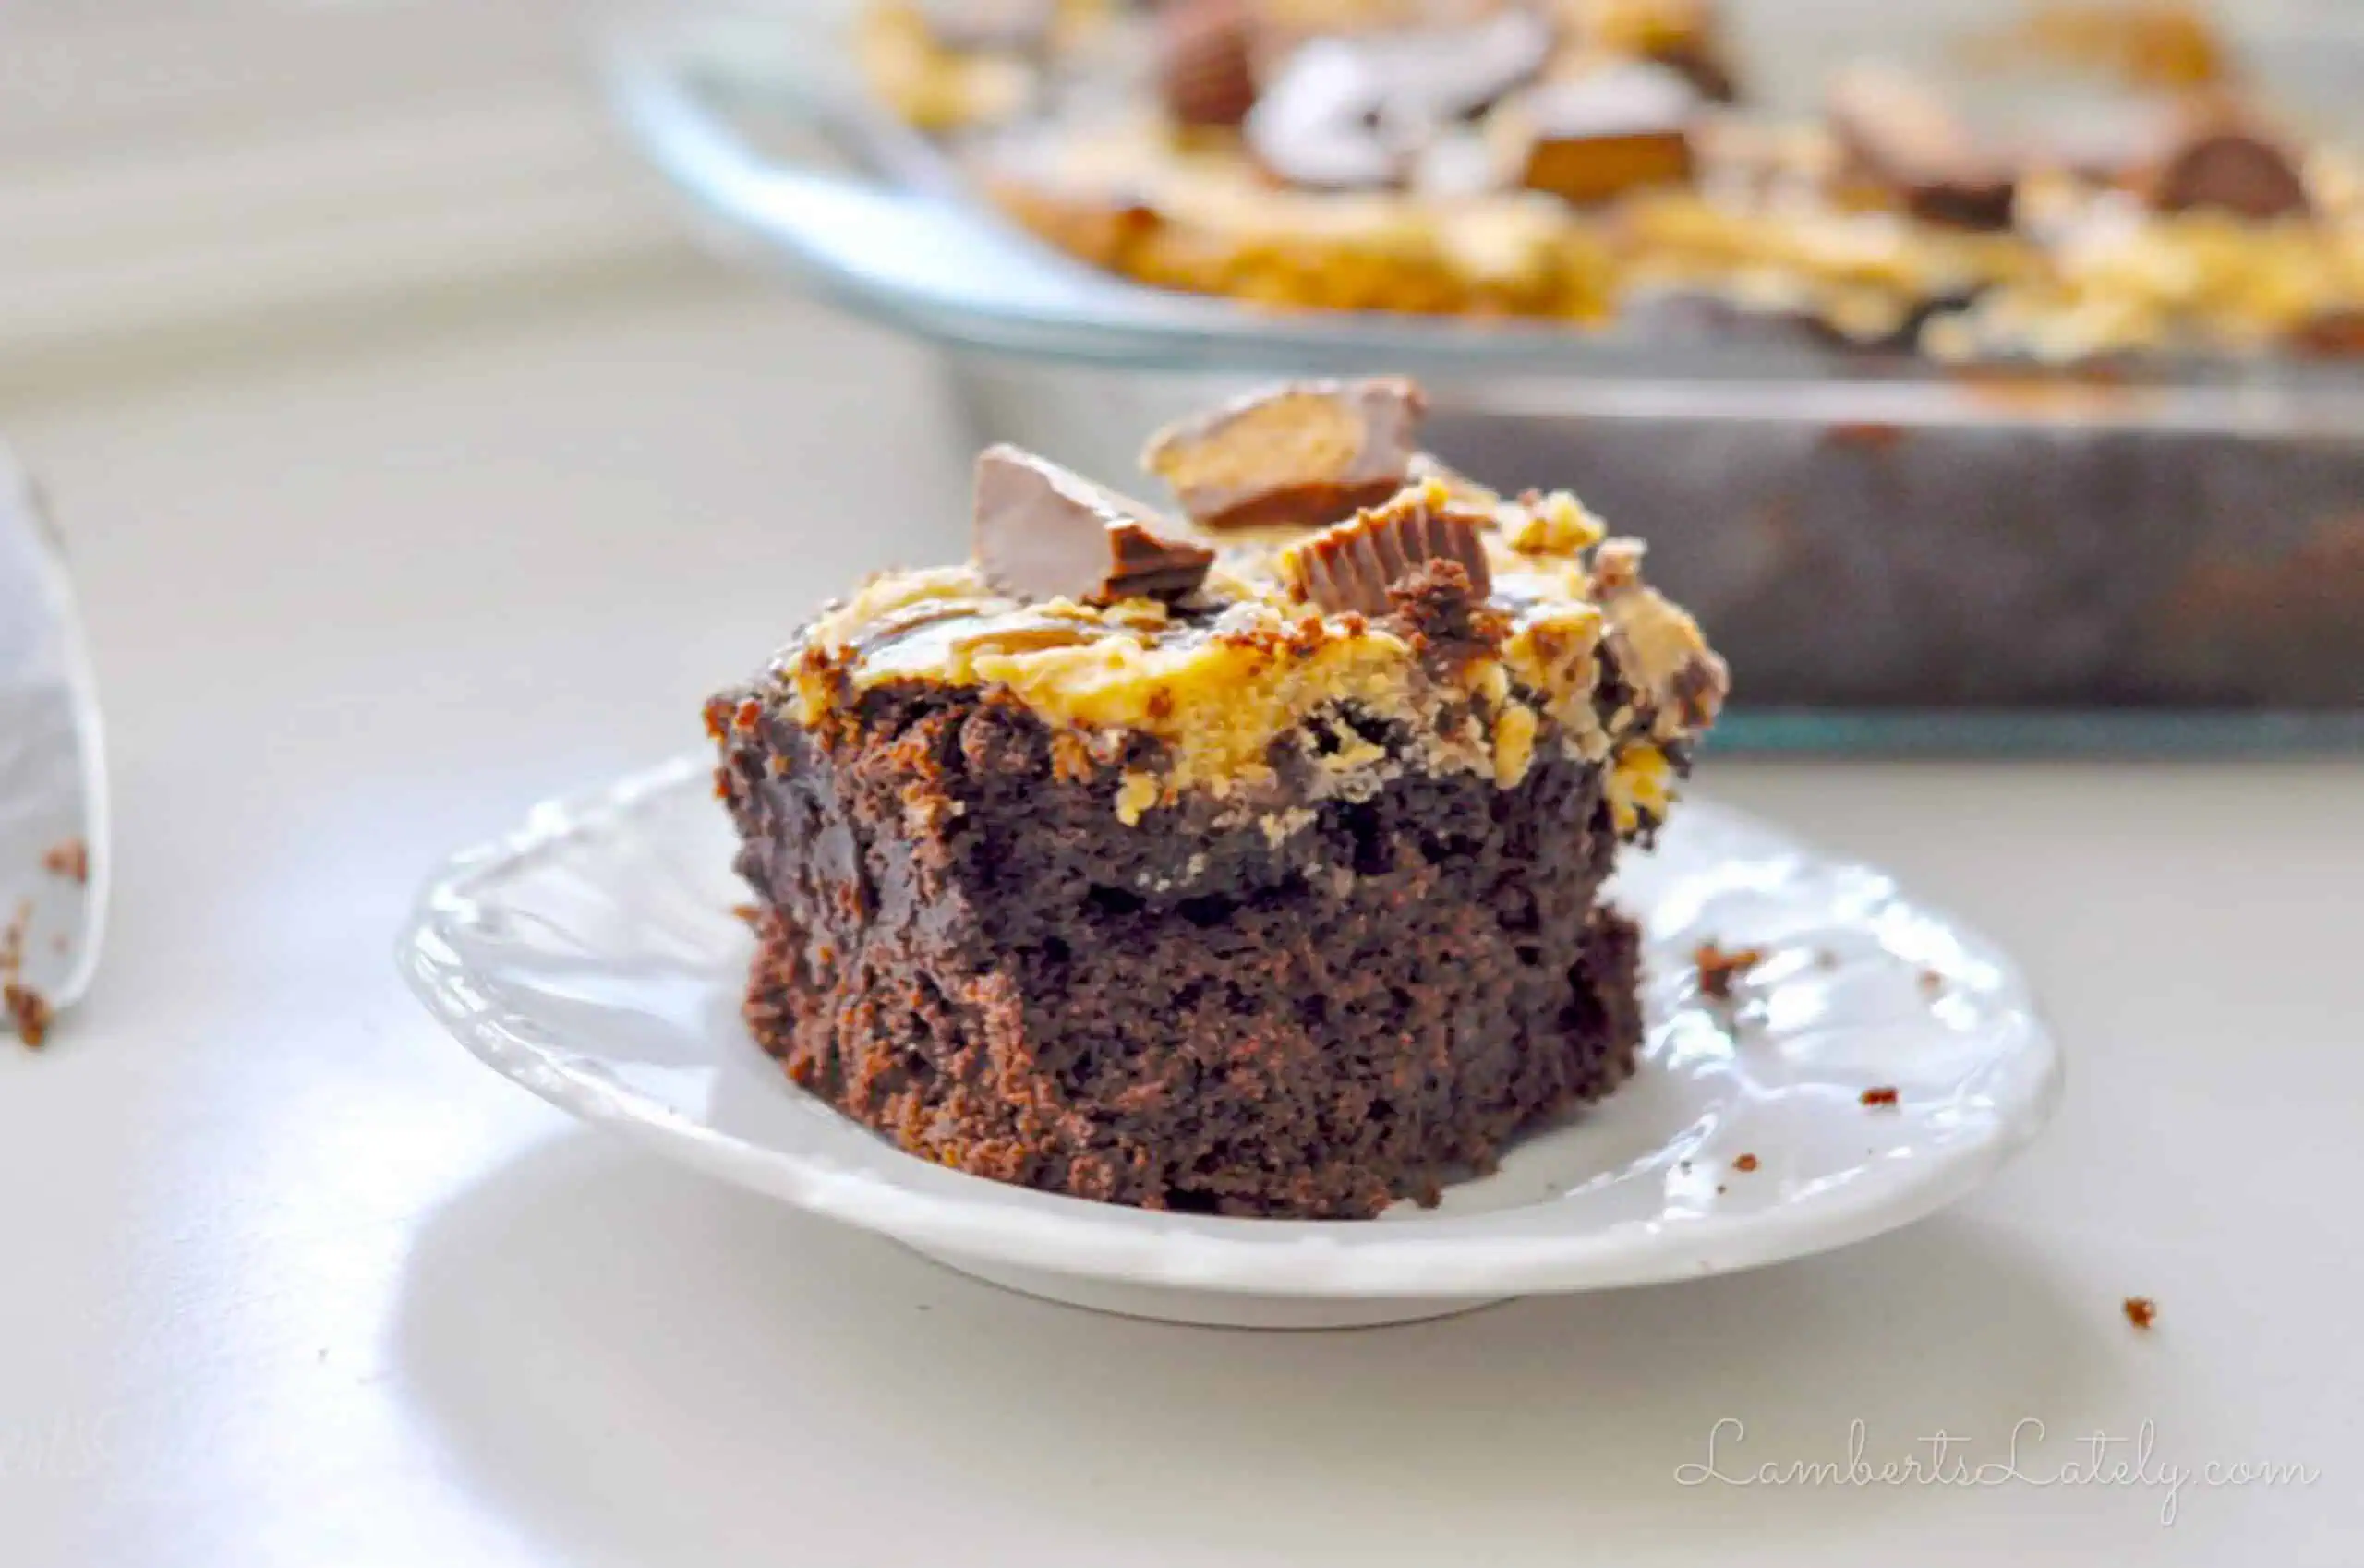
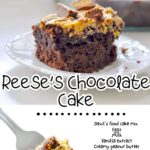
Reese's Peanut Butter Cup Cake is a chocolate cake filled with peanut butter cups and a rich filling of homemade peanut butter frosting. This easy, irresistible treat is perfect for a party or potluck!
Paid links used in this post. Read more about my link usage policies.
Almost 6 years ago to the day, I published the first edition of this Reese's Cake recipe on my blog. It went viral almost immediately and, to this day, it is one of the best among hundreds of recipes on this site.

♥️ Why You'll Love This Reese's Cake Recipe
- You get the best parts of a Reese's Peanut Butter Cup in each bite. This chocolate cake has a rich swirl of creamy peanut butter frosting and candies throughout the cake. You'll get peanut butter and chocolate in each bite!
- It's a great shortcut (that doesn't seem like a shortcut). I use a jazzed-up boxed chocolate cake mix and a really simple peanut butter frosting for this recipe. You'd never know it's not homemade!
- It's a wow-factor cake. Trust me, you're going to get lots of requests for the recipe when you make this - I always do!
🍫 Reese's Peanut Butter Cake Ingredients
(Exact ingredient measurements in the recipe card at the bottom of the post.)
- Devil's Food Cake mix - The Devil's Food Cake gives it a really rich, chocolate base that's perfect with the peanut butter swirled throughout.
- eggs
- vanilla extract - This small addition gives your cake so much more flavor!
- milk - I prefer to use whole milk in my cakes.
- peanut butter - I recommend creamy peanut butter for this; you'll want creamy to make that smooth, buttery frosting.
- butter - This should be softened to room temperature before using it in your cake batter.
- chocolate syrup
- powdered sugar - We'll use this to sweeten the peanut butter icing. It's important you use powdered sugar instead of granulated sugar for a smooth icing!
- miniature Reese's peanut butter cups - This is the kind of peanut butter cup that's about 1" in diameter. You can typically find a pack of about 30 in the candy aisle at the grocery store.
Ingredient Variations & Additions
This is one of those recipes where I don't recommend straying much from the original. The flavors all work so well together - as we say in the South, "If it ain't broke, don't fix it!"
A few minor variations that could work...
- Use a different candy, like Rolos, Snickers, or Milky Way bars.
- Really any chocolate cake mix works. If needed, you could even use a gluten-free chocolate cake mix.
- Add in even more chocolate or peanut butter goodness with a sprinkle of chocolate or peanut butter chips into the cake batter. Reese's pieces would also be fun to sprinkle on the top of the icing!
🥜 How to Make Reese's Cake

Step 1: Mix Cake Batter
In a large bowl, mix together cake mix, eggs, vanilla extract, 1 cup milk, 1 cup of peanut butter, and 1 stick of butter. Pour the cake batter and spread in a greased 9x13" baking dish.
My Boxed Cake Mix Hack
Make a boxed cake taste like it's homemade! Just follow the directions on the box, but use butter instead of oil, milk instead of water, add a teaspoon of vanilla extract, and add an extra egg.
Step 2: Make Peanut Butter Frosting
With a hand mixer, cream together half a cup of butter (1 stick), 1 cup of peanut butter, and milk. Once those ingredients are mixed, add in powdered sugar until the frosting is mixed well.
Step 3: Add Mix-Ins to Cake Batter & Swirl
After mixing your peanut butter buttercream, dollop half of the frosting mixture on top of the cake batter in 5-6 scoops. Add 6-8 large squirts of chocolate syrup.
Next, gently swirl the ingredients together with a butter knife or a spoon. Swirls should reach the end and bottom of the pan.
Sprinkle chopped Reese's peanut butter cups over the swirled cake batter and gently press in.
Step 4: Bake in the oven
Bake the Reese's cake for 35-40 minutes at 350 degrees.
Step 5: Frost & Finish

Frost the cake with the remaining peanut butter frosting, more chocolate syrup, and remaining chopped peanut butter cups.
🎥 Step-by-Step Recipe Video
🍽️ Serving & Storage Tips
I recommend storing this one in the fridge in an airtight container. There's milk in the icing...you don't want that to spoil! It's best within 2-3 days of baking.
This Reese's cake is best at room temperature or even a little warm, so try to take your cake out of the fridge 30 minutes to an hour before serving. You can pop pieces of the cake in the microwave to reheat - just set the microwave to about 15 seconds.
✅ More Expert Tips and Tricks
- I think this cake is best fresh out of the oven. Give it 30 minutes or so to cool, frost/top it, then serve ASAP - it's still warm and the chocolate and peanut butter are perfectly melty!
- Vanilla ice cream is incredibly yummy with this warm cake. I have a great recipe for homemade Ninja Creami vanilla ice cream if you need an easy one!
- Sometimes, you might be able to find the really small peanut butter cups that come unwrapped. You can definitely use those instead of the miniature peanut butter cups...no chopping needed!
More Chocolate & Peanut Butter Desserts

Thanks for stopping by - I hope you love this chocolatey, peanut-buttery cake! If you try this recipe, make sure to leave a ⭐️ review and comment below. And, for more great recipes, follow along!

Reese's Peanut Butter Cup Cake
Ingredients
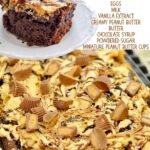
- 1 box Devil's food cake mix
- 4 large eggs
- 1 cup milk
- 1 teaspoon vanilla extract
- 2 cups creamy peanut butter
- 2 sticks butter softened to room temperature
- chocolate syrup
- ¼ cup milk
- 2 cups powdered sugar
- 30 miniature peanut butter cups chopped
Instructions
- Preheat oven to 350 degrees.
- In a large bowl, mix together cake mix, eggs, 1 cup milk, vanilla extract, 1 cup of peanut butter, and 1 stick of butter. Spread mixture in a greased 9x13" baking dish.
- With a hand mixer, blend 1 stick of butter, 1 cup of peanut butter, and ¼ cup milk. Slowly add in powdered sugar until the frosting is mixed well.
- Spoon half of the peanut butter frosting mixture on top of the cake batter. Add 6-8 large squirts of chocolate syrup. Very gently swirl frosting and syrup into the cake mix. Don't completely mix. Make sure you get swirls into the edge of the cake pan.
- Gently press in half of the chopped peanut butter cups.
- Bake the cake for 35-40 minutes at 350 degrees. Allow cake to cool for 15-20 minutes.
- Top the cake with the remaining frosting, more chocolate syrup, and the remaining chopped peanut butter cups.
Notes
- I think this cake is best fresh out of the oven. Give it 15-20 minutes to cool, frost/top it, then serve ASAP - it's still warm and the chocolate and peanut butter are perfectly melty!
- Vanilla ice cream is incredibly yummy with this warm cake.
- Sometimes, you might be able to find the really small peanut butter cups that come unwrapped. You can definitely use those instead of the miniature peanut butter cups...no chopping needed!
- I recommend storing this one in the fridge in an airtight container. There's milk in the icing...you don't want that to spoil! It's best within 2-3 days of baking.
- This cake is best at room temperature or even a little warm, so try to take your cake out of the fridge 30 minutes to an hour before serving. You can pop pieces of the cake in the microwave to reheat - just set the microwave to about 15 seconds.
Nutrition Facts

Leslie Lambert is a lifestyle writer and content creator specializing in home organization, family recipes, and intentional living. With 17 years of experience in blogging and digital storytelling, she helps busy women create calm, purposeful homes they love.


Do you put the icing on while it is still hot or do you let it cool first?
You can do it either way...I put mine on when it was slightly warm and it kind of melted into the nooks and crannies!
Made this for my son's birthday and all the kids said it was the best cake they've ever had. Thank you!!
can this be made using a chocolate cake mix?
Absolutely! It would obviously change the flavor a little, but should work just fine.
Is it supposed to be gooey in the middle from the frosting swirled in?
It might be, just at the parts that have the frosting. It should be fairly well-set once it cools!
Refrigerate?
It wouldn't hurt - I did when I first made it. With the butter and milk in the icing there's a potential for it to go bad.
Mine took a lot longer to cook, and the middle still didn’t set. The edges were delicious. I guess I need to try again. Lol
It might have to do with the pan you used - was it 9x13"? Smaller pans can take longer to cook since it makes the cake thicker.
It was a glass 9x13. I rechecked the recipe several times. It was delicious around the edges so I still may try it again.
You mention 1 c milk in the recipe... in the cake portion, you are using 1 c milk and then in the frosting portion, another 1/4 c milk. Is the total 1 1/4 c milk or is it only supposed to be 3/4 c milk for the cake?
Hi there! They are listed out as two different ingredients in the recipe.
Thanks! You know how many times I looked at that?!?! Apparently it's time to make an earthquake cake! 😉
I think I over baked! At first it wasn't done in the middle at 35 min , I added a few more than took it out. As it cooled it kinda caved in. Hoping the frosting saves it!
It's going to look a little undercooked in the middle at first - the icing won't firm up like the cake part. Give it 5-10 minutes before baking more next time - it usually takes about that long for the middle to not be jiggly! If it's still jiggly after 10 minutes, it probably needs to be baked a little bit longer.
Hey there!!! I'm allergic to chocolate, but I'm always looking for recipes that I can convert to white chocolate, and i love Reese's peanut butter cups. This recipe looks delicious. I figure I could use the white reese's and I could melt some white chips in place of the syrup. But what cake mix do you think would work best???
That sounds great! I'd probably recommend either a yellow cake mix or (if you can find it) a peanut butter cake mix.
can you make this cake in advance and freeze it or how to stire it
Looking over the recipe, I don't think any ingredients would be an issue, but I can't attest to the quality after freezing - but it's at least worth a try!
Swapped out the store bought chocolate syrup with a homemade chocolate ganache.... just 1 cup hot cream and 1 cup chocolate chips and whisk. The whole thing was beyond decadent.
Have you ever tried making this in 2 round pans and stacking them for a birthday style cake?
I haven't, but it should work! The cook time might need to be adjusted though.
I’m not a very big g fan of devils food cake. Do you think that could be replaced with a brownie mix or even a yellow cake mix?
Absolutely! I've made this with other flavors of cake mix before (I believe it was yellow), it's just has less chocolate flavor.
Not gonna lie, that, looks, so good! You can't go wrong with chocolate and peanut butter in my opinion - I think my family would love this cake! Popping by from TFT Blog Hop"
Oh wow! Decadence plus! Looks amazing!
I am in the process of making this cake and I do not see where I add cream cheese. It is not in the ingredient list but the description has "cream cheese frosting". Thanks for your help!
I apologize, I think that wording was leftover from a previous version of the recipe. Updated now - there's no cream cheese in this particular version of the recipe!
Where does the vanilla go?
Sorry about that, it was only copied into the first instructions and not the recipe card. I corrected it - it goes in the cake batter!
This cake was a SOOOOO good. I don't bake a lot and I have 2 roommates that are addicted to Reese's cups!! They were in love with this cake. Actually so was I. The only thing I did different was that I had a can of cream cheese frosting on my shelf, so I added peanut butter to it and it was super good. Next time I will do your frosting, but in a pinch my store bought frosting hack worked out nicely. Delicious cake!!!
OMG...if you haven't tried making this, you need to!
It's a hit with my family and friends.
Thank you for sharing this recipe. 🤗
This was delicious. Followed recipe as written and baked for 35 minutes. It was a hit at our family gathering. Served with cool whip.