
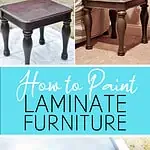
Give your laminate furniture new life! See how to spray paint laminate furniture the easy way, with spray paint chalk paint. This method even works for cheap furniture.
Paid links used in this post. Read more about my link usage policies.
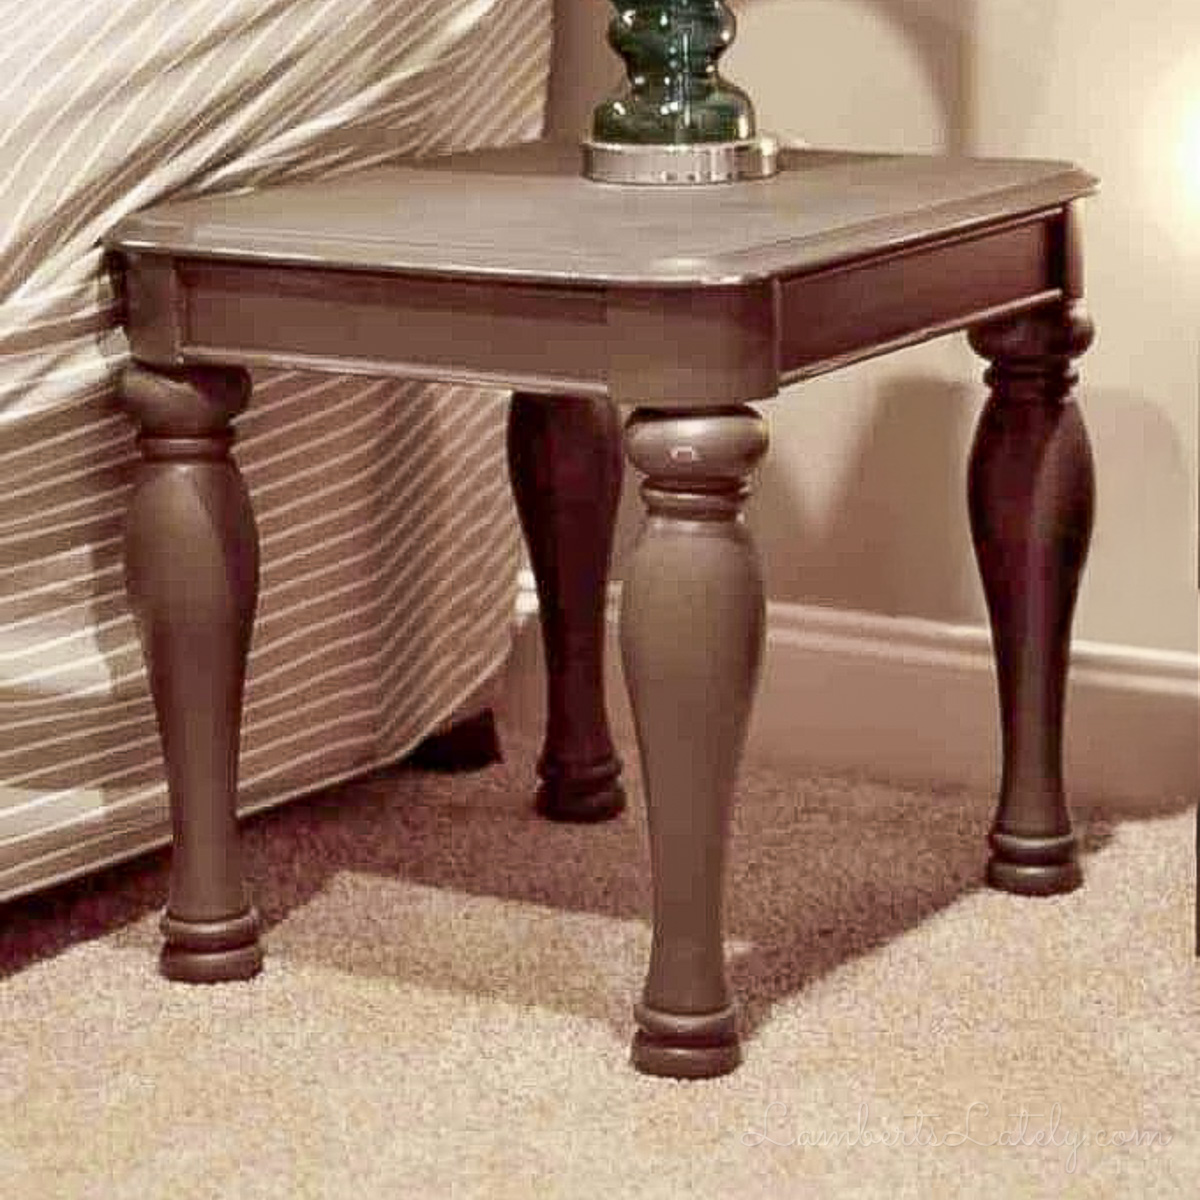
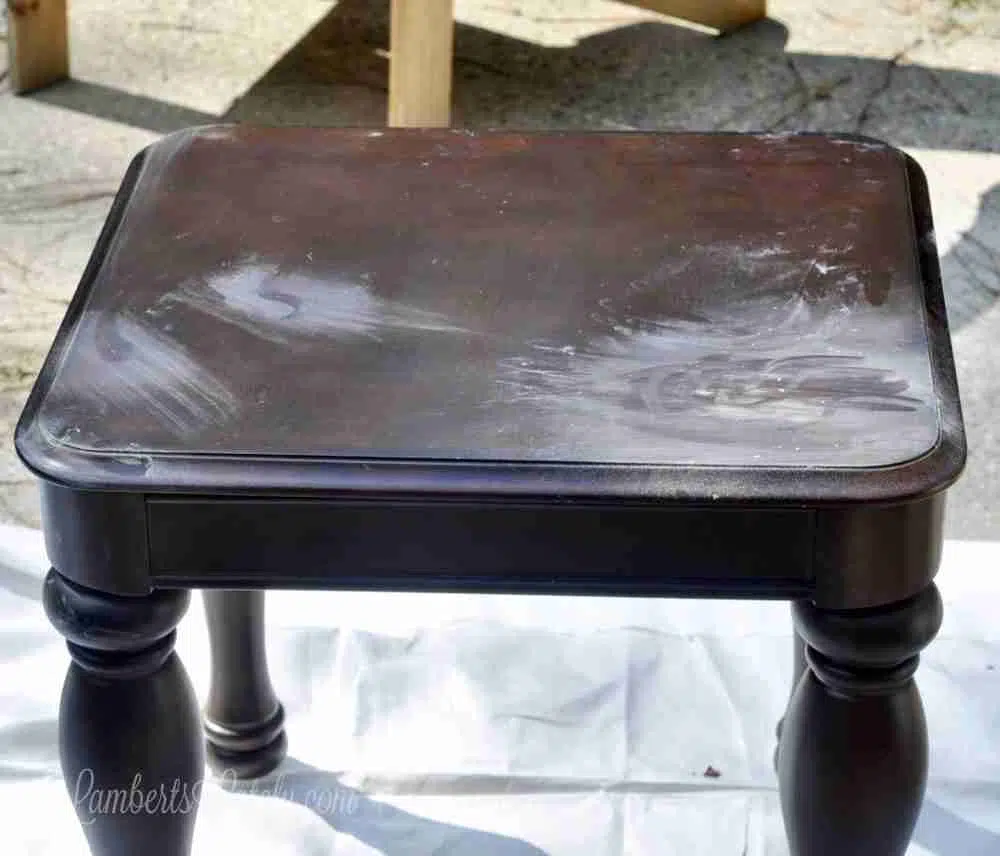
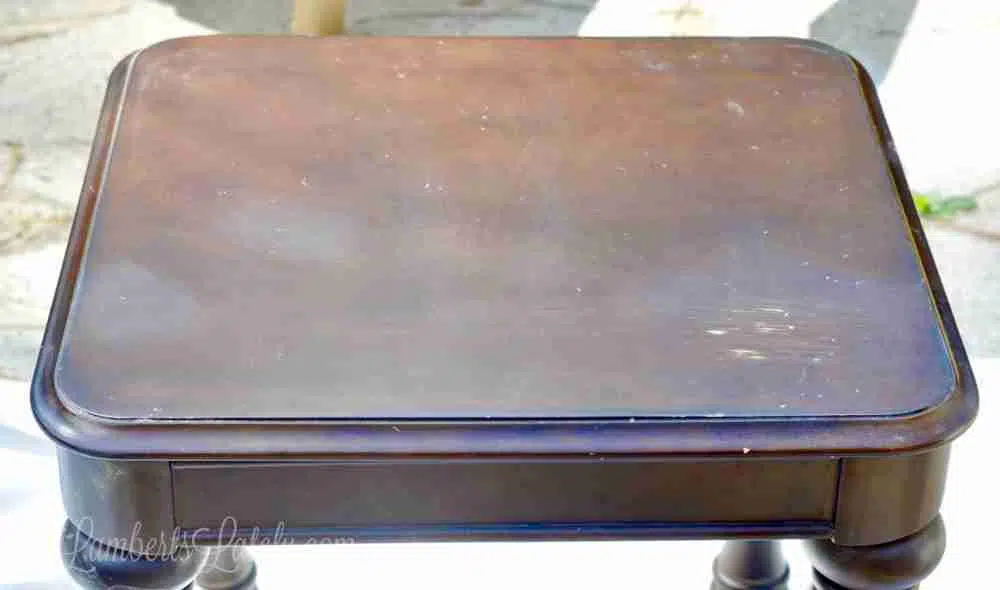
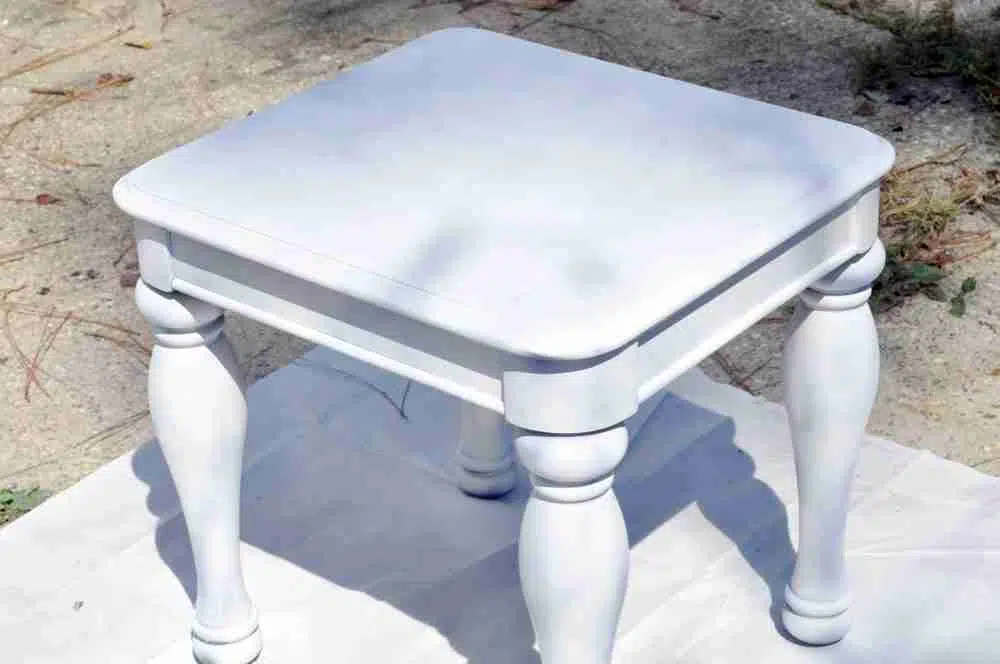
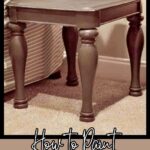
This old table's seen some things.
This guy (and his twin) have been in our home basically since we've had a home. They were our living room end tables for years. When we moved into our current home, they retired to our playroom.
The problem: that chipped, brown wood veneer finish didn't match what we had going in the playroom at all. I wanted to give them new life. There was nothing wrong with the actual tables, besides being worn and a little dated. They just needed some TLC!
I loved the idea of painting furniture using chalk paint. I've used it in past projects, and it's both gorgeous and durable. The problem is that it doesn't exactly go on smoothly without a lot of work.
I wanted to find an easier way to apply it this time, since I was redoing these 2 tables, a coffee table, a bookshelf, and an entertainment center.
I was in need of a quicker, more streamlined way to apply it, and I definitely think I found just that! Let's see how to spray paint laminate furniture to give old, worn items a makeover.
Supplies Needed
- Old funky laminate piece 😉
- Damp rag
- 220 Grit Sand Paper
- Sander Block
- Zinsser Bulls-Eye 1-2-3 Primer Spray (1 can per piece of furniture)
- Rustoleum Chalked Spray Paint (1 can per piece of furniture)
- Set of Sponge Brushes
- 120 Grit Sand Paper
- Minwax Polycrylic Spray (1 can per piece of furniture)
Step 1: Clean the surface of the laminate.
One of the keys to painting laminate furniture is to start with a flat, clean surface. Wipe down the entire piece with a damp washcloth to remove any stuck-on grease, gunk, or grime. Make sure it is completely dry before moving on.
Step 2: Sand all furniture surfaces.
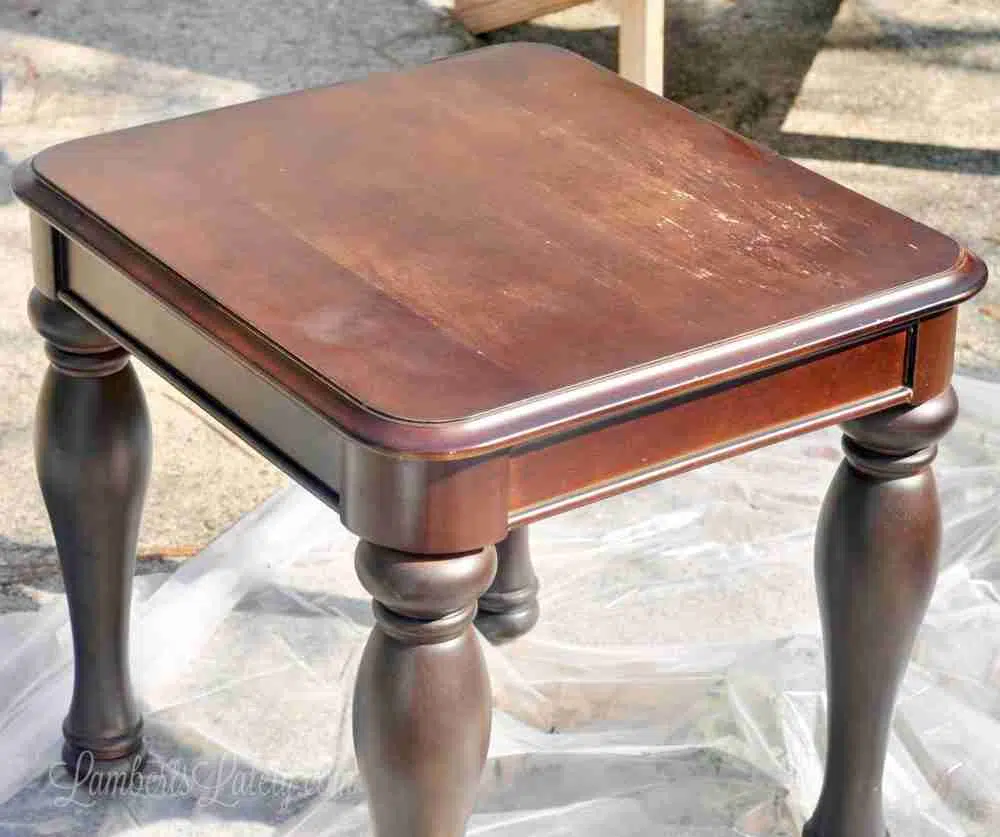
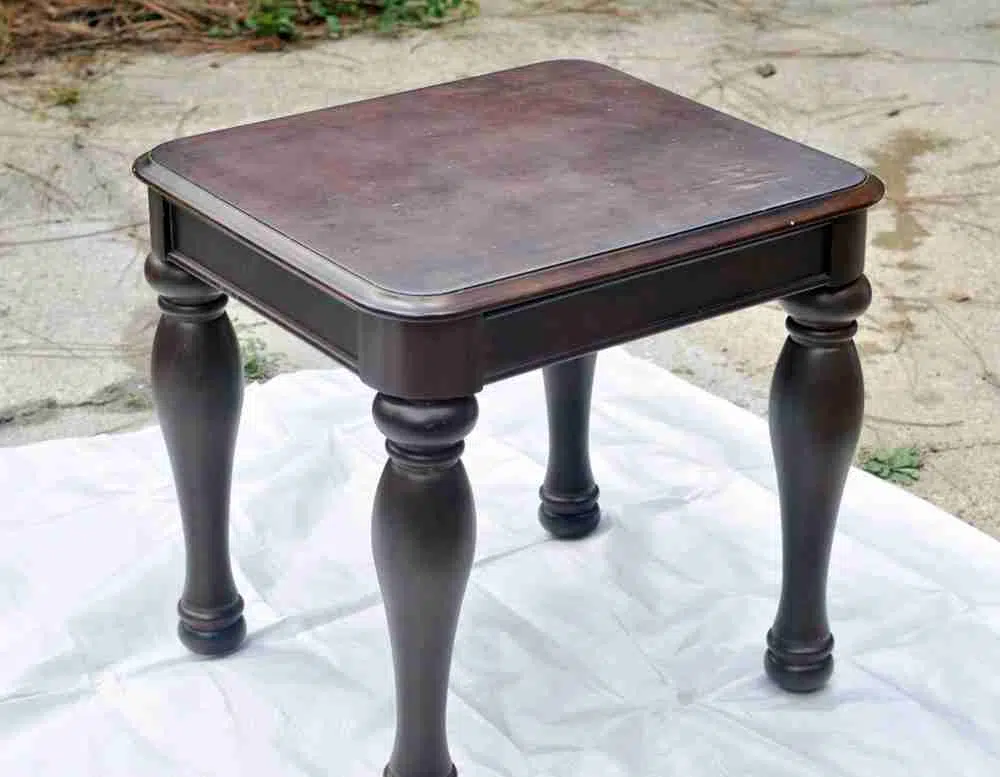
Once the end table was clean, it was even more obvious that there was some damage that had to be addressed before any painting started. The laminate had started chipping & peeling at the top and there were a few bubbles from water damage.
I know sanding isn't all that fun, but it really is necessary for this project. Light sanding makes sure the paint can adhere to the smooth laminate surface properly. It also knocks out any little imperfections before painting, ensuring that damage won't show through the paint.
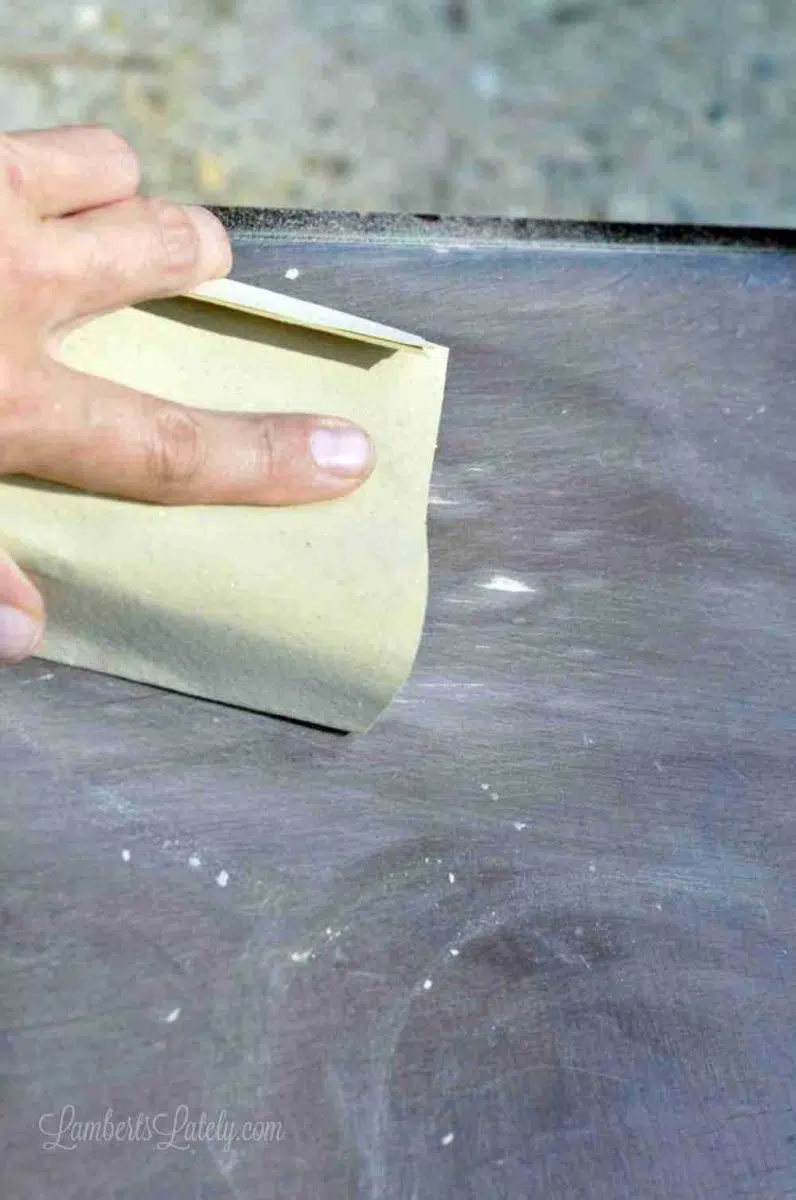
I used medium-grit sandpaper (220 grit wrapped around a sanding block) to go over the whole piece, really concentrating on the uneven parts.
After cleaning the table of any sanding dust, I did the "hand test" to see if there were any uneven spots. Just rub your hand over the top with your hand to feel for places that still need to be sanded.
I had to do this process a couple of times to get it perfectly smooth. I'd really recommend this - uneven chips & dings will show through your paint if you don't get it smooth!

Having a cute helper for this step is totally optional. 😉 (I originally published this post in 2017 - that little stinker is 9 now!)
Step 3: Use a spray primer.
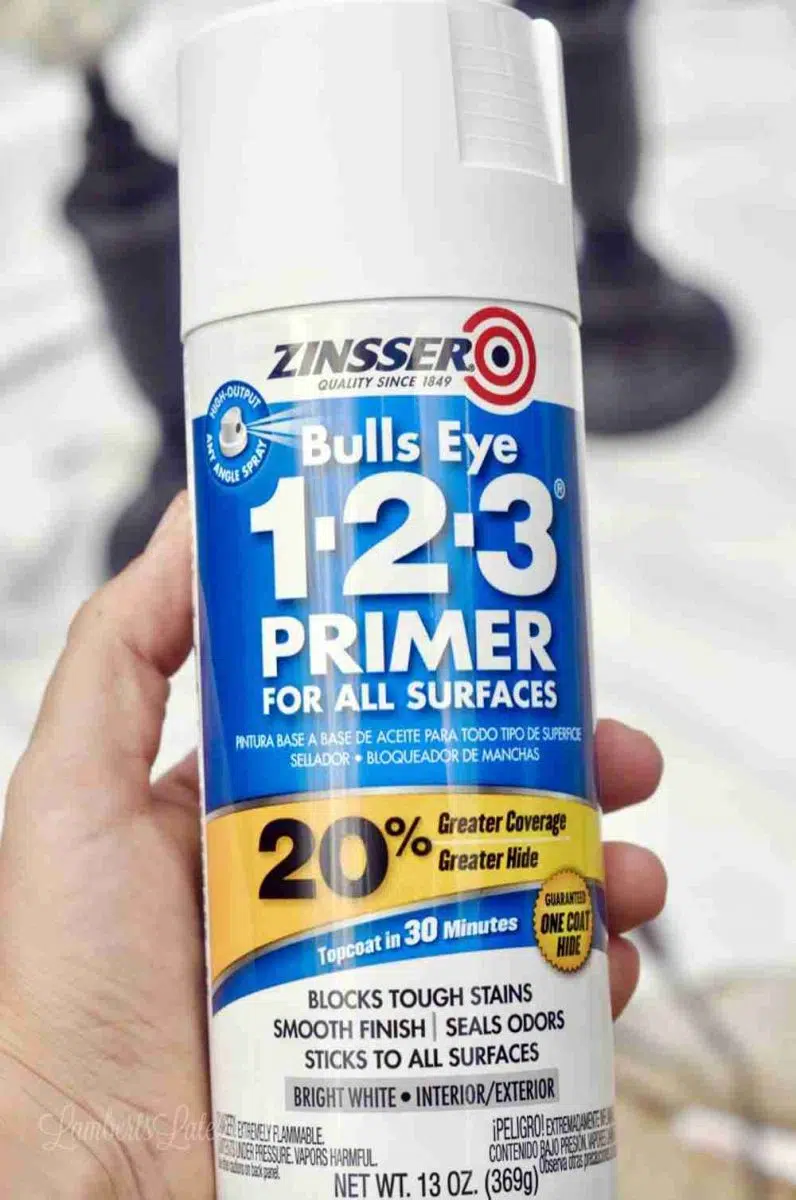
Once the surface of the piece is nice and even, I used the absolute key to getting this process to work - Zinsser Bulls Eye 1-2-3 Primer Spray.
This is a must-have if you're trying to paint laminate furniture of any kind. It's an oil-based primer that gives the surface a little bit of a grip. This guarantees adhesion to almost any paint, but works especially well for chalk paint. If needed, it's incredibly easy to distress the piece later with this primer.
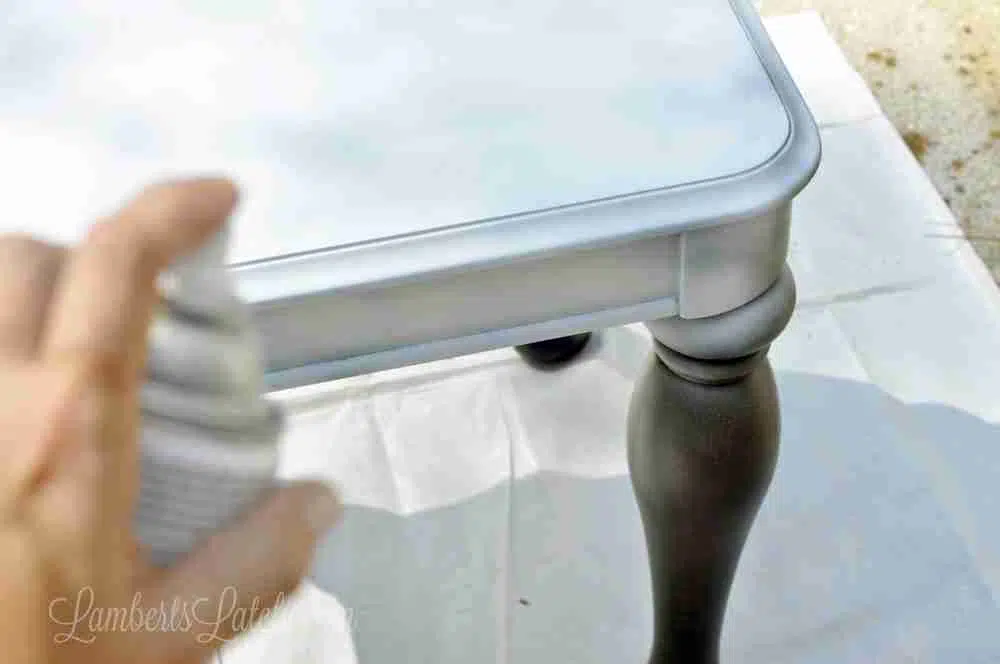
The primer coat doesn't have to be even by any means. It's ok if you see the original surface through the primer, just as long as there is a thin layer. Make sure to spray this at least a foot away from the piece and move the can quickly and evenly so you don't get clumps of primer.
This coat of primer doesn't need a super long time to dry - maybe an hour or two. I used about a can per medium-sized piece of laminate furniture.
Step 4: Spray with chalk paint.
After the primer dries, it's time to paint!
I would highly recommend spray paint for this step. It eliminates the look of brush strokes on your piece and helps get in those nooks and crannies of furniture. As long as it's applied properly, no one will ever know your paint came from a can.
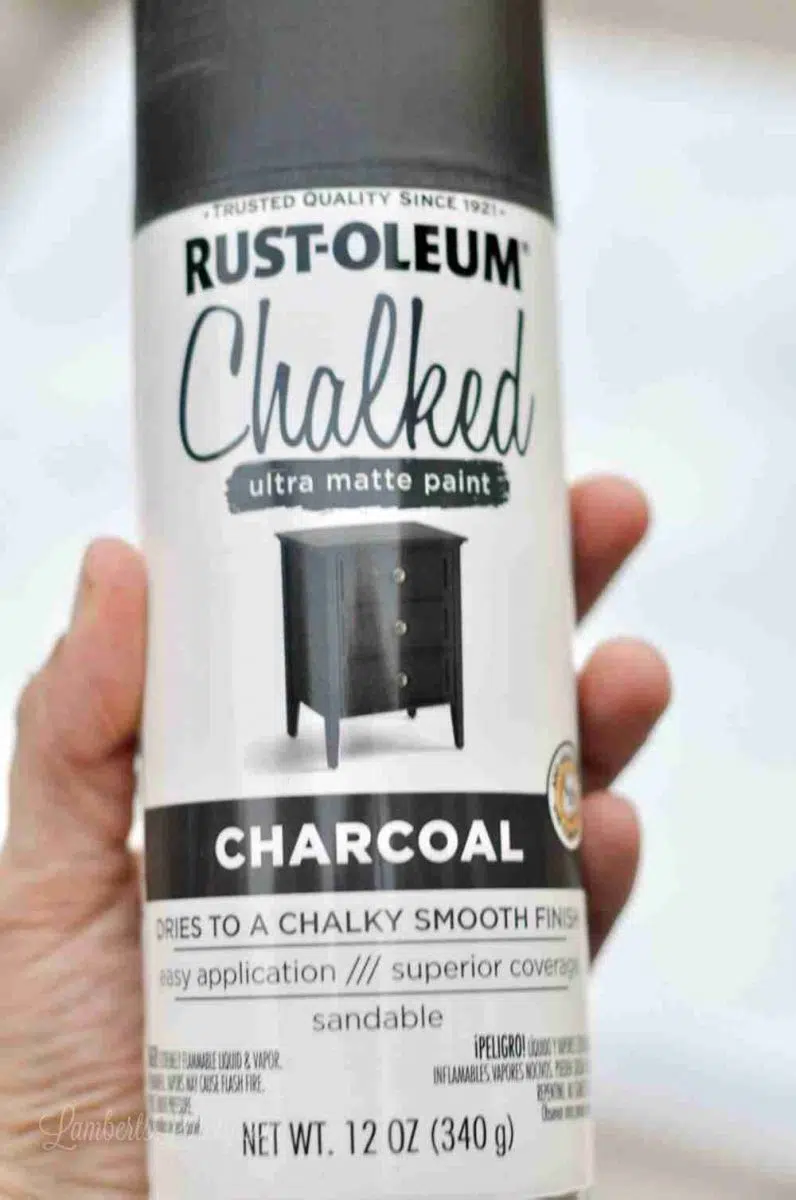
I used and love the Rust-Oleum Chalked Spray Chalk Paint. This is an oil-based matte paint that is incredibly forgiving and covers beautifully. I used the Charcoal color; it's a super pretty dark gray that looks great with our playroom colors.

It took 2 coats to completely cover one table (using most of a can of spray paint). The first coat of paint should completely cover the piece. The second coat should be used sparingly, just to cover any remaining exposed laminate.
Again, make sure your nozzle is about a foot away from the piece and you move the can in quick, even strokes. I found it helpful to have a small sponge brush or small foam roller on hand to smooth out clumps of paint before they dried.
(Optional) Step 5: Distress the furniture.
After letting those two coats dry for a few hours each, I did a little bit of distressing to the piece. This step is totally optional, but if you want that worn, rustic look, go for it!
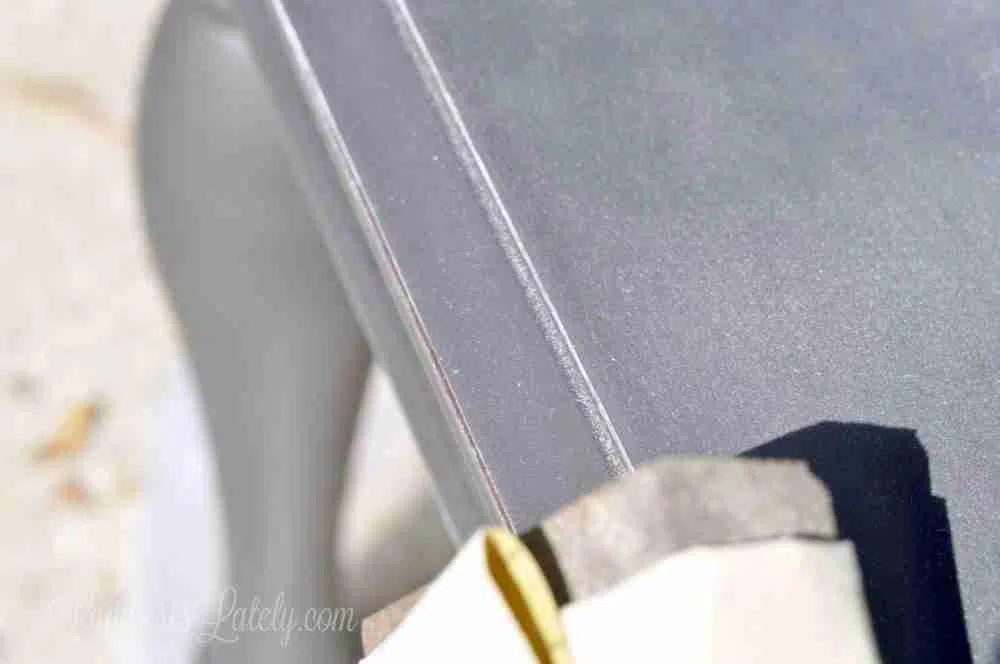
It doesn't take much sanding to distress chalk-painted furniture. Using a 120-grit sandpaper, I just did a few light strokes around the edges. Depending on how much pressure you apply, you might either get a peek of the primer or the original finish (which were both really pretty with the color I chose).
Step 6: Seal the paint with a protective finish.
After distressing, your final step is to seal your piece.
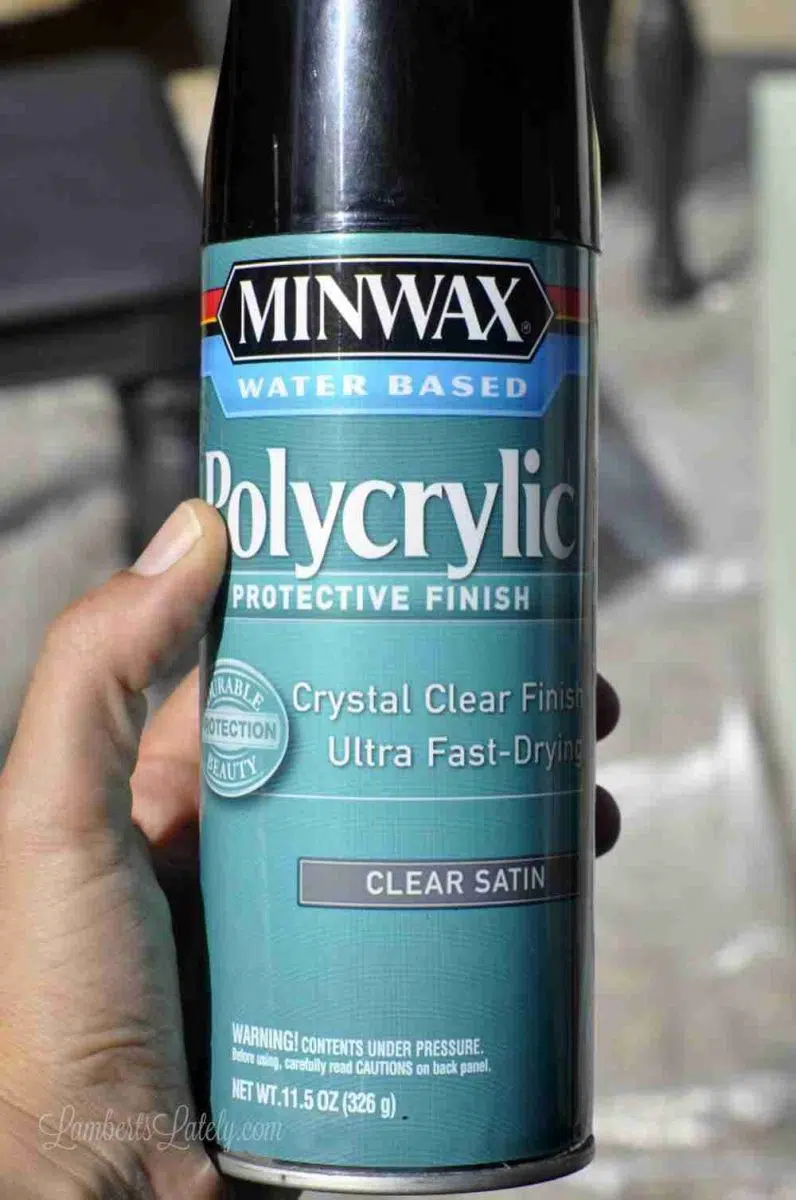
I've tried wax before and it was an absolute disaster. I've found it to be really fussy and not quite as effective as the sealant I used. I've used Minwax Polycrylic in the past for our kitchen table refinish and absolutely loved it. It's held up incredibly well. I was thrilled to find the same polycyclic in a spray too!
One tip I'd give when using this is to make sure your finger isn't in the way of the nozzle. I made this mistake for the first few minutes and ended up with lots of bubbles of sealant on my piece. If that happens, using the sponge brush to smooth it out does help.
I gave my table 2 good coats of this, but if it's going to be in a high-traffic area (like a dining table or coffee table), I'd recommend more.
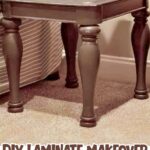
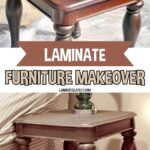
Before & After
So let's take a look at what I started with...
...and the after!
It's like a totally different table. This one has now been in our playroom (a pretty high-traffic) area for 7 years and has almost no wear and tear or paint peels at all. I've been so impressed with how durable this paint job is.
Helpful Laminate Furniture Spray Painting Tips
- Remove drawers and shelves first - If your laminate piece has drawers, shelves, or any removable sections (like a dresser or bookcase), take them out before starting. Each one should be painted separately to get smooth coverage and a professional-looking finish.
- Applies to real wood too - This process works not only on laminate but also on solid wood furniture. The same prep and painting steps will give real wood pieces a fresh new look.
- Yes, even Ikea furniture! - A lot of Ikea pieces are made with laminate over MDF, which makes them perfect candidates for this method. Just follow the steps, and you can completely transform them with chalk paint in any color. (And I'm a big fan of Ikea furniture too; we used Ikea Billy Bookcases as built-ins in our playroom and next to our DIY murphy bed!)
- Watch for stains - If your laminate has dark stains or marks, give those areas a little extra sanding before painting. Keep in mind that lighter chalk paint colors may not hide stains as well as darker shades.
- Skip latex or water-based paints - I know it's tempting, but these paints don't adhere as well to laminate and are more likely to peel or chip. Chalk paint (with proper prep and sealing) is far more durable for furniture projects.
FAQs
More DIY Projects

Leslie Lambert is a lifestyle writer and content creator specializing in home organization, family recipes, and intentional living. With 17 years of experience in blogging and digital storytelling, she helps busy women create calm, purposeful homes they love.


I love this technique. I have a large oval kitchen table which I believe is veneer, not laminate. I have been trying to decide how to refinish. It used to be beautiful, but after raising twin boys (now 17) I have areas that are stained and the polyurethane used is now sticky and gooey. I can never get it clean! I put a table cloth on it and now the bottom of the cloth stuck to the table from warm plates. So, now I have cloth stuck to the table I can't seem to remove. I tried Murphy's Oil, Dawn, everything. I resigned myself to the fact I will need to sand it and re-stain or paint it. I also love Rust-Oleum paint and this seems easy enough.
Thanks for sharing the technique. I have a bedside-table that also need to be renewed somehow. I will try to refresh it
I'm a newbie to all this but I am now forced to try to refinish not one but three pieces. I have a hand me down wardrobe with great bones and recently sold my old bedside tables to accommodate my Mom's Pembroke tables. I have been researching colors and want to paint to Pembroke table tops woth ebony black and the rest in a blue gray distressed. Annie Sloane has paris grey but I think they are worth the TLC. Thought I would use Java gel for tops but after seeing the spray on your tables I'm wondering.
wardrobe I will use white chalk paint and wax to give it age and distress just a bit.
I would so appreciate any ideas you have. Again these are my first pieces so may be too enthusiastic. Thanks
I think those ideas sound gorgeous! I also have a post about refinishing a table that you might like...it sounds similar to what you're doing: https://lambertslately.com/2017/06/diy-refinish-farmhouse-kitchen-table.html
Could I use paintable chalk paint instead of spray? Would it work the same once primed? I didn’t realize the bed was laminated until I was prepping it. 😢.
Oh sure! I'd definitely use the primer first though.
Where can I find BLACK spray chalk paint?
It's available on Amazon! (aff link) https://amzn.to/3Gup8rs
I am so happy that I found your page and this post. I want to change the color of a kids tiny kitchen. Since it’s in perfect shape I wonder if sanding is still needed or if I can jump straight to primer? Thanks!
You should be ok with just primer if there are not lumps or bumps in the laminate!