
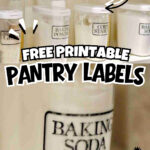
See how to make clear container labels for a pantry without a vinyl cutter like a Cricut - it's so easy! Simply use packing tape to print your own DIY labels at home. You can even grab free printable labels to use on these clear stickers or on plain paper.
Paid links used in this post. Read more about my link usage policies.
A few years ago, I customized an area I dreamed of for a very long time - our pantry! Long story short, before this house, we've never had a "real" pantry (just cabinets that were converted into storage space). I had a ton of fun organizing and customizing this area just for us.
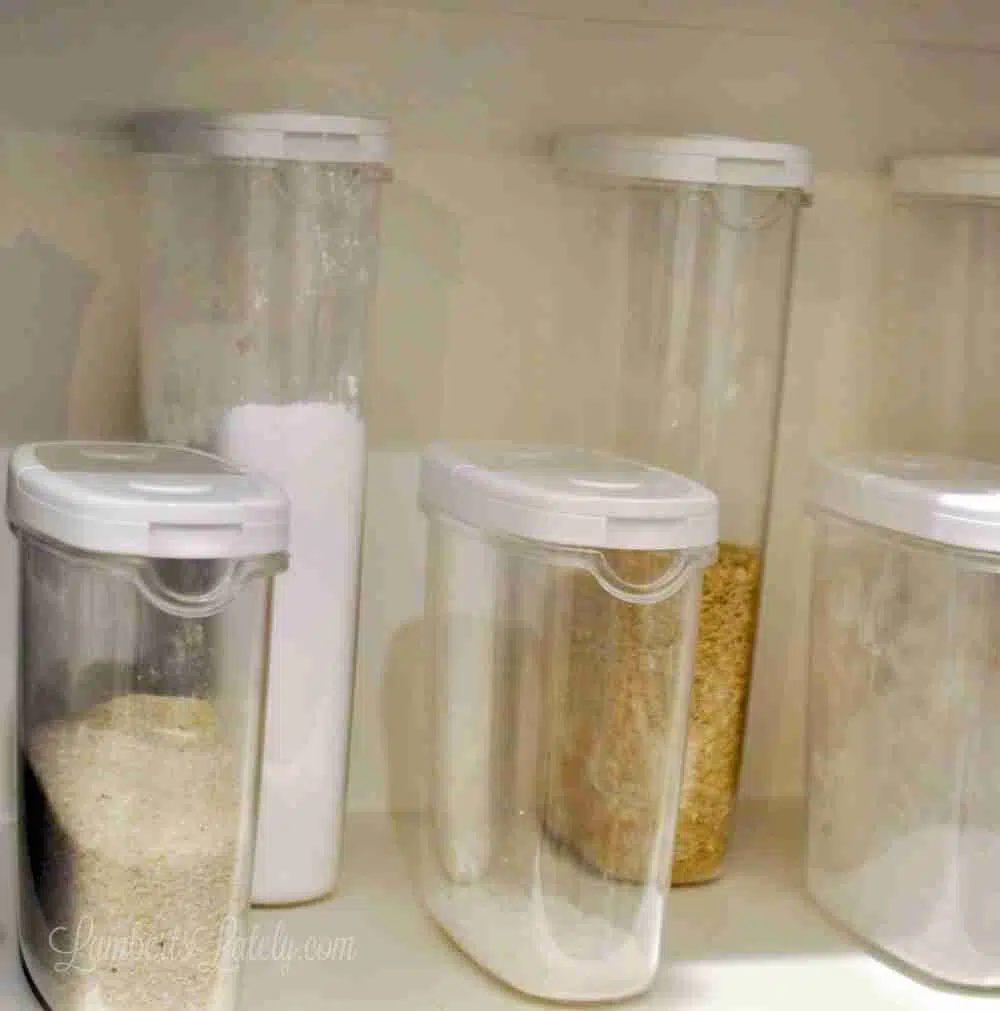
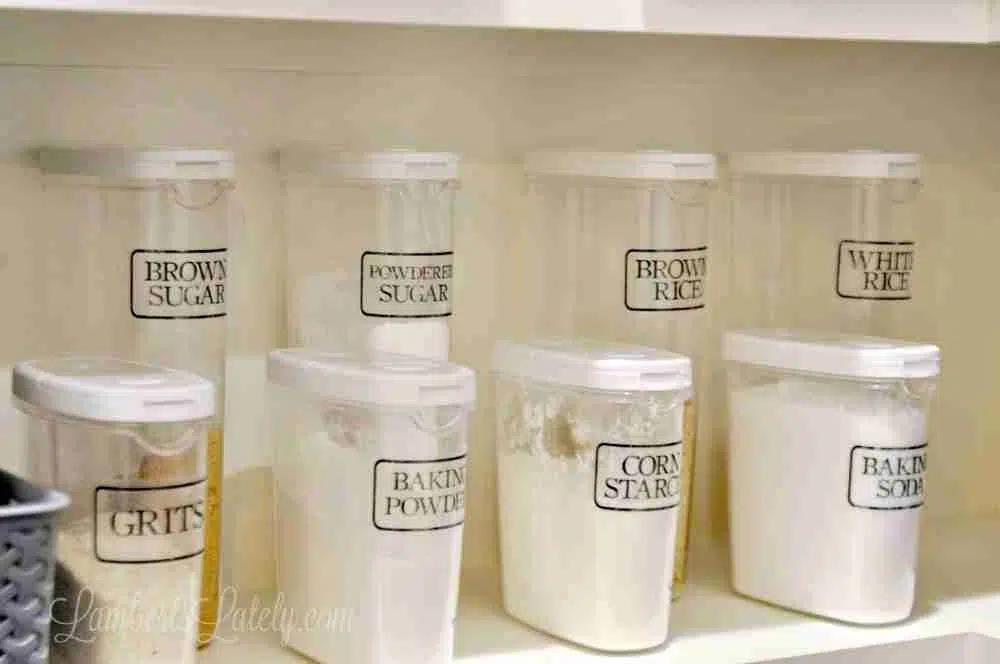
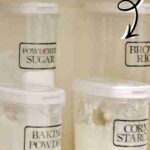
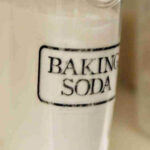
One of the final projects I had to do was labeling the clear storage canisters...and I was stumped. I labeled the baskets in our pantry with cute chalk labels, but those didn't really work for these plastic containers. (They are Ikea 365 dry food canisters, and we still love them after years of use!)
At the time I finished this project, I didn't have any kind of vinyl cutting machine (like a Cricut or Silhouette machine), so I was honestly kind of at a loss for how to tell these apart. Some kind of labeling was definitely needed. We had a lot of things that looked very similar, and it was starting to get kind of confusing.
I finally had an "aha" moment - I could use my trusty packing tape label method to make printable labels for these canisters!
I've used this method a couple of other times in our home and it is so incredibly simple. An added bonus is that you really don't need any kind of super special materials or skills to do this. The weathered look it gives labels was perfect for what I was going for in our pantry. It ended up being exactly what I needed!
I can't take credit for this method. I saw it somewhere (Facebook maybe?) years ago and I've been happily using it ever since. If you've never seen it before, here's how you do it!
Free Printable Pantry Labels
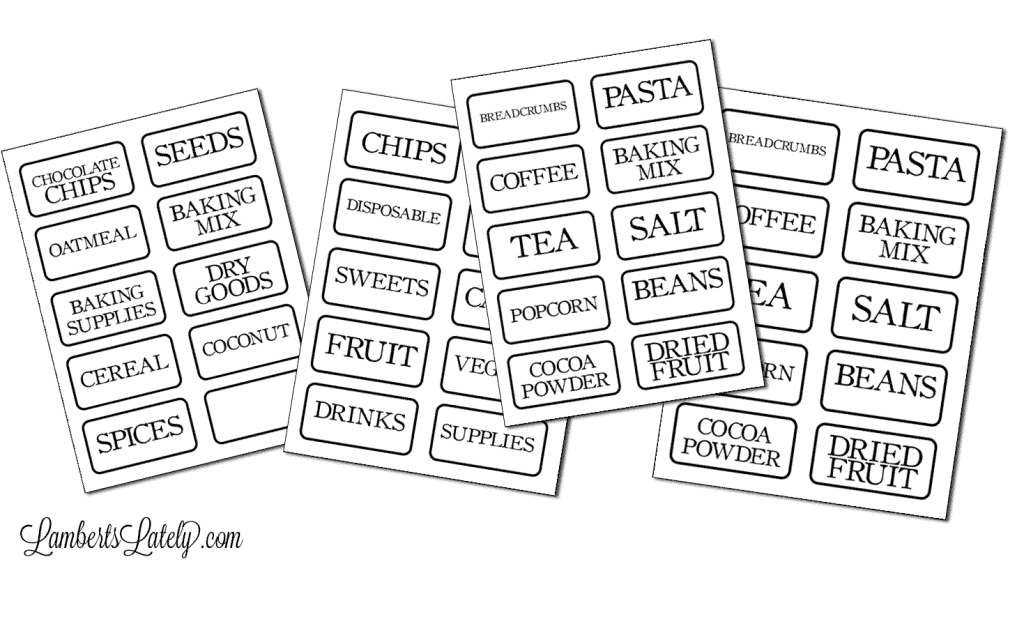
Ready to make your own pantry labels? If you'd like to use the kind I used in my pantry, I made a full set of free printables!
If you need the font I used for any reason, click here to grab it. It's called Old Style and it's free to download.
What labels do I need in a pantry?
Here are a few common pantry items that might need to be labeled...
- Veggies
- Drinks
- Supplies
- Nuts
- Pasta
- Chocolate Chips
- Seeds
- Tea
- Salt
- Popcorn
- Oats
- Baking Supplies
- Dried Fruit
- Dried Goods
- Cereal
- Coconut
- Spices
- Whole Wheat Flour
- All Purpose Flour
- Self Rising Flour
- Breadcrumbs
- Baking Powder
- Coffee
- Baking Mix
- Brown Sugar
- Brown Rice
- White Rice
- Beans
- Cocoa Powder
- Sugar
- Chips
- Sauces
- Disposable
- Bags
- Sweets
- Cndy
- Fruit
- Confectioner's Sugar
- Baking Soda
- Baking Powder
Most of these are covered in the free printables above, but you can always add to my collection with the canva template.
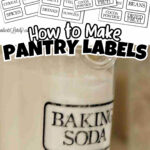
How to Make Clear Labels With Packing Tape
Now, let's get to the instructions on how I turned that file you see above into clear labels. You'll need a few super simple supplies.
Supplies
- Laser Printer (Important: must be laser! If you don't have one, you can usually find these in most offices or at many libraries.)
- Regular, white 8.5x11" printer paper
- Packing Tape
- Bowl of water
- Old credit card or gift card
Step 1: Print labels on regular printer paper.
Start off by printing a paper copy of your labels (just on basic 8.5x11" printer paper). You can really use any label design you'd like for these...but, very important, your copy *must* be printed on a laser jet printer for this method to work. I've tried this with inkjet and the ink won't transfer properly.
This is an updated version of the laser jet I've had for years - I keep it around for bulk printing and projects like this. You can also check most offices or even your local library for a laser printer; they typically have them.
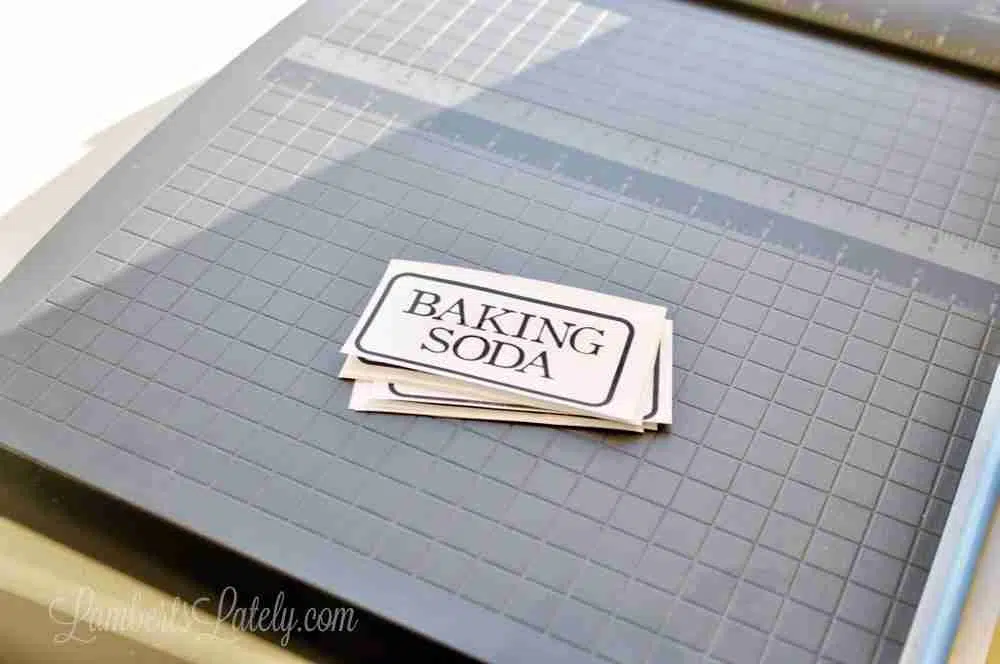
After you print, cut your labels into individual pieces (no need to be perfect, but there needs to be a little bit of an extra paper around the edge of the label). A straight-edge paper cutter makes this much easier.
Step 2: Cover paper with packing tape.
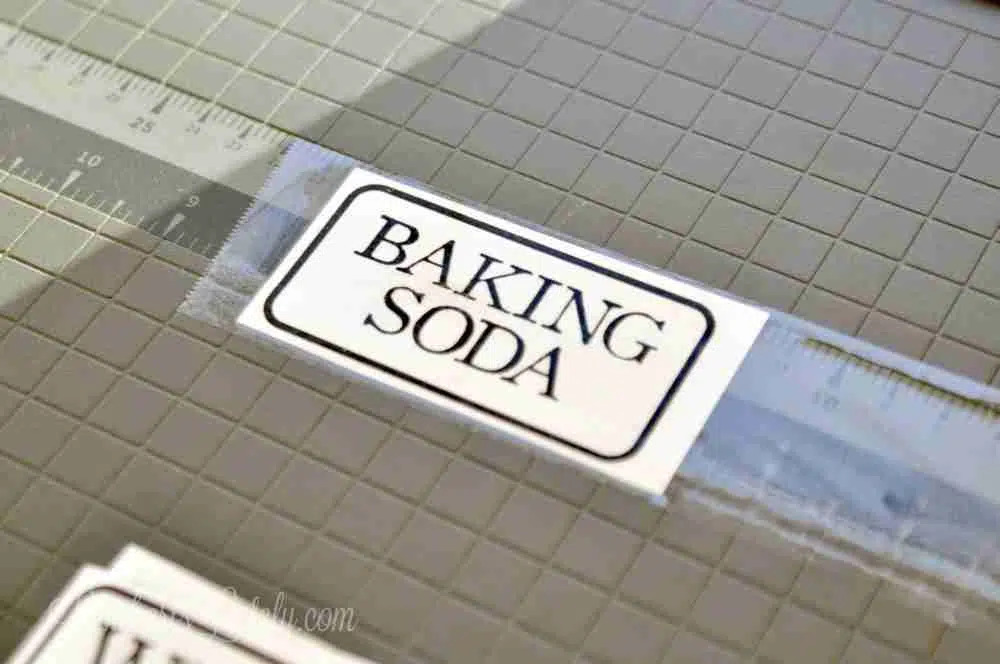
Take a piece of regular packing tape (like the kind I used for this project) and evenly (without bubbles) cover your paper copy. Trim any excess tape that doesn't cover the printed part of your label.
Then, tape side-up with an old credit card or gift card, scrape across your tape to ensure it is very securely bonded to the paper. This ensures that the ink will transfer.
Step 3: Soak the label in water.
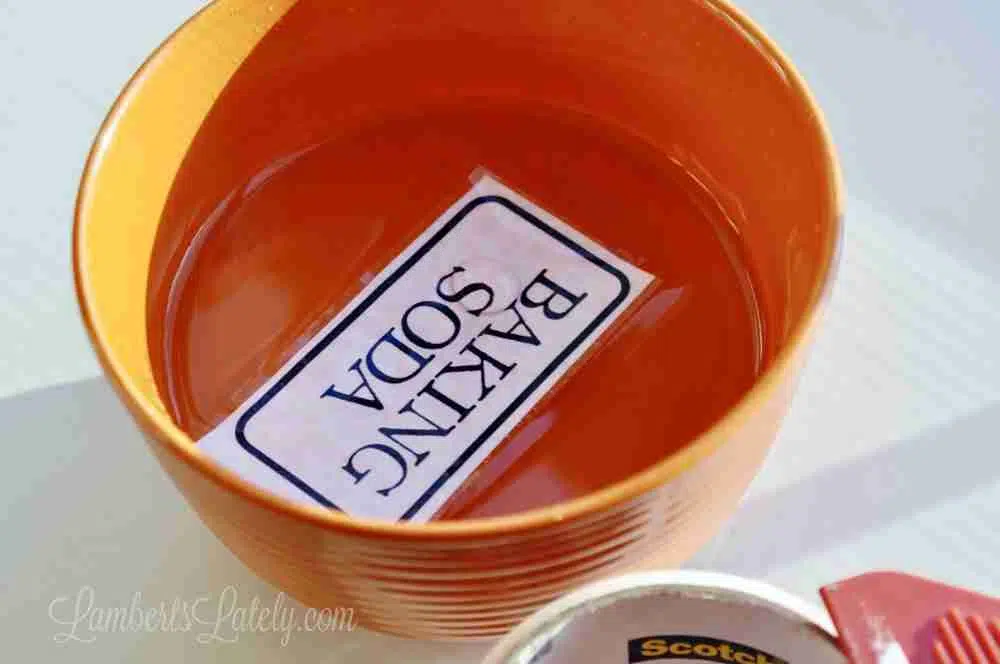
Next, you'll dip your tape/paper in the magic solution...good old fashioned H20.
You'll need to let the label soak in water for maybe 10-15 seconds - just until the paper is saturated. You can get both sides wet, but it's really only necessary to soak the paper side. I like to kind of let the label float with the paper facing down so you don't have to dry everything off too much.
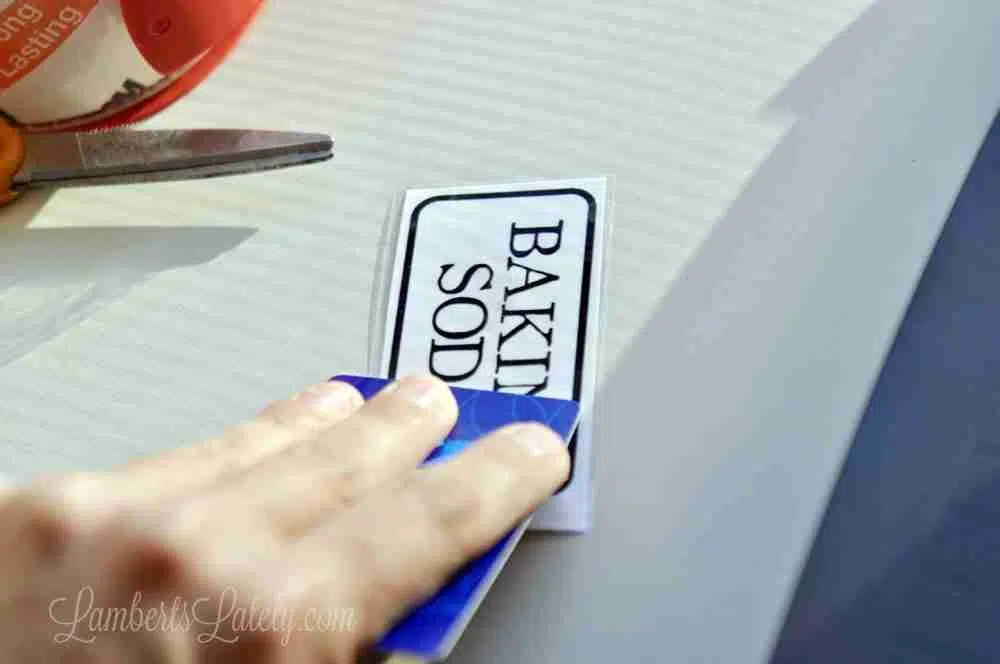
Step 4: Scrape wet paper off of packing tape.
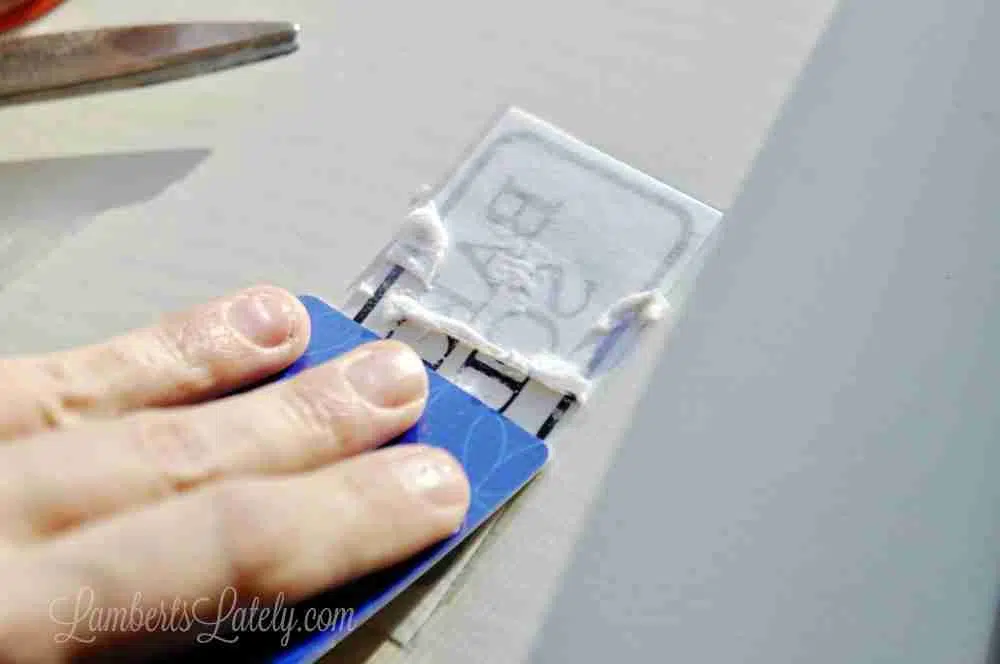
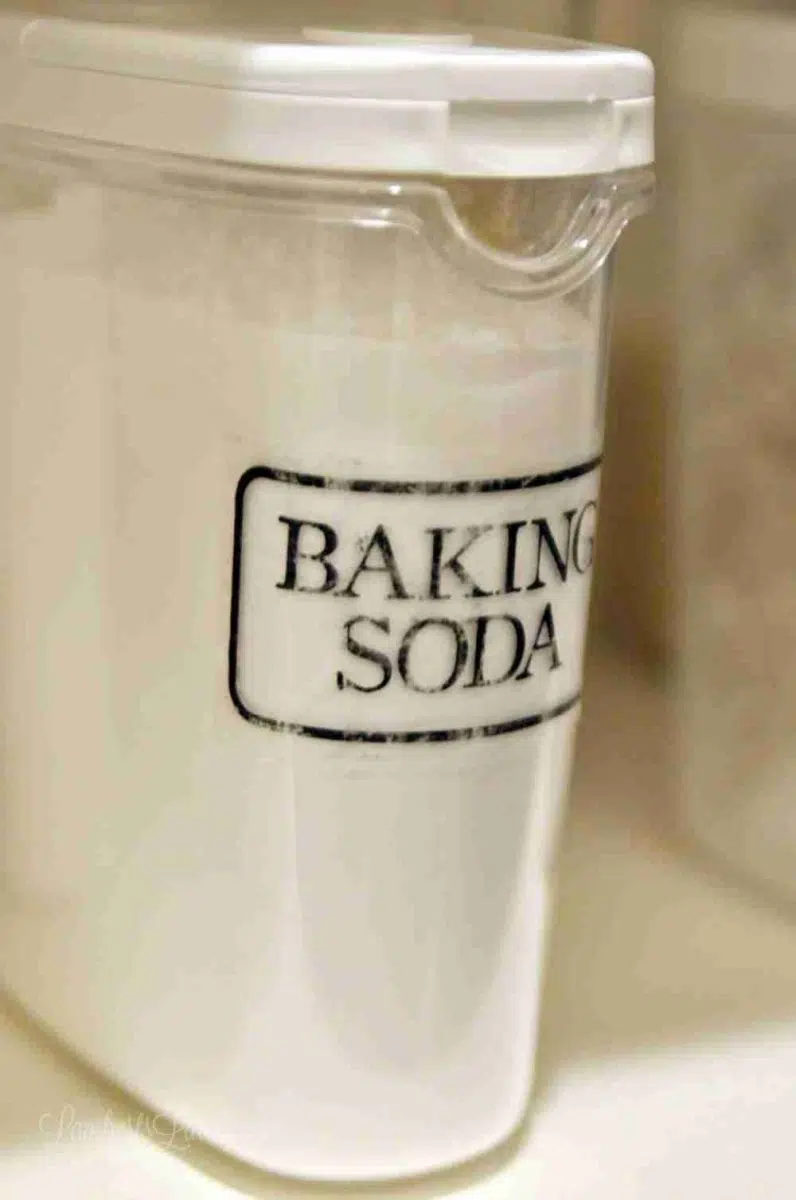
Now, scrape! Use that same credit/gift card and, paper side-up, gently scrape off the paper. The ink should stay on the tape and the tape will still be sticky enough to use as a label.
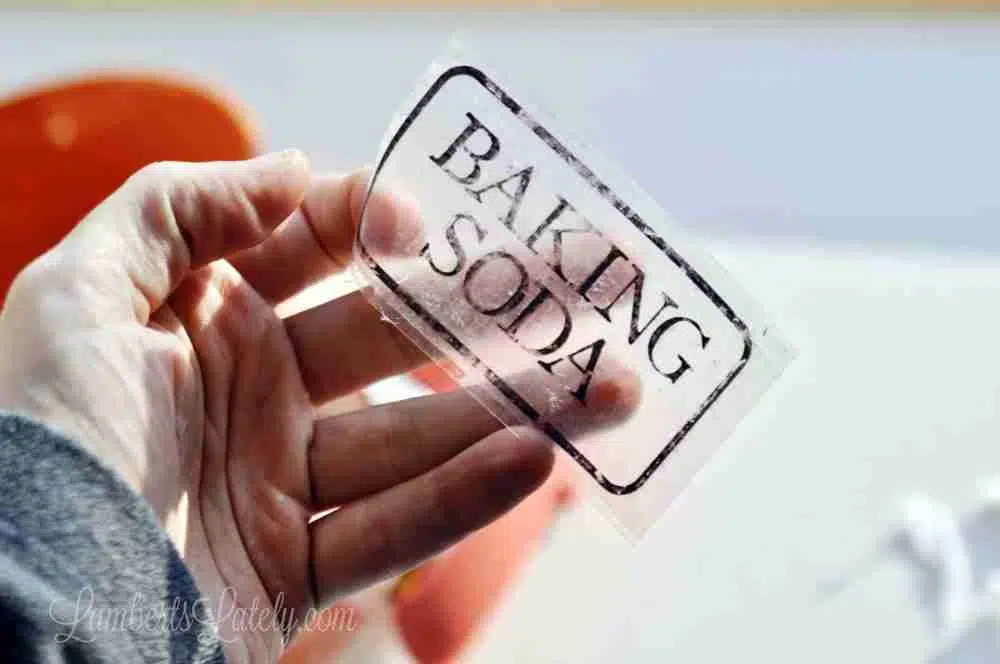
The harder you scrape, the more likely it is for the ink to start coming off (which is not necessarily a bad thing if you want a more weathered look).
Step 5: Stick label to containers!

Finally, stick!
I love the slightly faded, rustic look that these labels gave the canisters. As you'll see in my pantry organization post, they ended up being the perfect solution for this space. I couldn't be happier with the result!
They are actually (surprisingly) really durable. We've had these on our canisters for five years now with zero peeling or lifting. Just press down really firmly when applying.
Tip
Don't forget that expiration date! You can write the expiration of your food item on the bottom of the canister with a wet-erase marker.
Don't have a laser printer?
No worries! They make clear sticker paper that is perfect for a project like this. You can click here to check that out; simply run it through your inkjet and cut as needed.
Another Option: Use as paper labels.
Of course, you don't have to do it the way I did. I've used similar labels in other places in my house that are printed on plain cardstock.
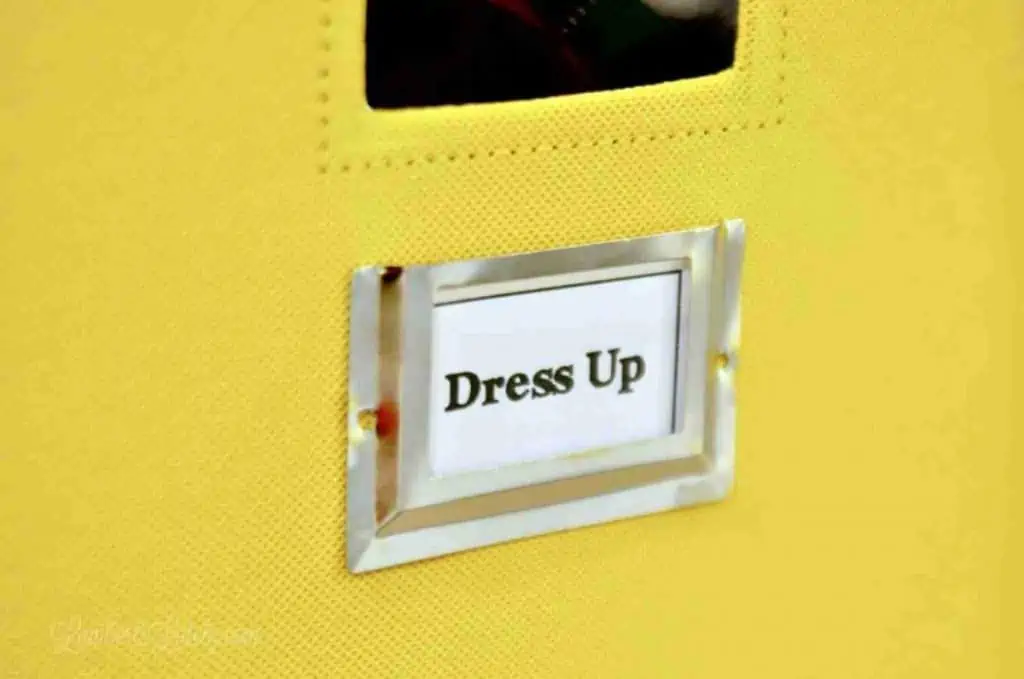
If you'd like to use these labels on something like a storage bin, print them on card stock, cut them out (again, with just a little extra paper around the edge of the label), and pop them in these label holders (not exactly the same as what I used, but these were unavailable and the link is the closest I could find).
I just glued the label holders on the front of the bins with E6000 and they've been incredibly secure. Not one has fallen off out of probably 20 bins I've used this on! And the actual paper labels don't look worn at all.
FAQs

Leslie Lambert is a lifestyle writer and content creator specializing in home organization, family recipes, and intentional living. With 17 years of experience in blogging and digital storytelling, she helps busy women create calm, purposeful homes they love.


I can’t access the freezer label printable
You are welcome to email me at [email protected] if you need help with anything!
Does the tape stick on the containers after you’ve soaked them and scraped off the paper?
It does! The water doesn't really affect the stickiness of the tape.
What are you containers called & where from?
They are the Ikea 360 brand - we love them!
If making your own labels, what size font and text box do you recommend?
The text box on these is 3x1.5" - that seems to be a great size for most labels. Font is going to depend on your text box and actual font, but I used 50 on these.