
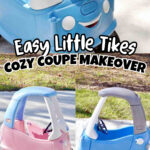
This DIY Cozy Coupe makeover shows how to repaint and restore a faded Little Tikes Cozy Coupe using spray paint made for plastic. Learn how to clean, prep, paint, and reassemble for a budget-friendly makeover that looks brand new again.

Paid links used in this post. Read more about my link usage policies.
Quick overview (for planning your project):
- Time: 1 weekend (plus drying time)
- Cost: $10-30 depending on paint
- Difficulty: Easy to moderate
- Best paint: Spray paint made for plastic (Rust-Oleum 2X Ultra Cover)
For the longest time, I had been meaning to give our Little Tikes Cozy Coupe new life. It was my daughter's toy when she was a toddler, and when she grew out of it, my son started using it (and absolutely loved it).
It had seen better days though - it was incredibly faded and kind of gross from being outside in the elements for years. I've heard of doing makeovers on these cars before, so I thought I'd give it a try!
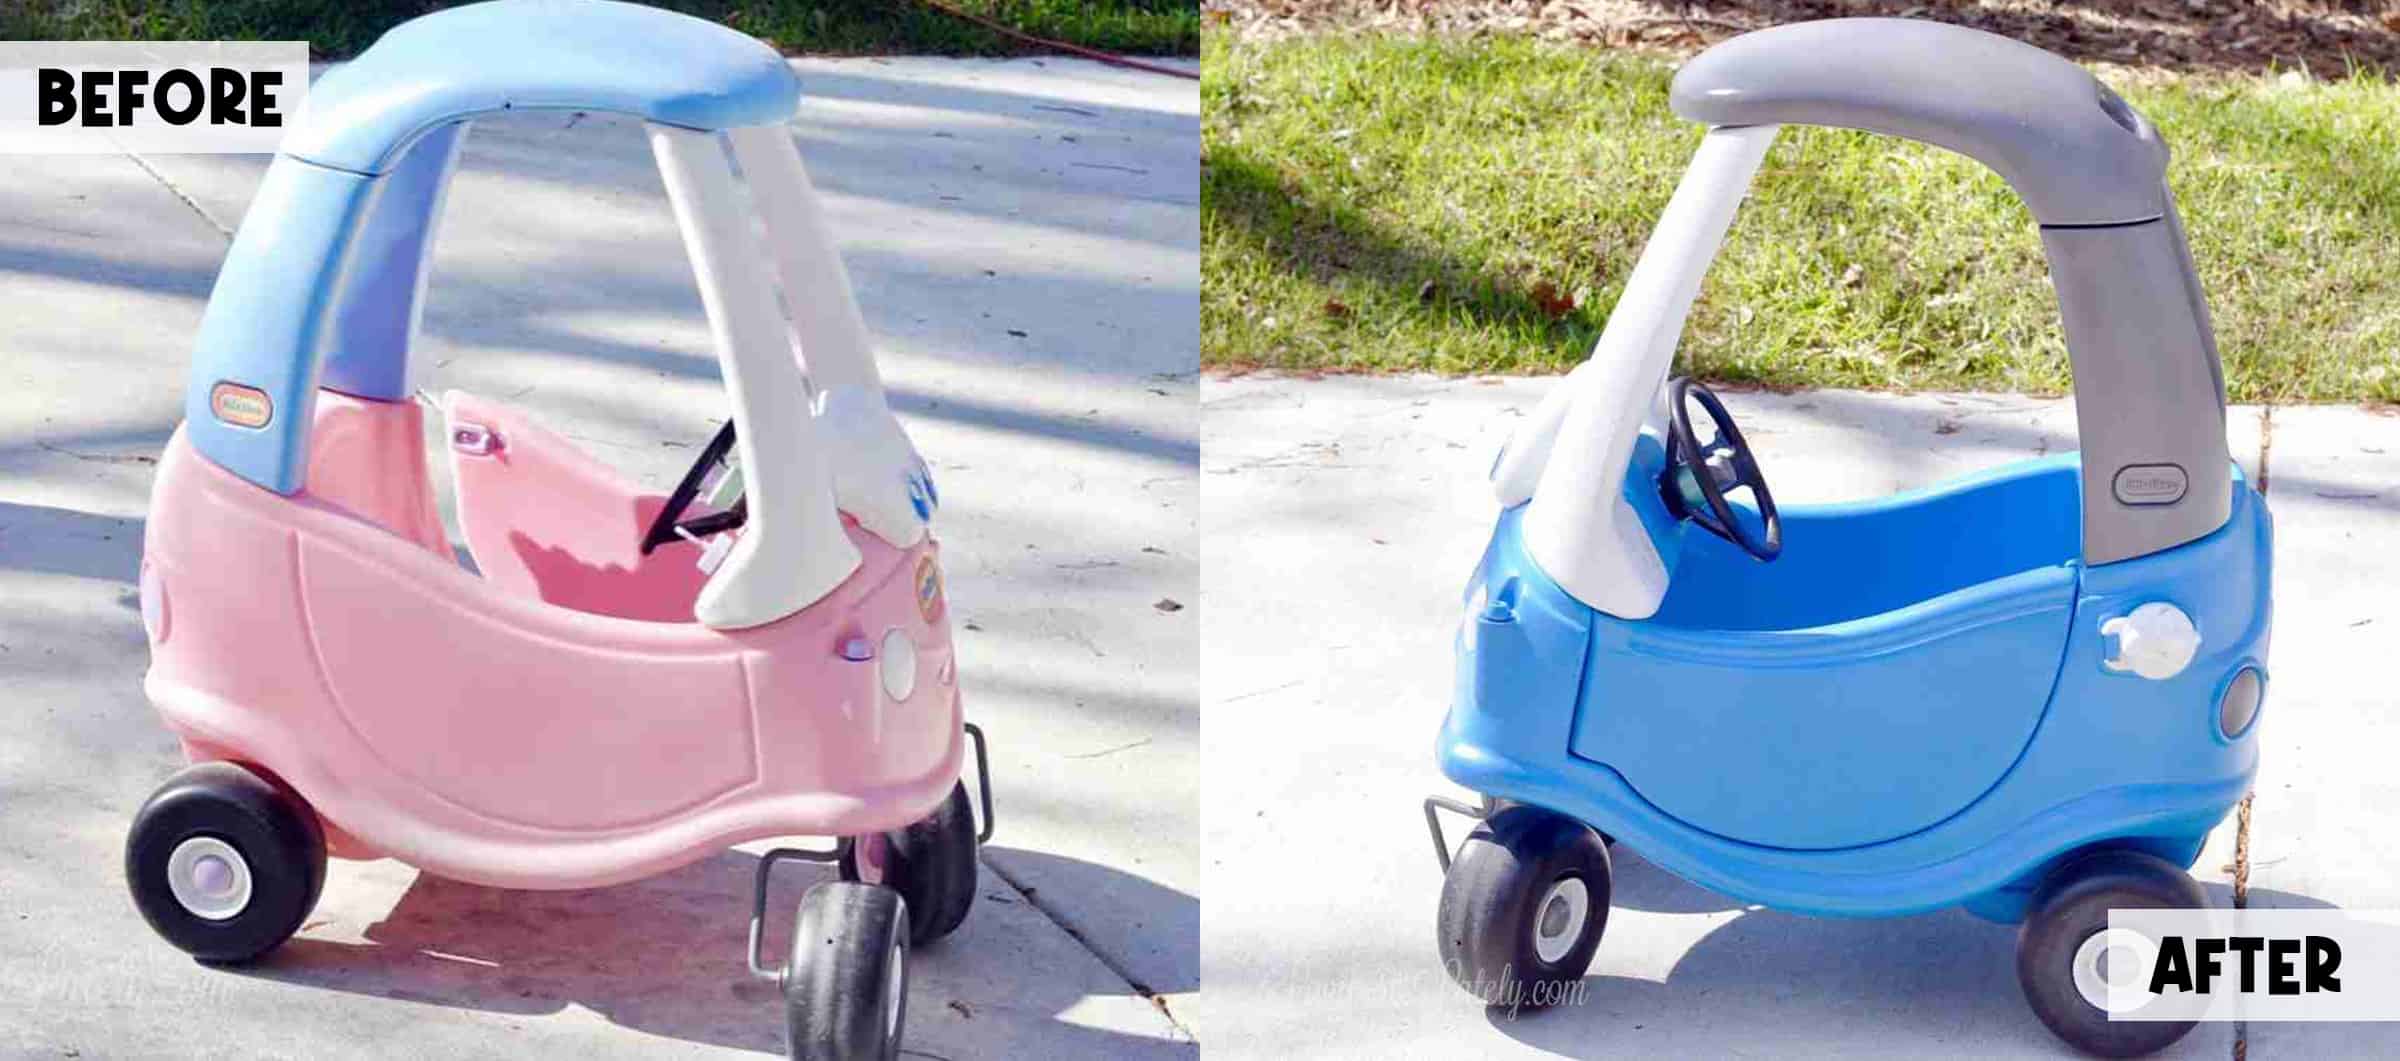
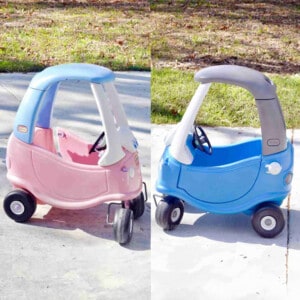
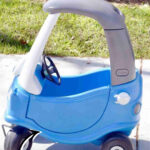
Before the DIY Cozy Coupe Makeover
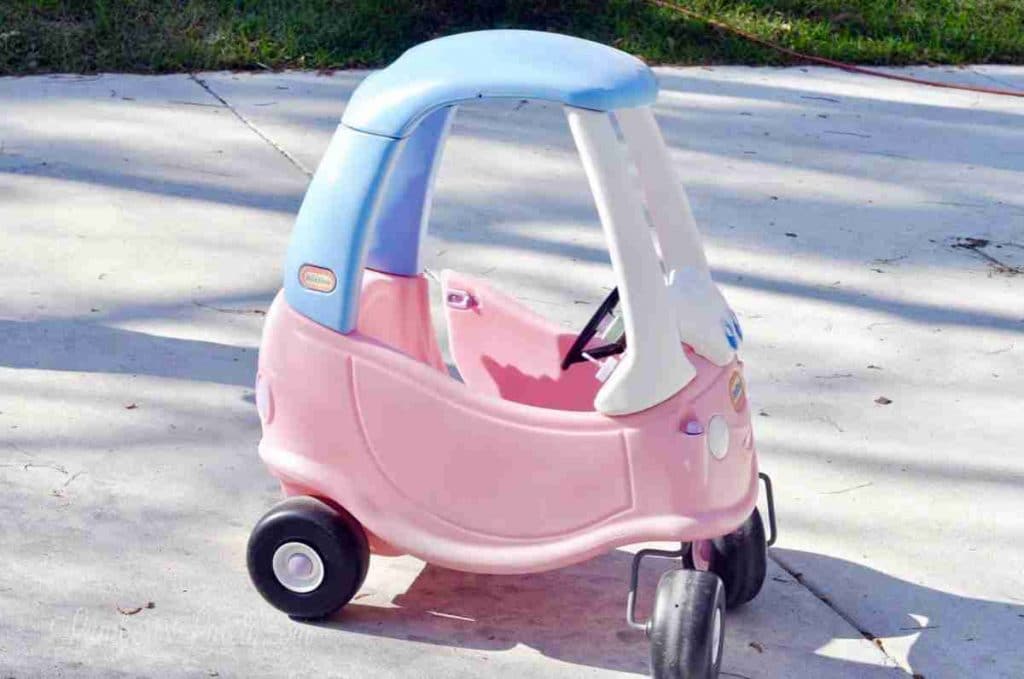
This Little Tikes Cozy Coupe had been outside for years and was faded, dirty, and weather-worn. Instead of replacing it, I decided to completely refresh it with a DIY paint makeover!
Why did I do this? We already owned this car and my kids still used it, even though it was heavily faded. The structure was still solid, so a makeover made more sense than buying a new one.
Supplies for a Cozy Coupe Makeover
- ratcheting screwdriver
- pressure washer or high-powered hose nozzle
- Goo Gone
- scrub sponges
- Rust-Oleum 2x Ultra Cover Spray Paint (I used the colors granite & oasis blue)
- 1" masking or painter's tape
- cloth drop cloth (not plastic) or cardboard
- cheap sponge brushes
- several plastic grocery bags
- paper towels
- Q-tips
- acetone
- E6000 glue
- custom replacement decals
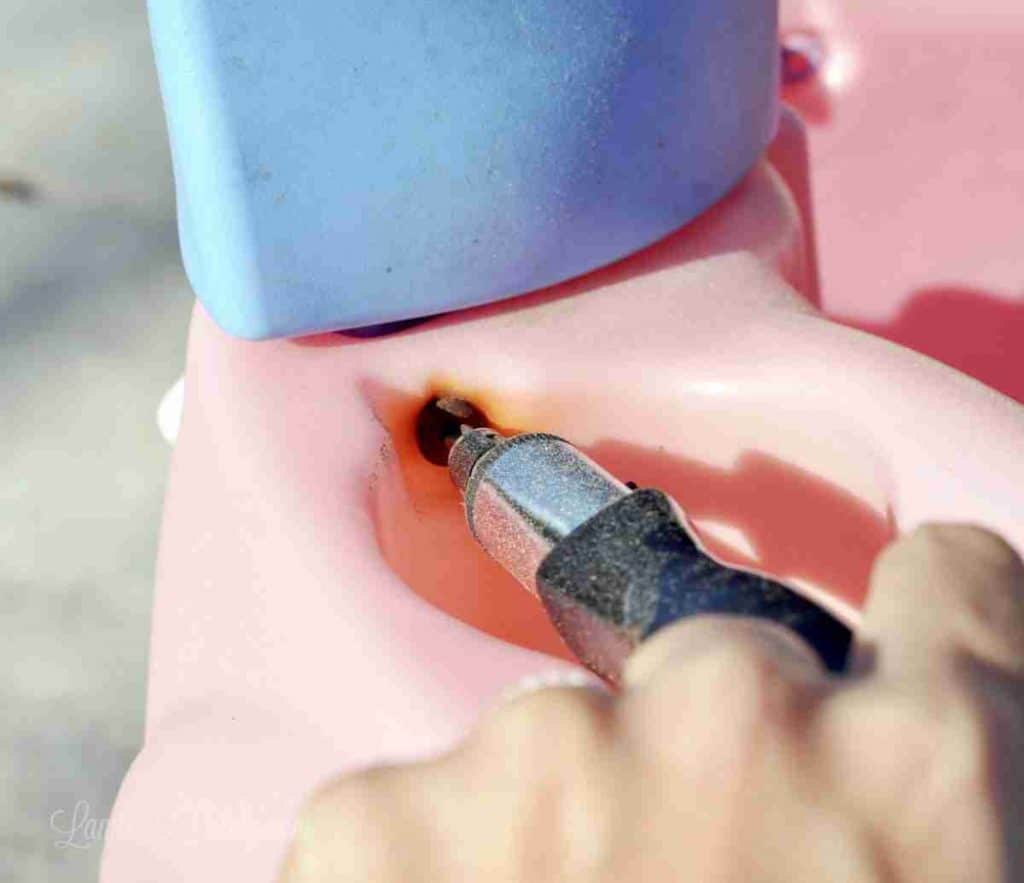
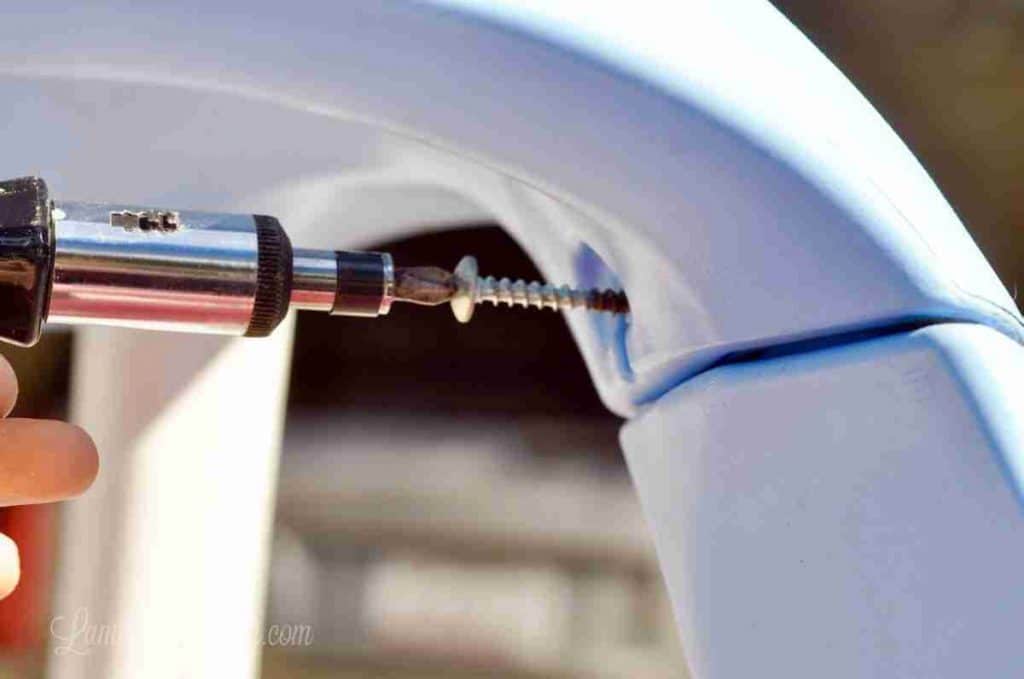
Step 1: How to Disassemble a Little Tikes Cozy Coupe
Start by taking the toy car apart into manageable sections. There are only a few screws holding the main pieces together, so this is a lot easier than it looks.
(Just for car model clarification, I'm using a 30th anniversary style Cozy Coupe for this post.)
Remove:
- Screws from the back near the cup holder area
- Roof panel
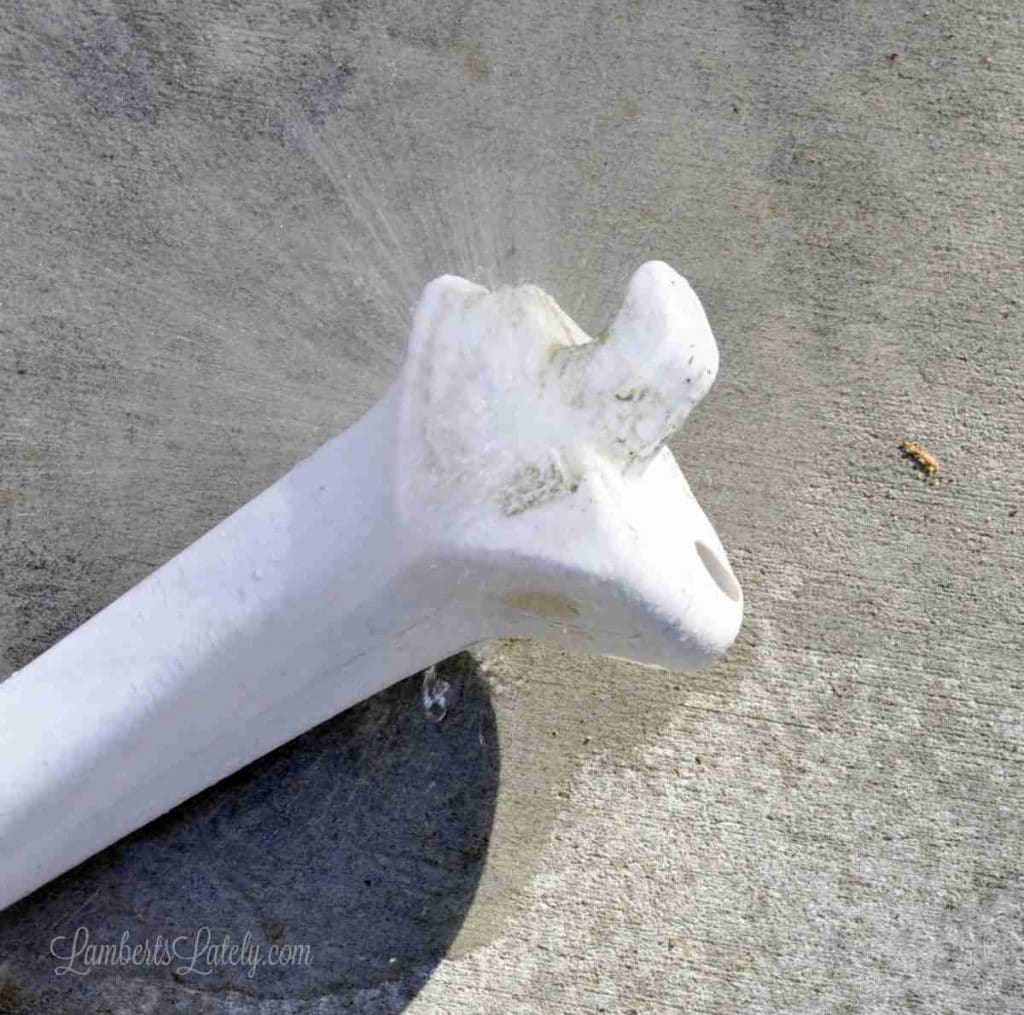
- Roof support posts
- Headlight pieces (you can carefully pry off if needed)
- Gas cap and door lock
Make sure to keep all of the screws organized for reassembly.
Step 2: Clean the Cozy Coupe.
This step is kind of messy, but important for paint adhesion.
If the car has been outside, expect built-up dirt inside posts and seams. A pressure washer works best, but a strong hose nozzle is also really effective.
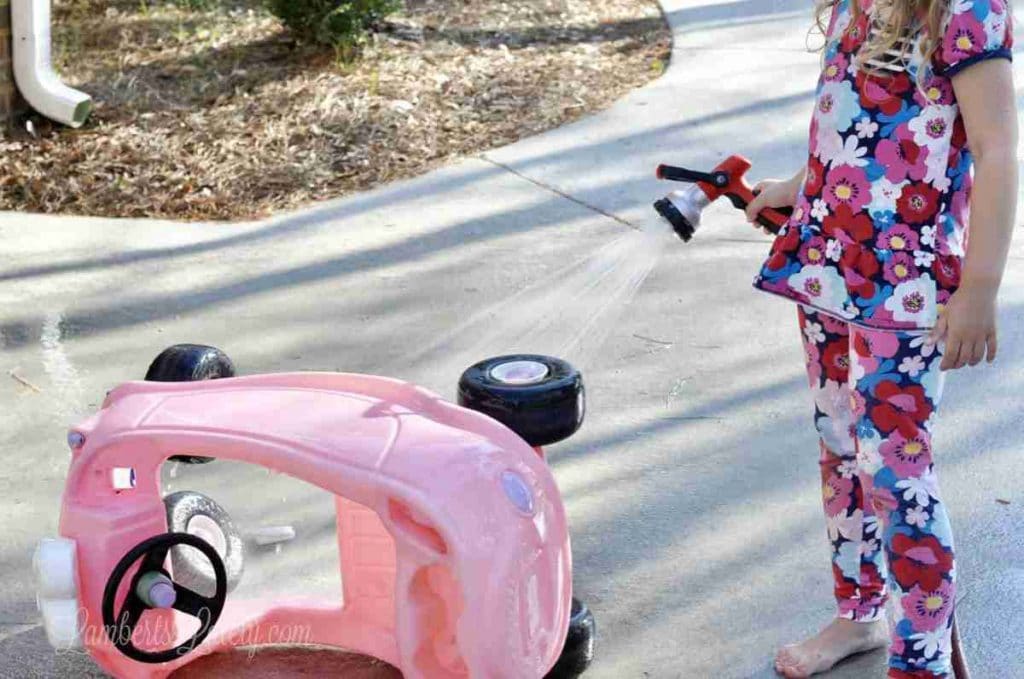
Little helpers can also get in on this step!
One note: you're not going to get all of the stains out if this is an older car. That's ok - just make sure the actual dirt and grime come off so it doesn't interfere with painting.
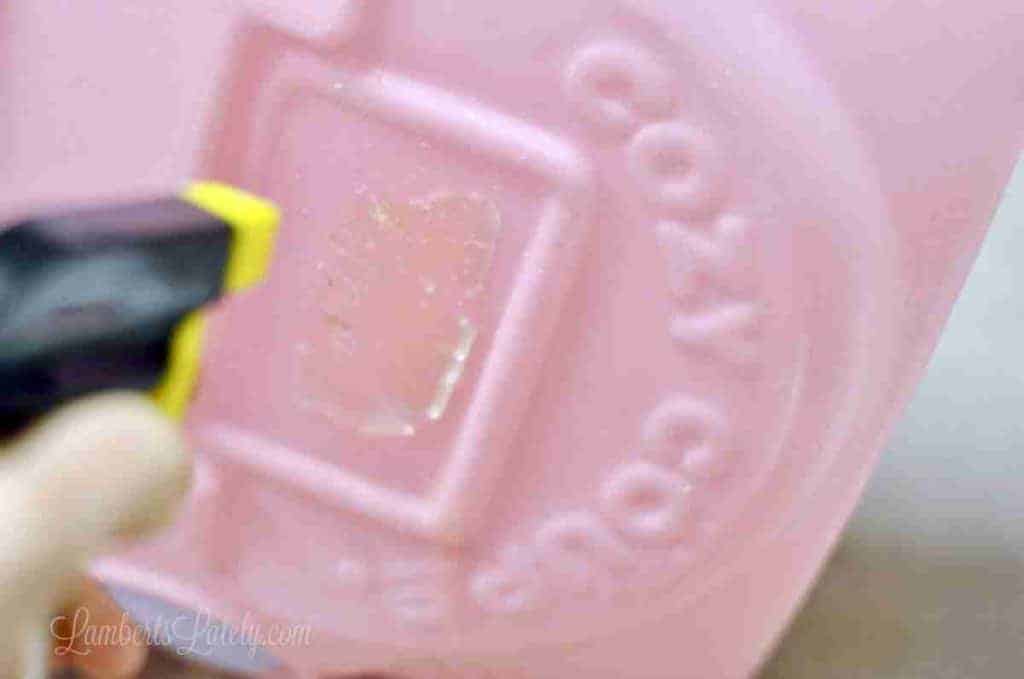
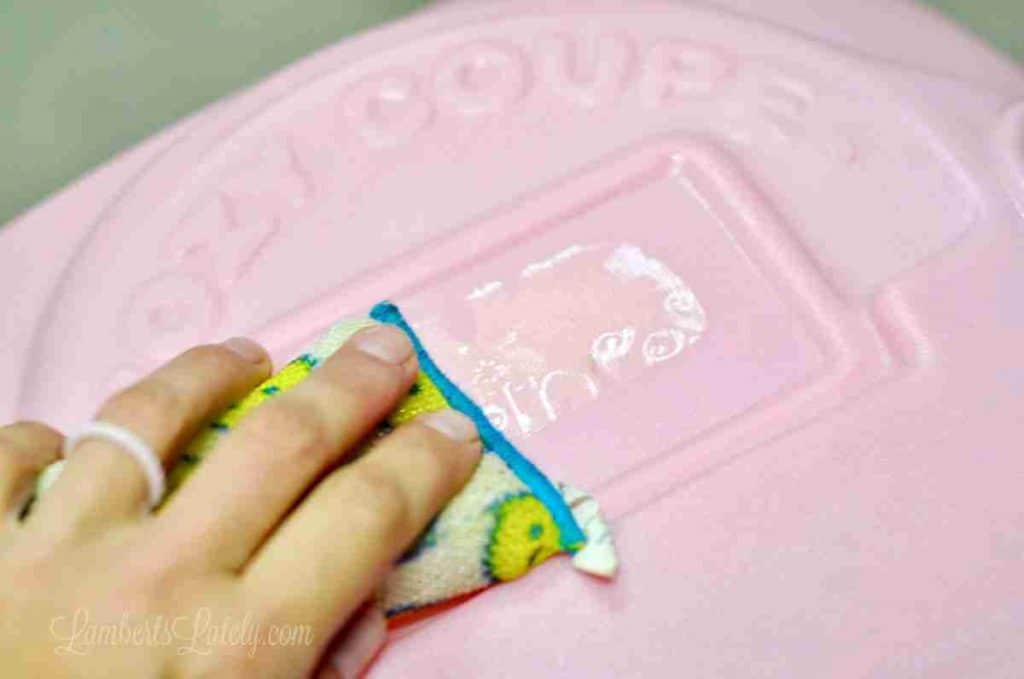
Remove old decals using Goo Gone and a scrub sponge. Focus on removing dirt, grime, and loose adhesive rather than achieving a perfect surface.
Let all parts dry completely before painting.
Step 3: Tape off wheels & details.

Tape off any areas you do not want painted:
- Wheels (if left attached)
- Steering wheel
- Lights
- Trim and small details
If you are painting accents (like wheel caps), do those separately before painting the main body.
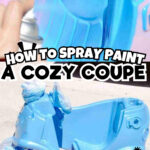
What paint should I use on a cozy coupe?
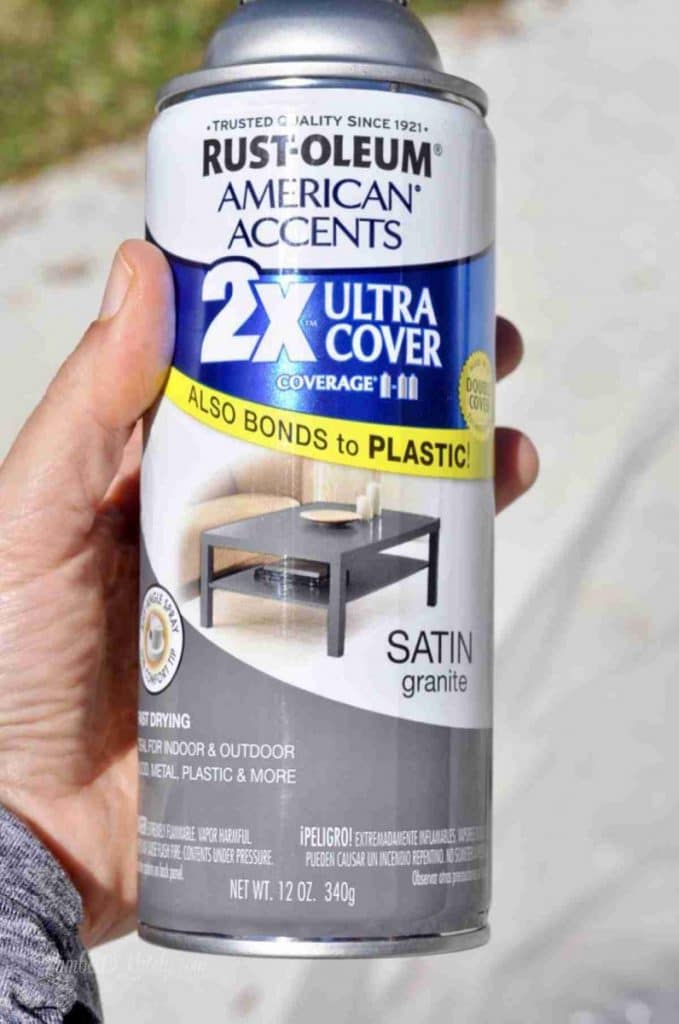
I used Rust-Oleum 2x Ultra Cover Spray Paint (in colors granite & oasis blue) to paint everything for this project. The great thing about this paint is that it adheres to plastic with no sanding or primer, so it was super easy!
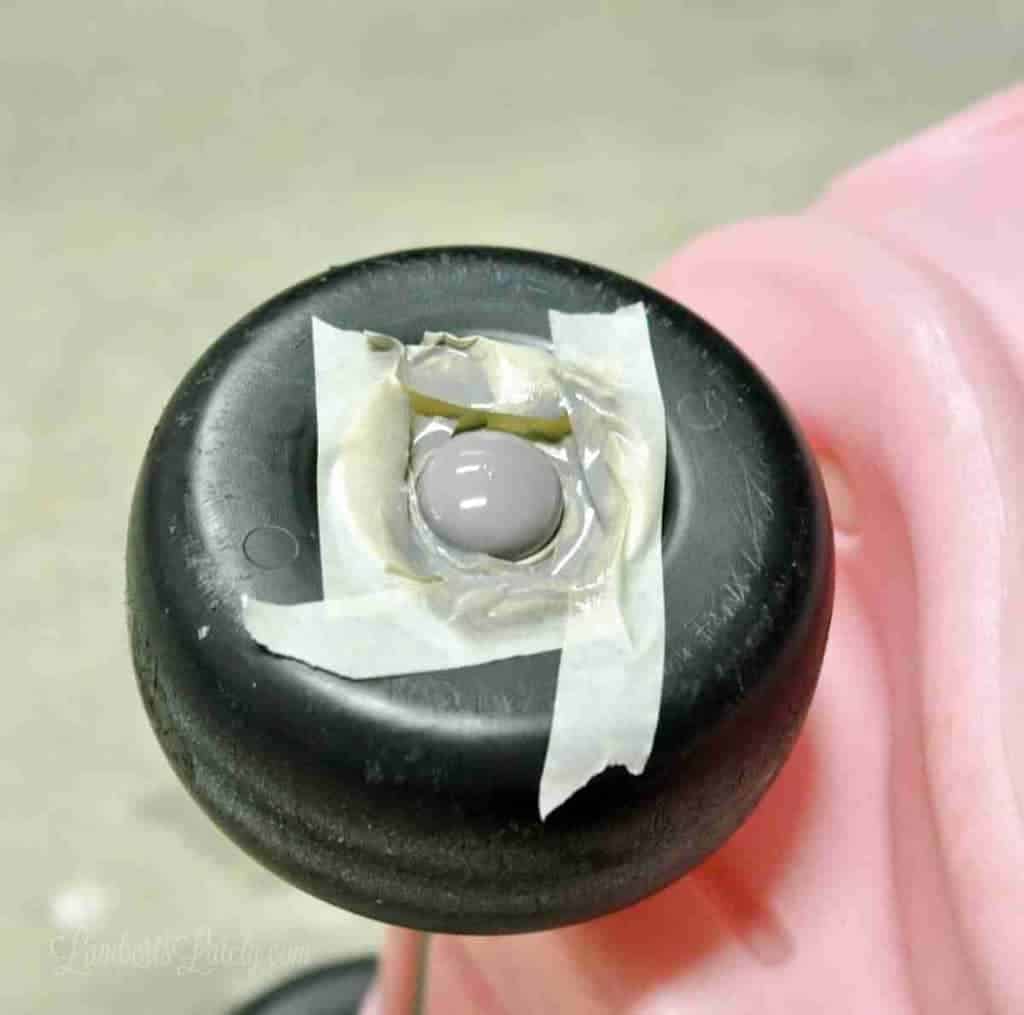
Quickly spray off the caps and allow them to dry for at least a couple of hours before you go on to Step 5. I'd recommend completing Step 4 while these are drying.
If you want to paint the key that's attached to one of the front roof posts, tape that off and paint at this point too.
Step 4: Paint the roof and lights.

Start with removable parts like the roof, posts, and trim.
Use light, quick coats of a spray paint designed for plastic. Hold the can about 12 inches away and apply thin layers to avoid drips.
Make sure to proper drying time between coats! I like to wait at least a few hours.
Pro Tip: I used a plastic drop cloth under my car pieces, but I'd recommend an actual cloth or even cardboard if you have it.
The paint you're using adheres to plastic, so obviously it's going to adhere the plastic pieces to the drop cloth if you're not careful. That did cause a couple of marks in my paint.
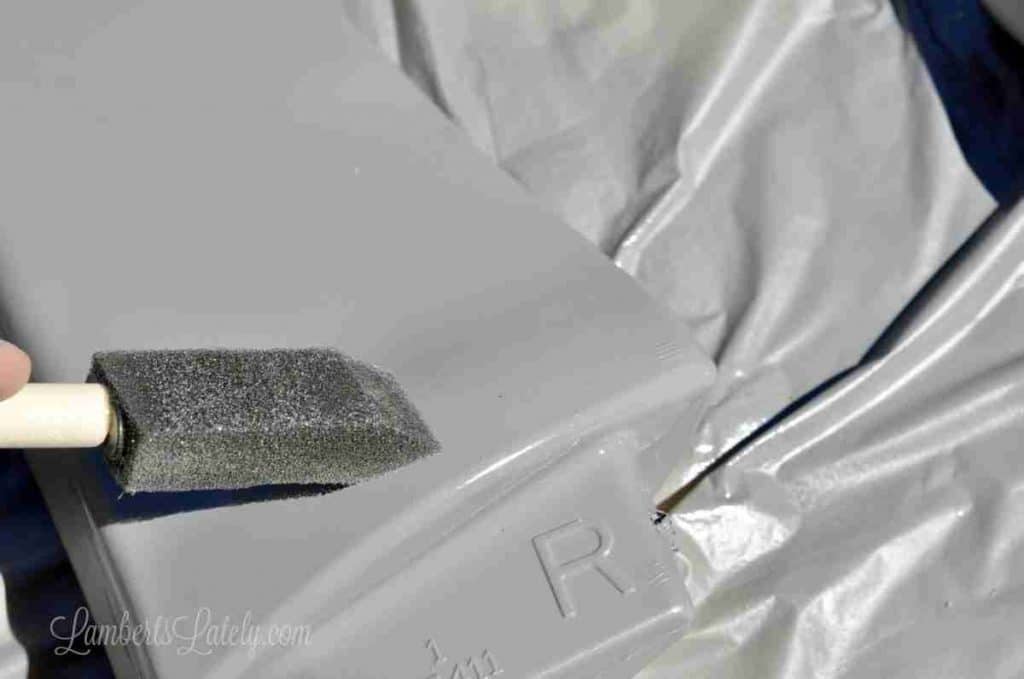
I like to keep a cheap sponge brush handy while using spray paint; it's an easy way to smooth out thicker drips of paint before they dry.
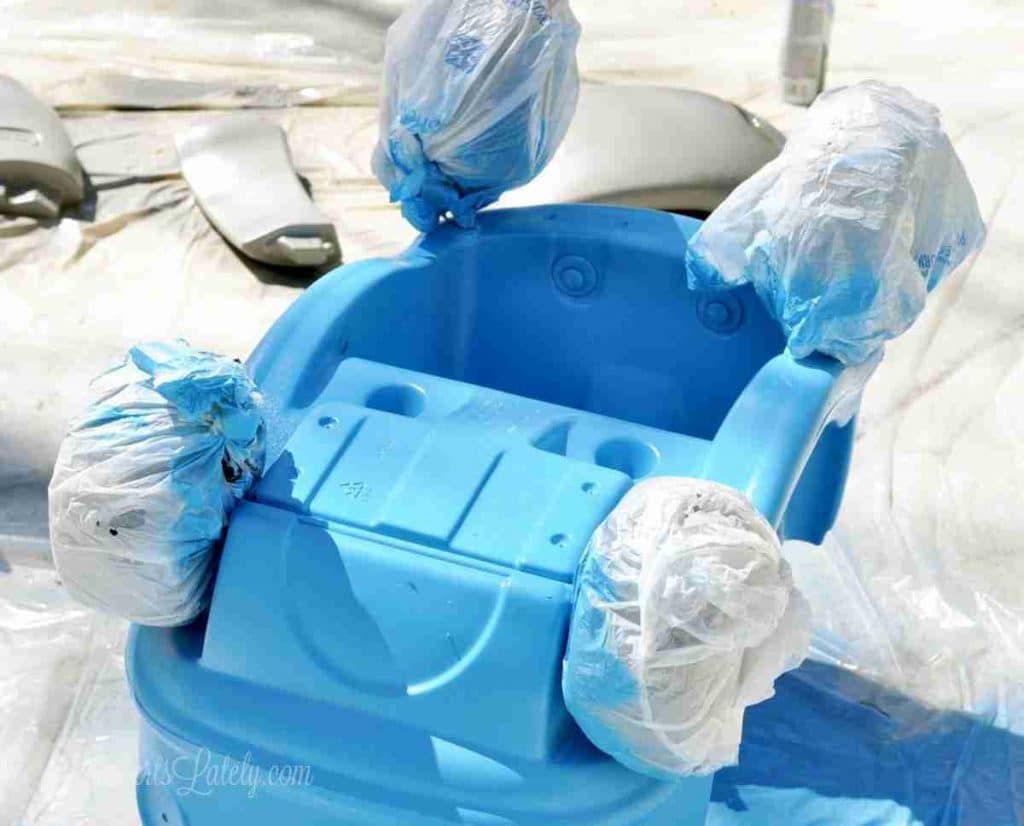
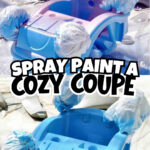
Step 5: Paint the car's body.
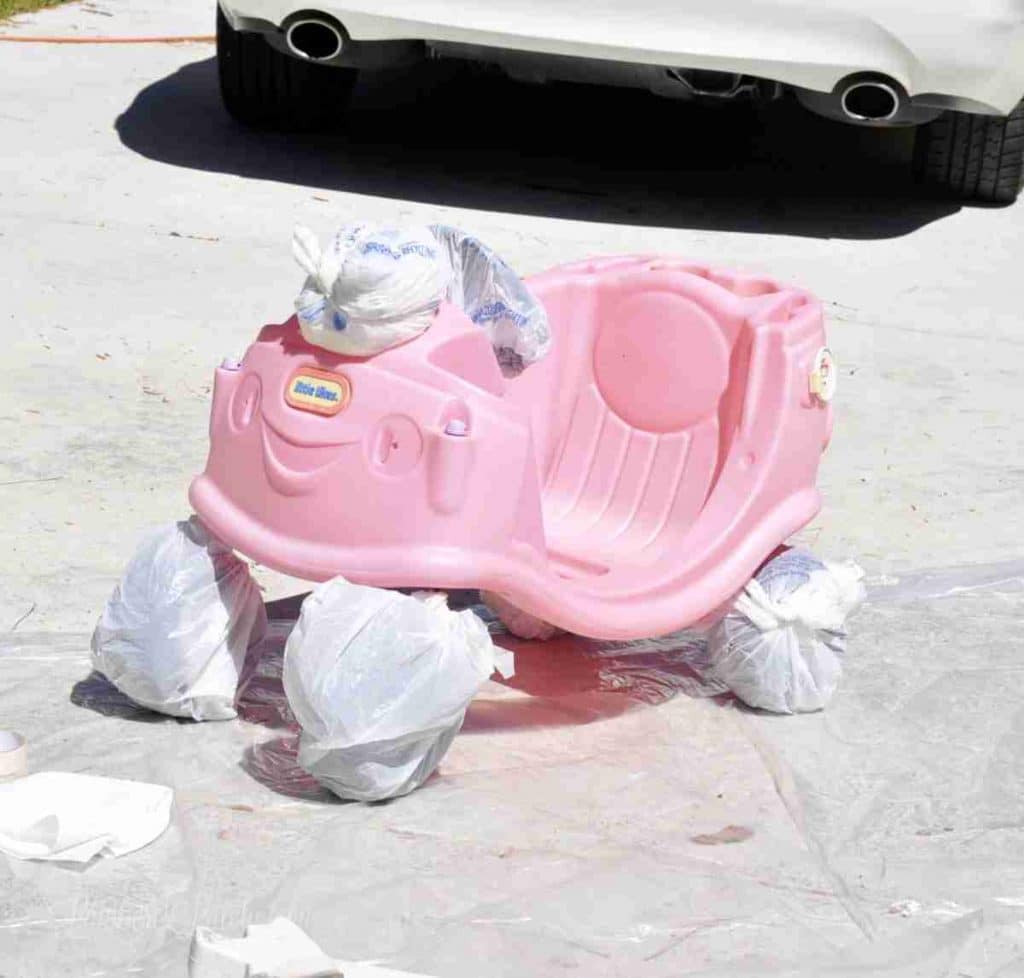
Cover the plastic wheels and fixed parts of the car (like the eyes) with plastic bags and tape kind of tightly with masking tape.

(A lot of these photos were taken by my 5-year-old...isn't she a good photographer?! 😀)
Apply spray paint in thin, even coats, working methodically around the car. Avoid heavy coats to prevent the paint from running.

Paint both the top and bottom sections. Allow a few hours of drying time between coats.
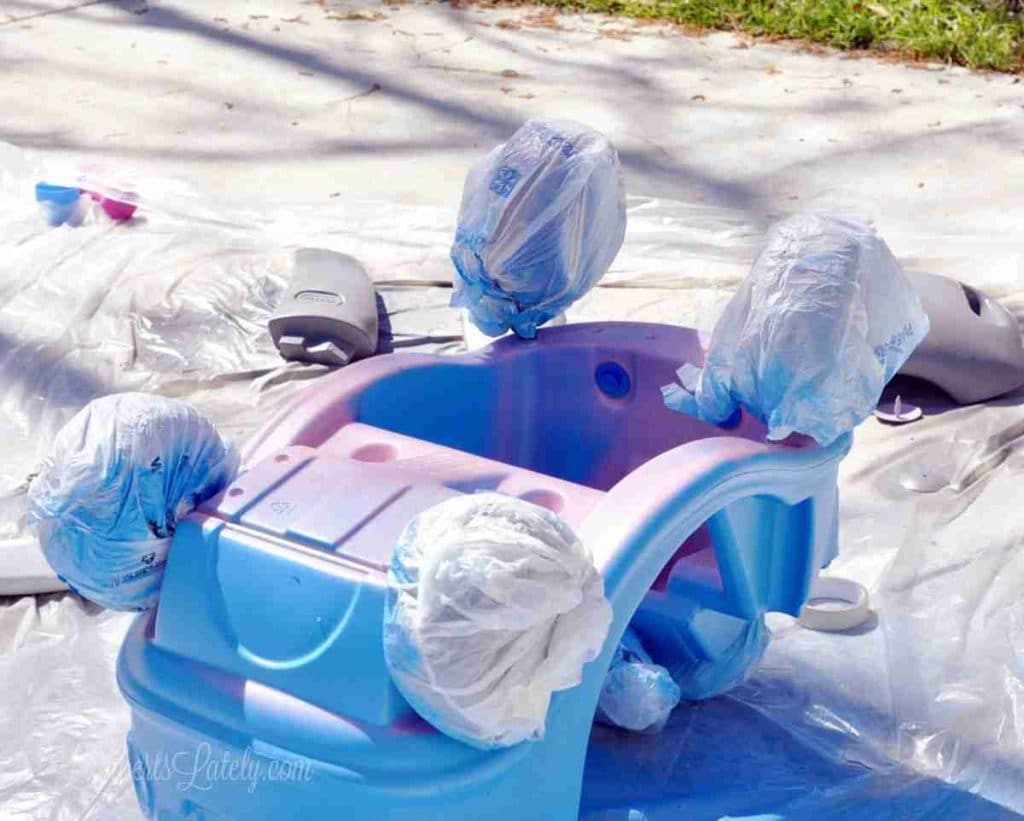
Then, flip it over and give the bottom of the car two coats!
I allowed the cozy coupe to to dry overnight before reassembling it.
Step 6: Fix overspray and touch up paint.
Once the paint is dry, go back and correct any missed areas.
Use sponge brushes or light spray to clean up:
- Steering wheel edges
- Light details
- Tight seams and corners
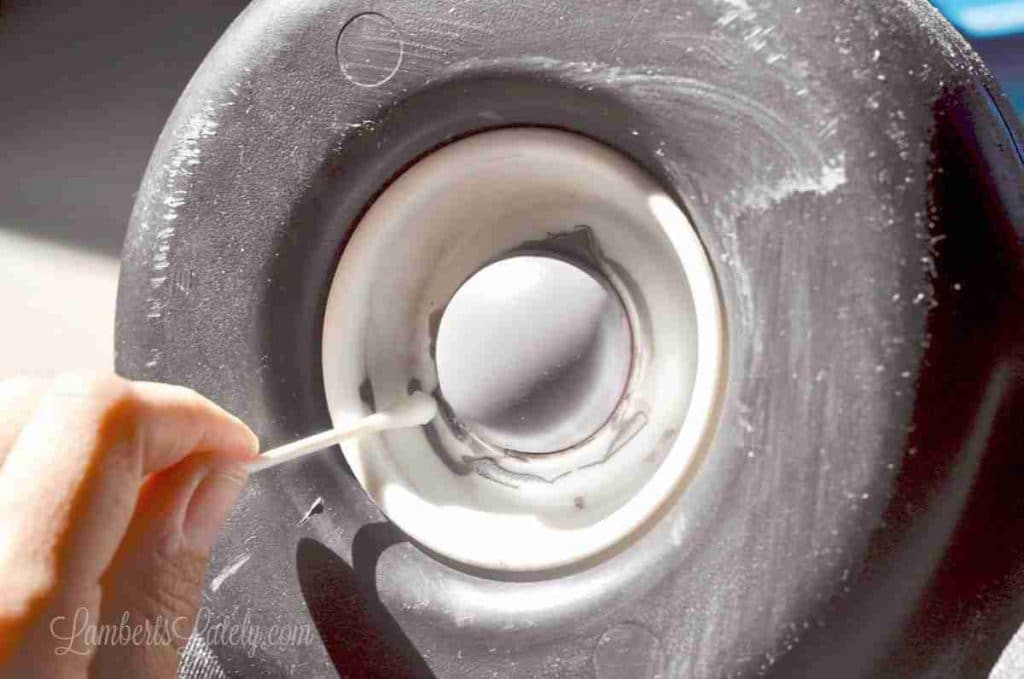
You can use acetone on a Q-tip carefully for overspray removal if needed. Be careful with this though - it's easy to remove wanted paint too! 😜
Step 7: Reassemble the car.
Reassemble in reverse order:
- Roof and support posts
- Lights and trim pieces
- Screws and hardware
Use E6000 glue for any pieces that loosen or break when you were disassembling.
Step 8: Add new decals to the custom cozy coupe.
I found the CUTEST little decals in this Etsy shop - they even do custom license plate decals for the back!
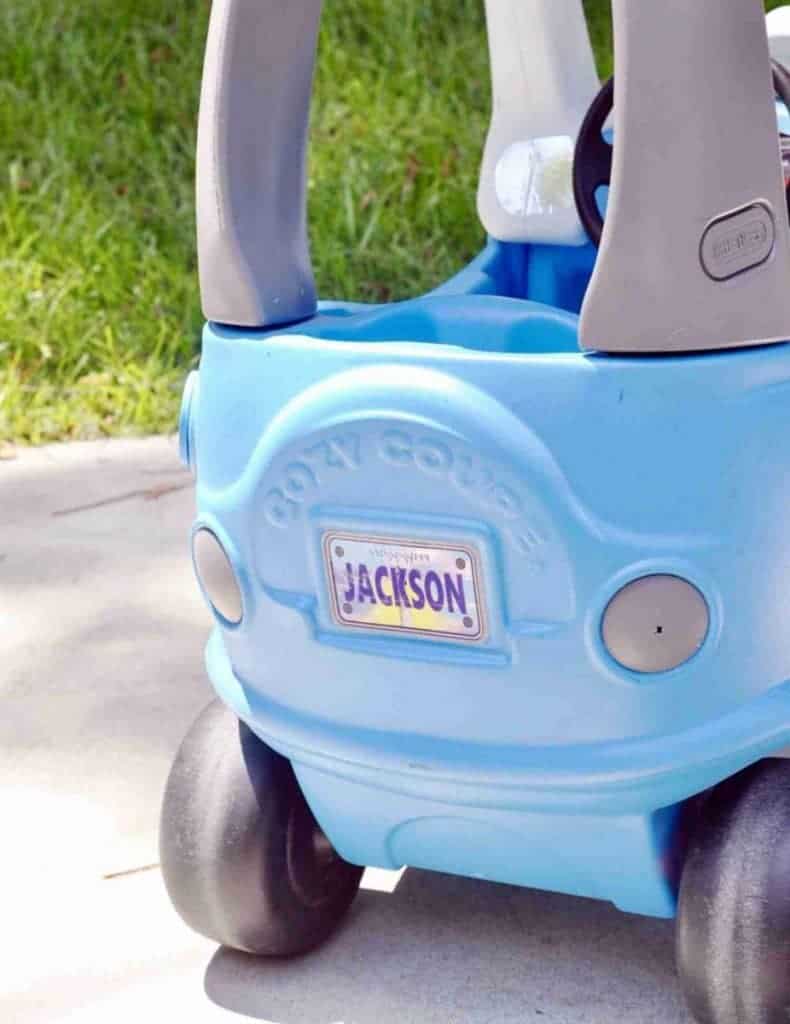
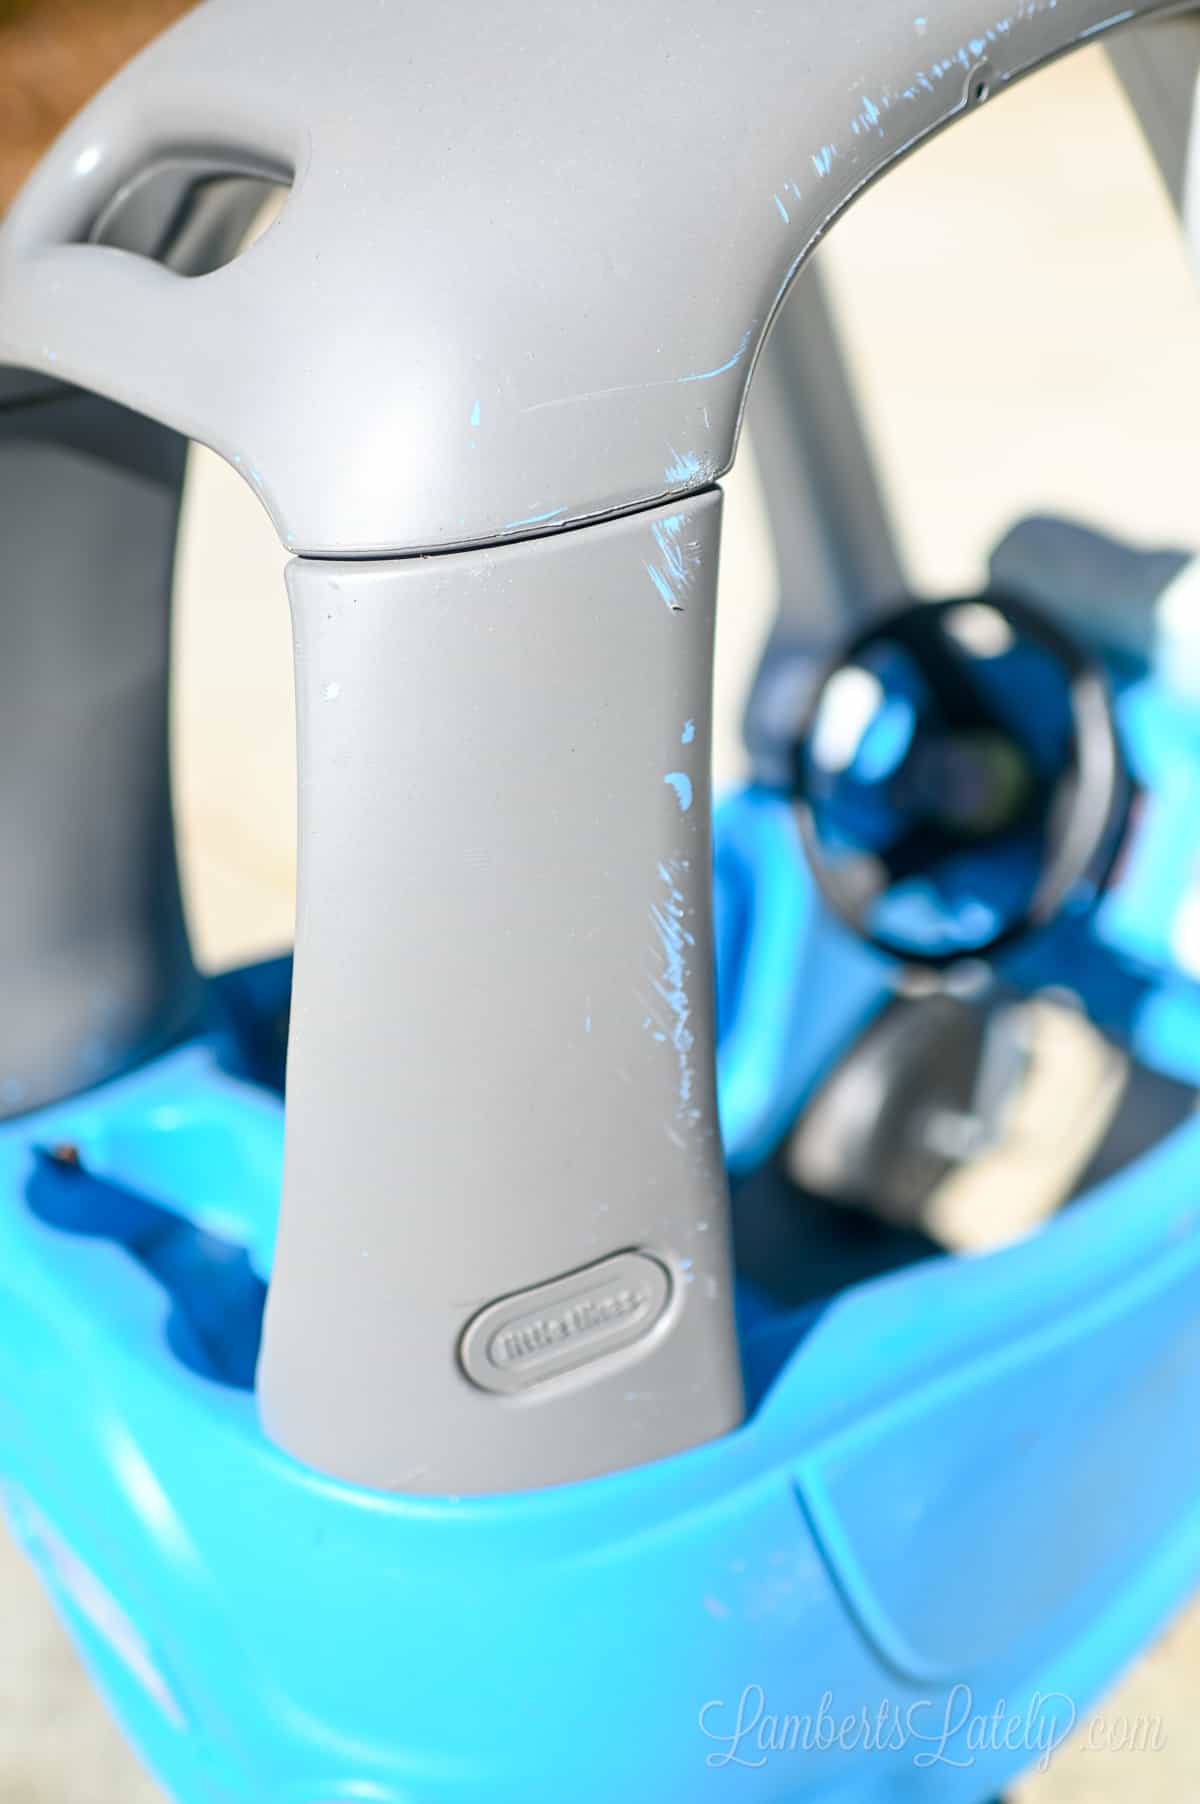
(You can see the minor little bit of wear the paint had shortly after the toy car makeover - mostly on the horn and areas that get a lot of friction. Nothing huge, especially for a kids' toy.)
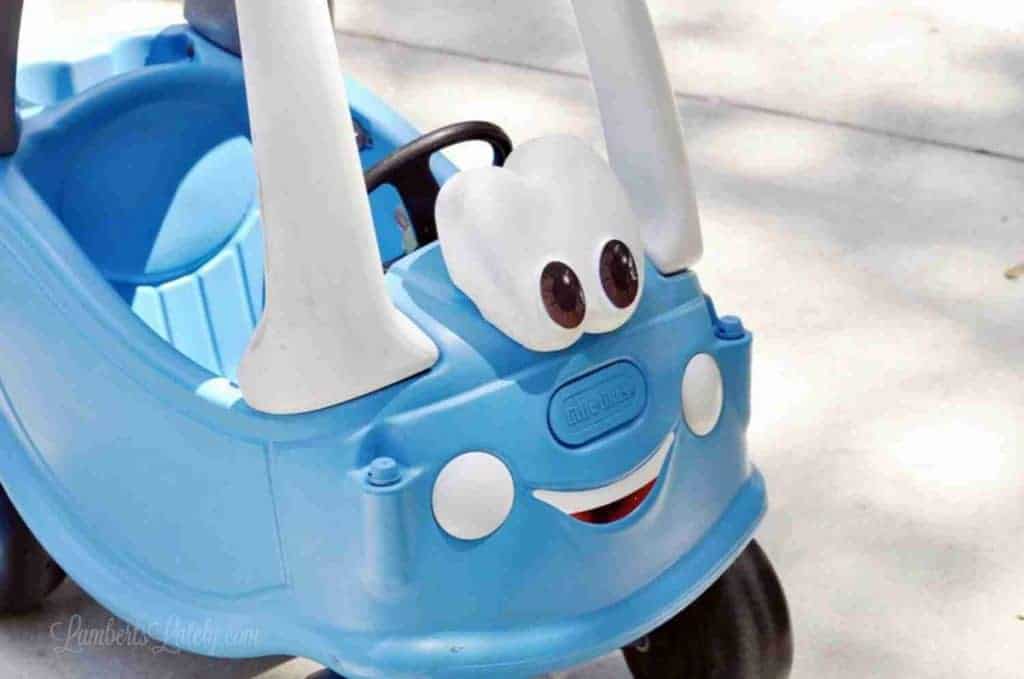
The Etsy shop even had brown eye decals to update the eyes for a certain brown-eyed little boy!
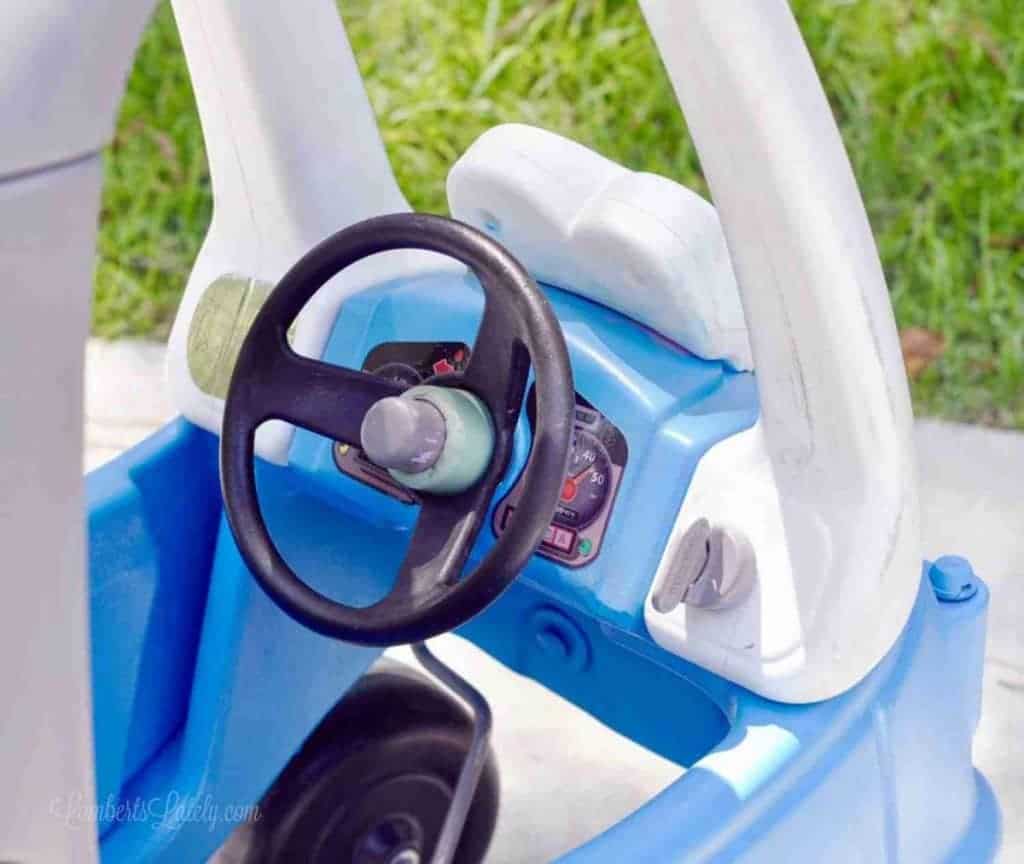
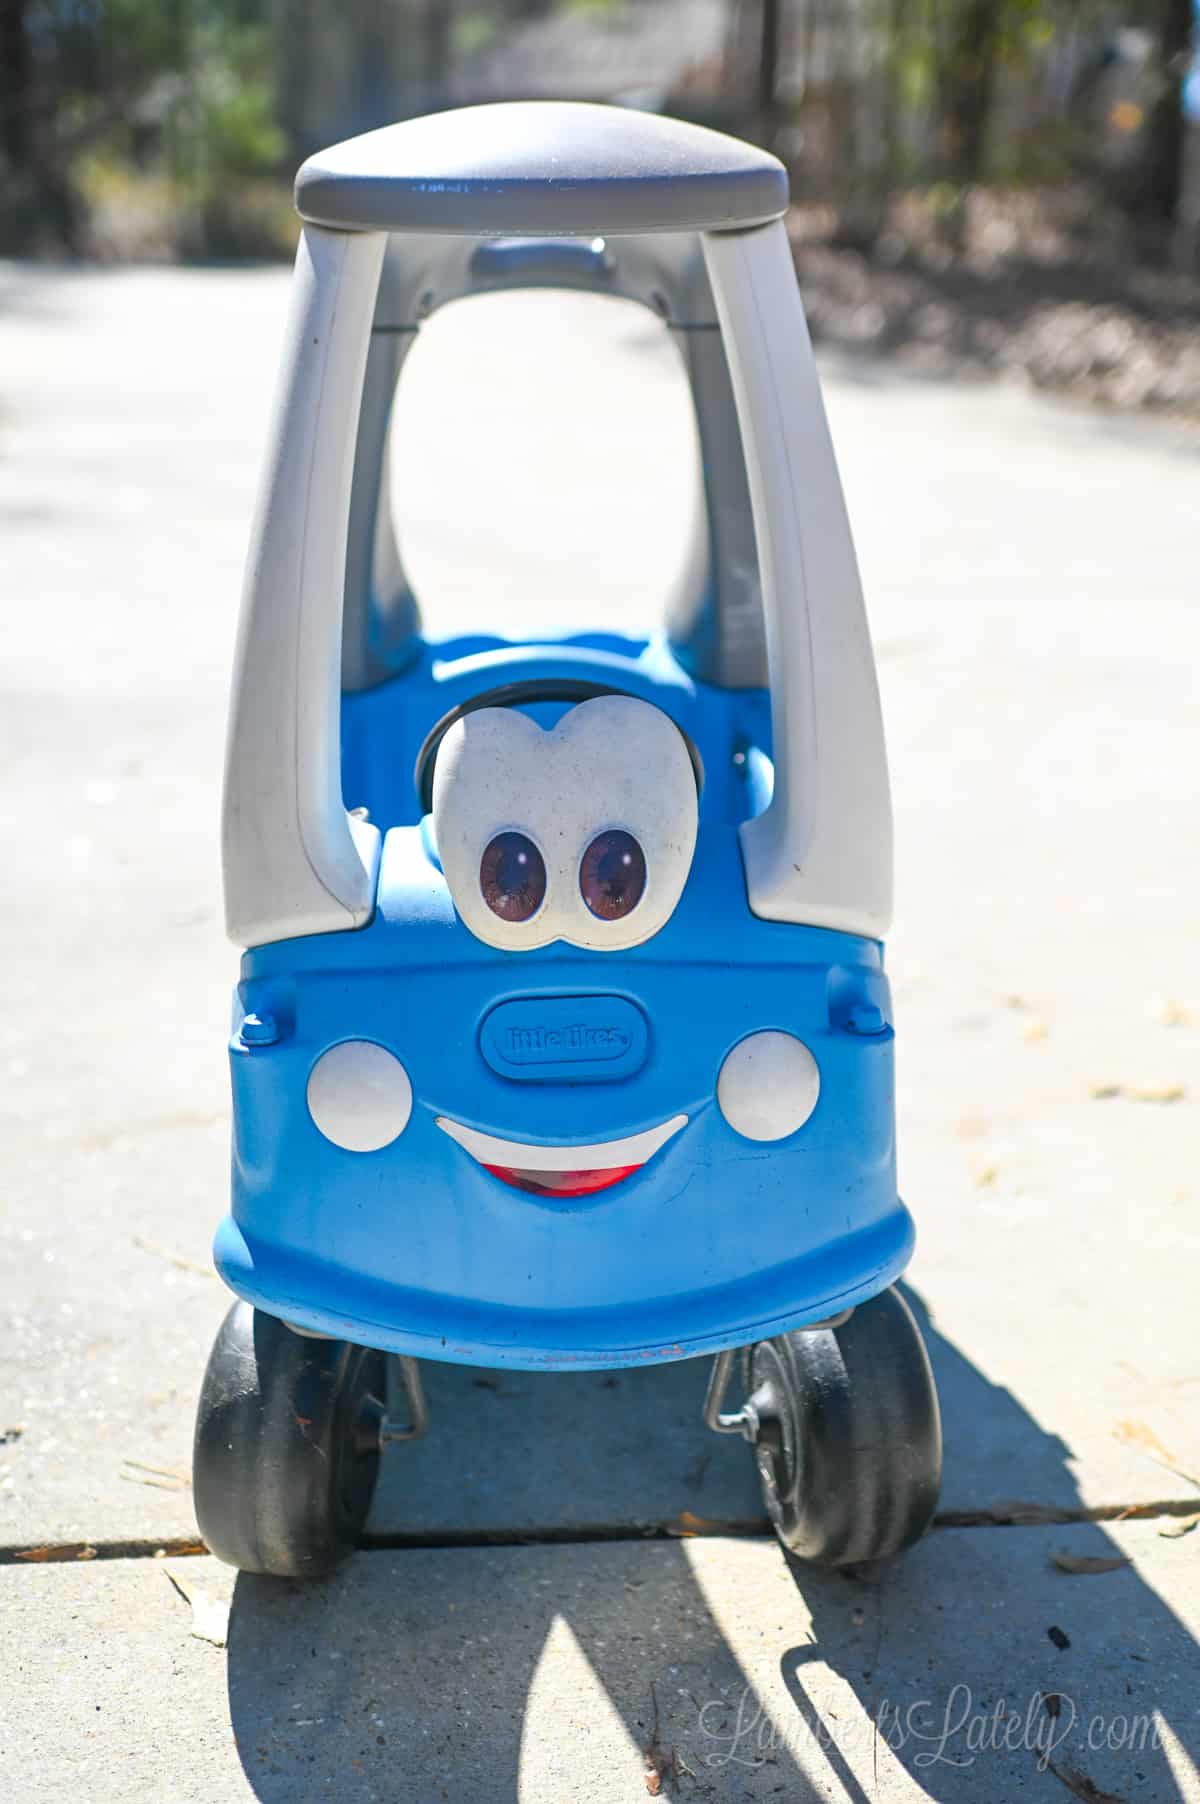
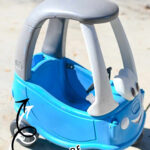
Cozy Coupe Makeover Results
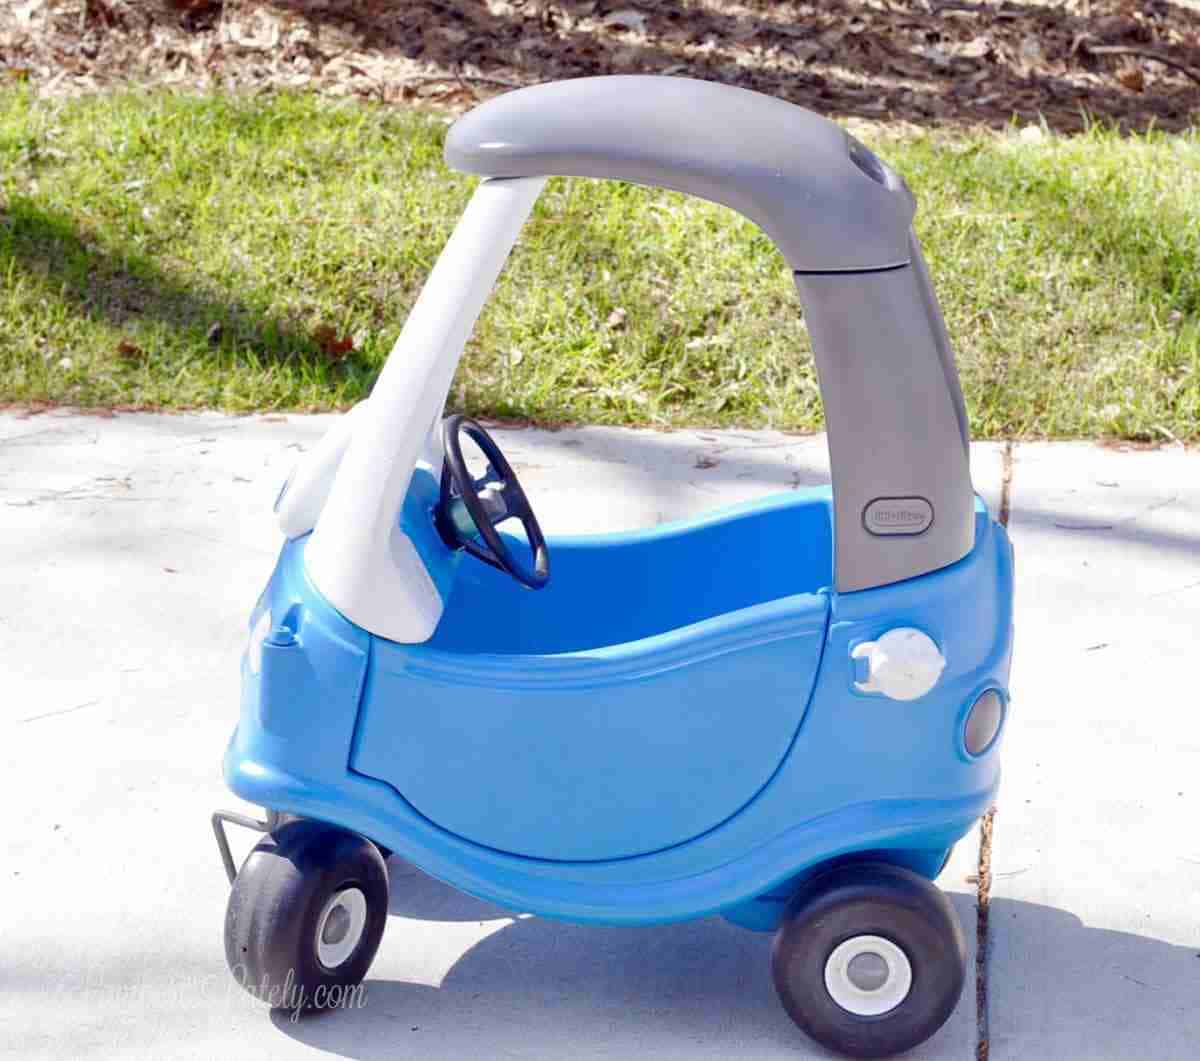
I am so incredibly pleased with how this turned out! With a little bit of spray paint, a few stickers, and some patience, you can give new life to an old toy.
8 Years Later: How It Held Up Over Time
I originally posted this way back in 2018! Let's see how it held up over time.
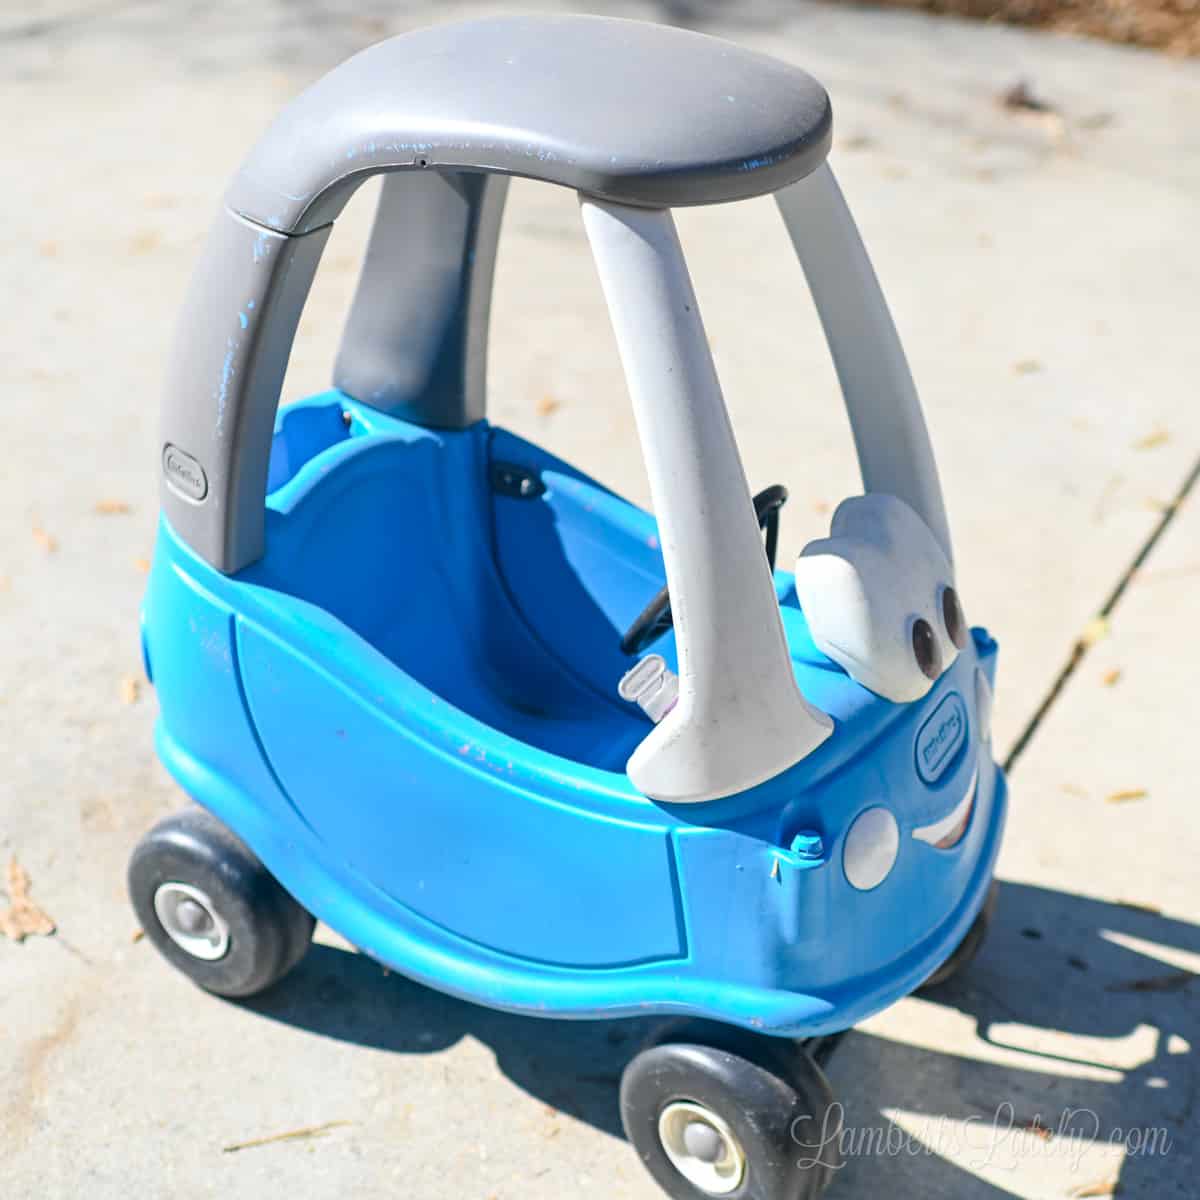
Even years later, the paint has held up well with normal outdoor use. There are minor chips in some of the high-wear areas (like the sides), but overall the finish remains strong for a DIY plastic spray paint project.
As I'm updating this post, we're actually cleaning out our garage this weekend. Even though our kids have outgrown this toy, it's one thing we still want to save. ❤️
It's near and dear to our hearts now!
Common Mistakes When Painting a Cozy Coupe
- Skipping cleaning and prep - dirt, oils, and residue prevent paint from properly adhering and can lead to peeling later.
- Painting without fully drying plastic - trapped moisture can cause bubbling, streaking, or weak adhesion.
- Using thick coats of spray paint - heavy layers lead to drips, runs, and uneven coverage. Light coats always perform better.
- Holding the spray can too close to the surface - this causes blotchy texture and uneven finish instead of smooth coverage.
- Forgetting to mask off details - overspray on wheels, lights, and trim is difficult to fix once dry.
- Painting in poor weather conditions - humidity or wind can interfere with proper curing and finish quality.
- Rushing reassembly before full cure time - paint may still be soft and can scratch or smudge easily.
- Skipping a test spray - different plastics can react differently even with plastic-safe paint.
- Not using touch-up tools (Q-tips, sponge brushes) - small mistakes are much easier to fix while paint is still workable.
- Using plastic drop cloths under wet pieces - spray paint can bond to plastic and lift your finish when removed.
Little Tikes Car Makeover FAQs


I hope this helps you with your Little Tikes cozy coupe makeover! 🚙 If you share your cute makeover pictures on social media, let me know by tagging me @lambertslately.

DIY Little Tikes Cozy Coupe Makeover
Affiliate links used in this recipe card.
Equipment
- Ratcheting screwdriver
- Pressure washer (or high-powered hose nozzle)
- Goo Gone
- Scrub sponges
- Rust-Oleum 2x Ultra Cover Spray Paint (Colors used: Granite and Oasis Blue)
- 1" masking or painter's tape
- Cloth drop cloth or cardboard
- Cheap sponge brushes
- Plastic grocery bags
- Paper towels
- Q-tips
- Acetone
- E6000 glue
- Custom replacement decals (available on Etsy)
Instructions
- Remove the four screws located near the cup holders and roof supports using a ratcheting screwdriver. Pop off the roof and remove the four support posts. Carefully pop off the headlight pieces with a flat-head screwdriver and remove the gas cap and door lock.
- Use a pressure washer or high-powered hose to blast out years of dirt from inside the posts and body. Use Goo Gone and scrub sponges to remove old decal residue so the new stickers will sit flat.
- Tape off the wheels and any small details you don't want to paint. If you want to paint the wheel caps, tape around them and give them a quick spray before moving to the main body.
- Apply two thin coats of spray paint (e.g., Granite) to the roof, taillights, removable floor, and rear roof supports. Hold the can about a foot away and use even strokes. Allow 30-60 minutes of drying time between coats.
- Bag off the wheels, eyes, and steering wheel using plastic shopping bags and masking tape. Flip the car over to paint the bottom first with two thin coats, then flip it back to finish the top.
- Once the main painting is dry, use a Q-tip soaked in acetone to remove any over-spray. Use a small sponge brush to fill in any missed gaps around the steering wheel or eyes.
- Once the paint is no longer tacky, put the posts and roof back in place and secure them with the original screws. If any headlight clips broke during disassembly, use E6000 glue to secure them back onto the body.
- Finish the look by applying custom replacement decals and personalized license plates. Allow the car to cure fully (ideally overnight) before letting children play with it.
Notes
- Drying vs. Curing: While the paint is dry to the touch in an hour, allow 24-48 hours for the paint to fully "cure" and bond to the plastic before letting children play with it.
- The "No-Plastic" Rule: Always use a cloth drop cloth or cardboard under your project. Since the spray paint is designed to bond to plastic, it will permanently fuse the car to a plastic drop cloth, ruining the finish.
- Water Trap Warning: When cleaning, ensure the hollow roof posts are completely drained and bone-dry. Any trapped moisture that leaks out during painting will cause bubbling and prevent proper adhesion.
- Weather Conditions: Avoid painting in high humidity or extreme heat. For a smooth, professional finish, a clear, calm day between 50°F and 90°F is ideal.
- Spray Technique: Use several thin, light coats rather than one heavy coat. This prevents "runs" and drips, especially on the vertical surfaces of the car's body.
- Durability Proof: This specific method and paint choice have been tested for 8 years of outdoor use with minimal chipping.
- Model Compatibility: This guide features the 30th Anniversary Cozy Coupe. If you are restoring a vintage or different model, the disassembly may vary slightly, but the cleaning and painting process remains identical.
- Safety Tip: Perform all spray painting in a well-ventilated outdoor area and consider using a mask for protection against fumes.

Leslie Lambert is a lifestyle writer and content creator specializing in home organization, family recipes, and intentional living. With 17 years of experience in blogging and digital storytelling, she helps busy women create calm, purposeful homes they love.
I am sooo glad to see this. We have that exact car but our girls have outgrown it and we 2 little boys coming up now and I would love to paint the faded cozy coop to something cool for them.
Cute! A nice way to get the kids interested in something that the "shiny" has worn off. Thanks for sharing!
Nice job! I love when old things are made new again. #trafficjam
You are really a DIY guru!
That's one of the best upcycling jobs I've seen - good on you!
Bet your Jackson is thrilled with the results, too!
Happy Pink Saturday!
That is such a cute car and you have done an amazing makeover. It seemed like a lot of work but with kids to appreciate it is a labor of love.
Kathleen
Blogger's Pit Stop
I followed your steps and used the same paint! I’m having trouble with my paint stealing off.. any issue with this?
Hmm, I'm not sure - I haven't had any issues! Was the surface of the car clean when you painted it?
Does the past come off from the door being opened and closed?
Yes, that's one of the only spots where I've noticed wear since we did this. It's small and really not noticeable.
How many bottles of spray paint did it take to cover? I'm making my son a school bus
I believe it was 2.
Did you put a sealer on it after you painted it?
I didn't, and it didn't really need it. The paint has help up great!
Thank you so much for these instructions! Can’t wait to update out 13 year old cozy coupe!!!
PS. Excellent photography Emmie!!!