
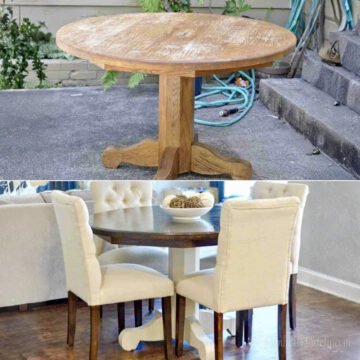
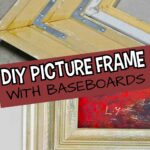
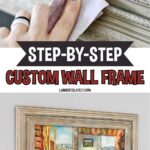
See how to make a DIY picture frame with baseboard molding - perfect for canvas art. Follow these simple steps to create an ornate, gold antiqued frame at home.
Affiliate links used in this post. Read more about my link usage here.
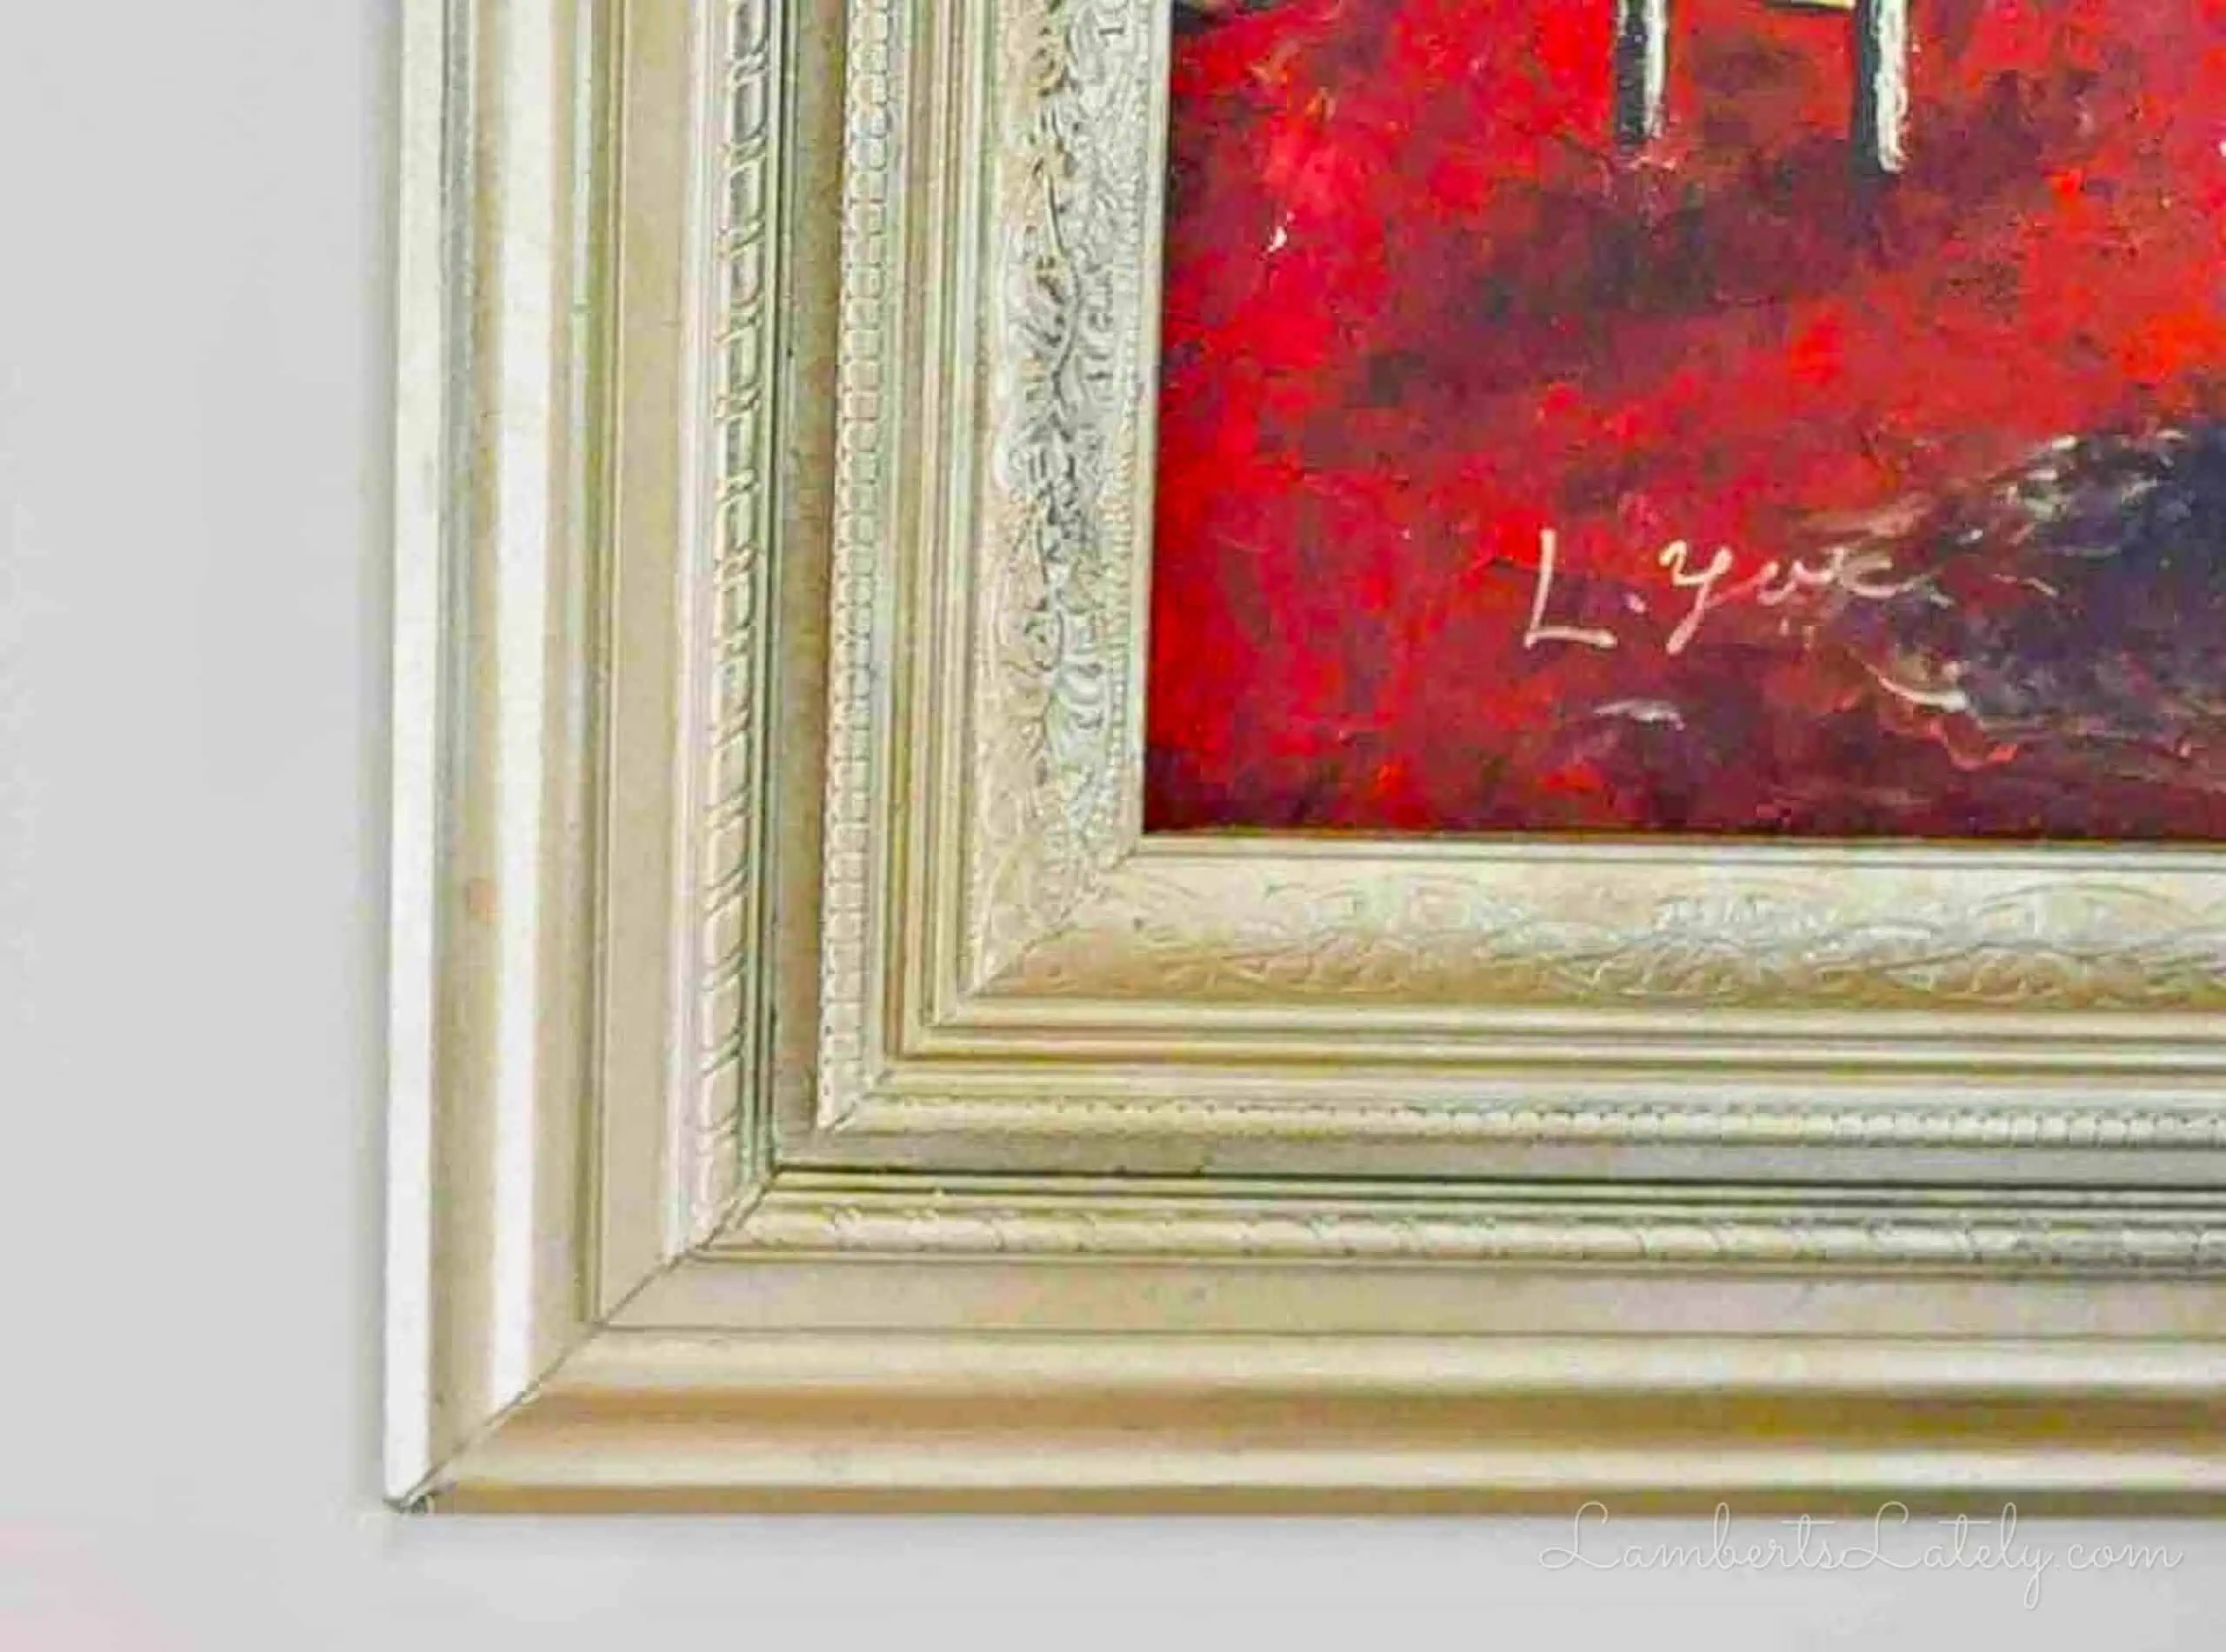
If you've read my blog for a while, you've probably seen this painting hanging in our bedroom.

This canvas is older than both of my children and has now hung in four different homes.
Years ago, we bought raw picture frame molding to frame it, with the best intentions of making a frame. We attempted to cut it and it was an absolute disaster. I ended up throwing away $50 worth of molding in that failed project.

So the frame project went on the back burner for years.
A few years ago, we tried again. By changing up the building materials and using simpler cuts, we successfully tackled this DIY picture frame project in one day!
Why should I make my own frame?
One word - money!
I priced out custom wooden frames for a canvas this big, and it was easily going to cost us $200-300. I just couldn't bring myself to pay that much.
All of the supplies for this DIY picture frame cost around $100 (less if your frame is smaller) and, as long as you get your measurements right, this isn't a tough one to complete. It takes just a few hours of actual work!
Project Supplies
Just FYI, I'll be using the dimensions of my particular painting to tell you how to construct the frame. My canvas is square and measures 30-3/16" on both sides.
For Frame Structure
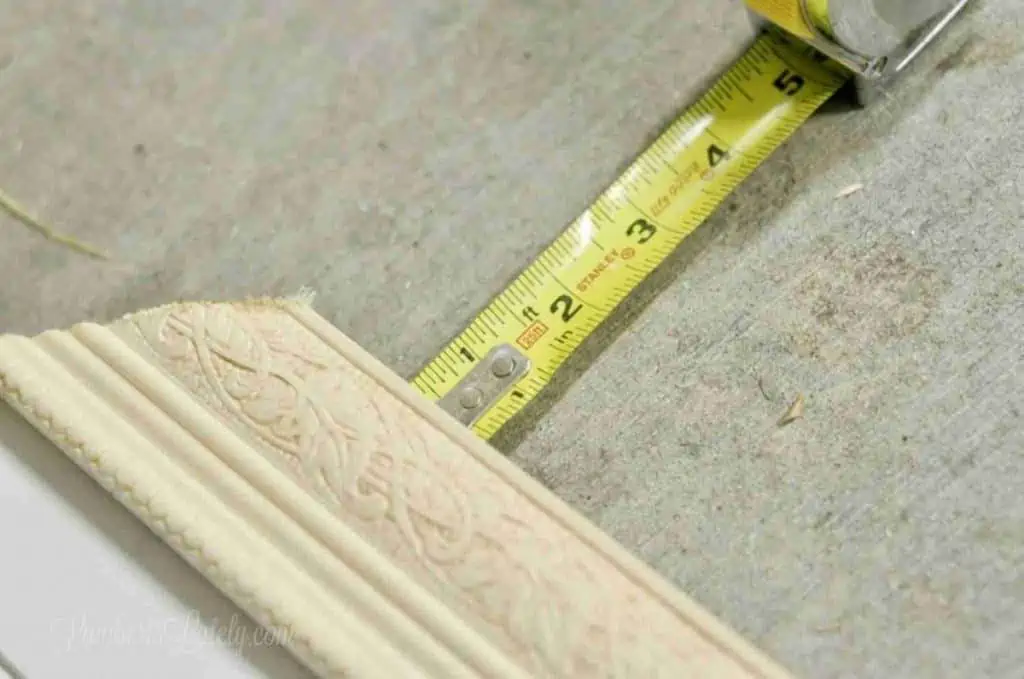
- 5 ¼" thick baseboard molding (I chose the ½" wide option because it was a good bit cheaper.) You'll need to measure your picture/canvas, add 16" (to account for the angles in the cuts), and multiply that number times 4 to figure out how much baseboard you need. So, my canvas was 30 3/16" - I rounded up to the nearest quarter inch and added an additional quarter inch (30.5"), added 16" (46.5"), and multiplied times four (186") to figure out how much was needed. So, two 8' pieces worked for me...needs will vary though!
- 2-3" decorative trim molding - You'll need roughly the same length of this as baseboard molding.
- 1" (ish) decorative trim molding - Again, about the same length as the baseboard molding. (Note: all of my moldings were bought locally at Lowe's...check your store for availability.)
- Miter saw or miter box
- Measuring tape
- Wood glue
- Inexpensive sponge brush
- Finer grit (180) sandpaper (or orbital sander)
- Wood clamps
- 8 corner braces and screws to attach
- Caulk
- Picture hanging kit
For Optional Gold Antiquing
1: Measure, measure, & measure again.

Make sure (and double-check) that you have the measurement correct on the item you're framing. Once you have that measurement, round up to the nearest quarter inch and add a quarter inch. You'll want a tiny bit of wiggle room, especially when everything is attached at the end.
Using my canvas, which measures a square 30-3/16", I would round up to the nearest quarter inch (30.25") and add a quarter inch (30.5") for each side.
2: Cut the baseboard layer.
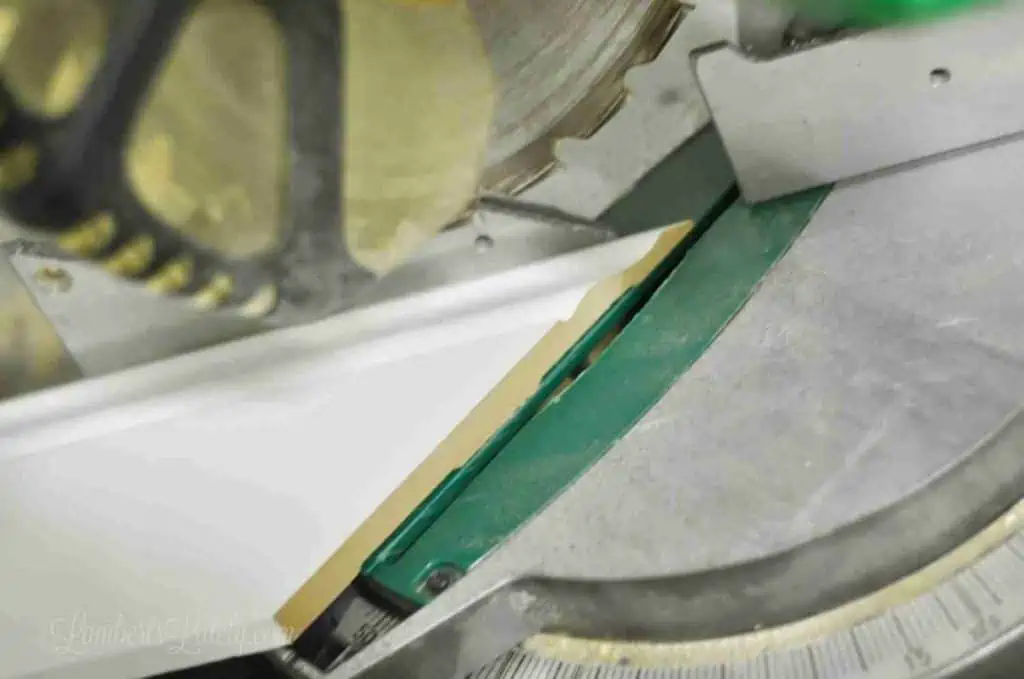
Once you have your rounded-up canvas measurement, cut the first baseboard piece on a miter saw or miter box with an inward-facing 45-degree angle on each side. The inside length of your baseboard should equal the rounded-up measurement of your canvas. So, let's take my measurement: the baseboard's inside (top) is 30.5", with the outside (bottom) being a good bit longer because of the angle.
You can cut these baseboard layer pieces two at a time, but I'd strongly recommend only doing the top/bottom at once or the sides at once. It's super important that the top and bottom match perfectly and the sides match perfectly!
Alternate Route
Instead of cutting each layer of the frame separately, you could go on and glue all of your separate wood molding layers together and cut everything at once. I chose not to do that because...
- I didn't want to waste a ton of expensive decorative molding if I made a wrong cut
- I wanted to conserve as much of that decorative molding as possible, and
- I didn't want to accidentally split the extra molding while cutting.
You can really do it either way, but I chose to cut all the pieces separately and glue them afterward.
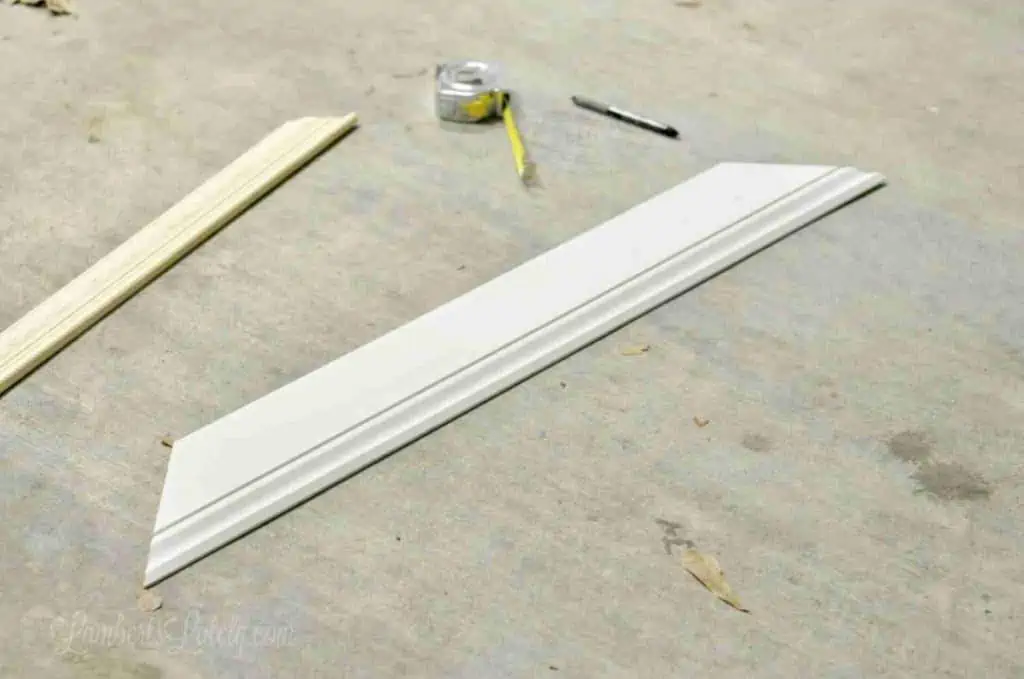
3: Add a frame ledge with decorative molding.
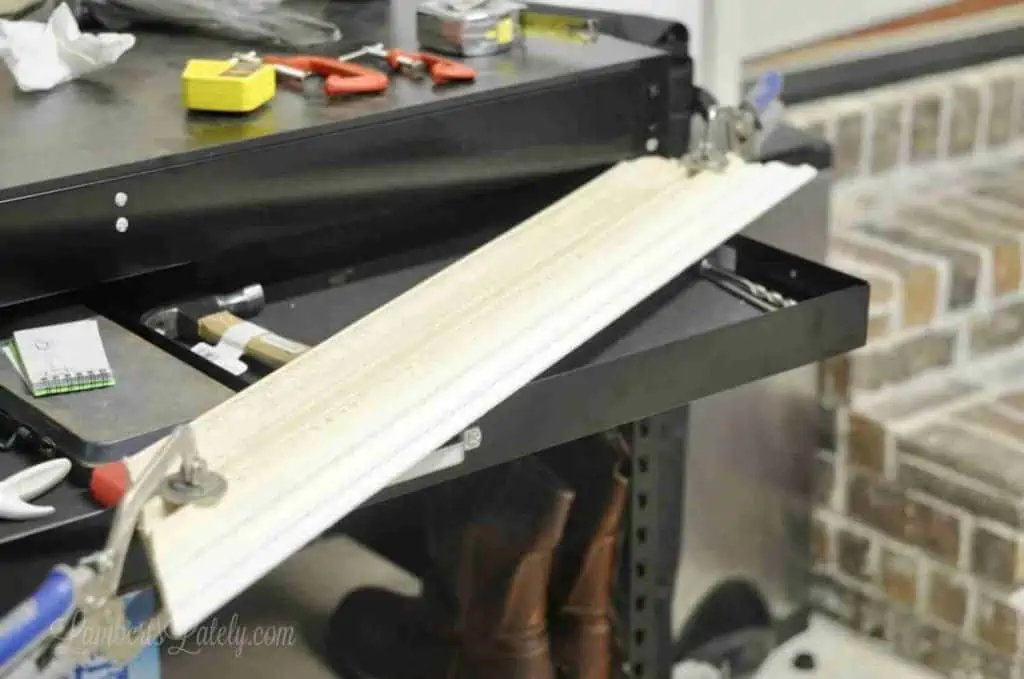
On the 2-3" thick piece of decorative molding, cut an inward-facing 45-degree angle on one side to match the baseboard you just cut.
Line this up on one side of your cut piece of baseboard (as pictured above), making the decorative piece overhang the top of the baseboard by .25-.5". This will give your frame a lip on the inside to hide any gap between the canvas and the width of the frame.
It's very important that this top overhang measures evenly all the way across. Use a measuring tape to go back and forth a few times before marking off your cut on the other side of the decorative trim.
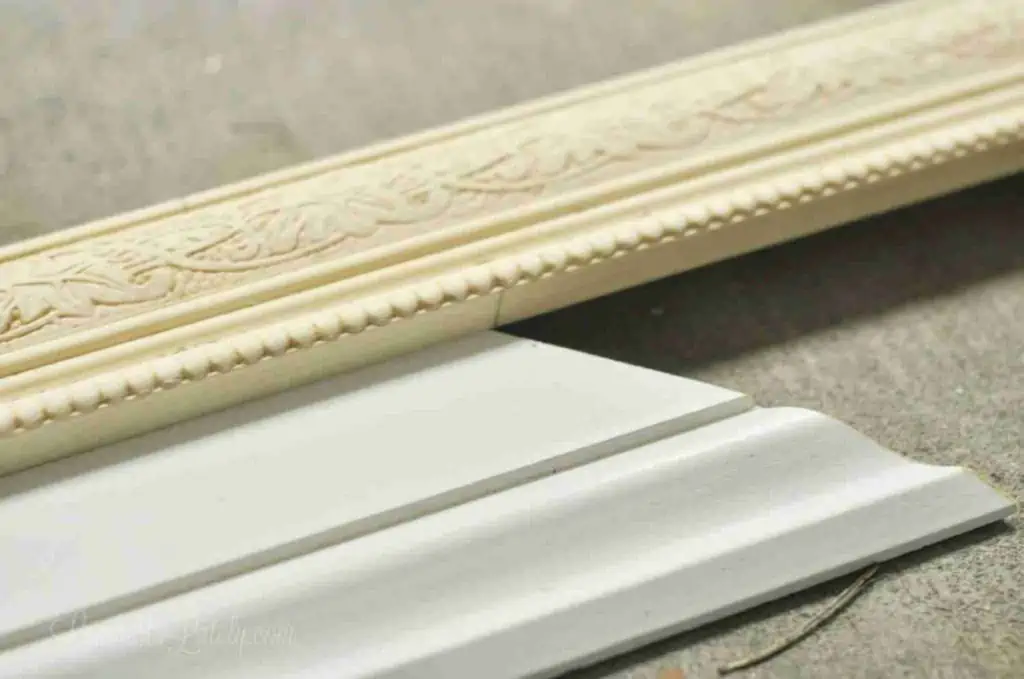
Once you've ensured that the top overhang is even all the way across, use a pencil to mark off where you need to cut the other 45-degree angle on the other side (on both the top and bottom of the decorative trim).
Make the 45-degree cut at that line and temporarily put the decorative piece back in place on your baseboard to ensure it fits correctly.
Related: Check out my tutorials on no-sew curtain hemming and my DIY Built-In Refrigerator!
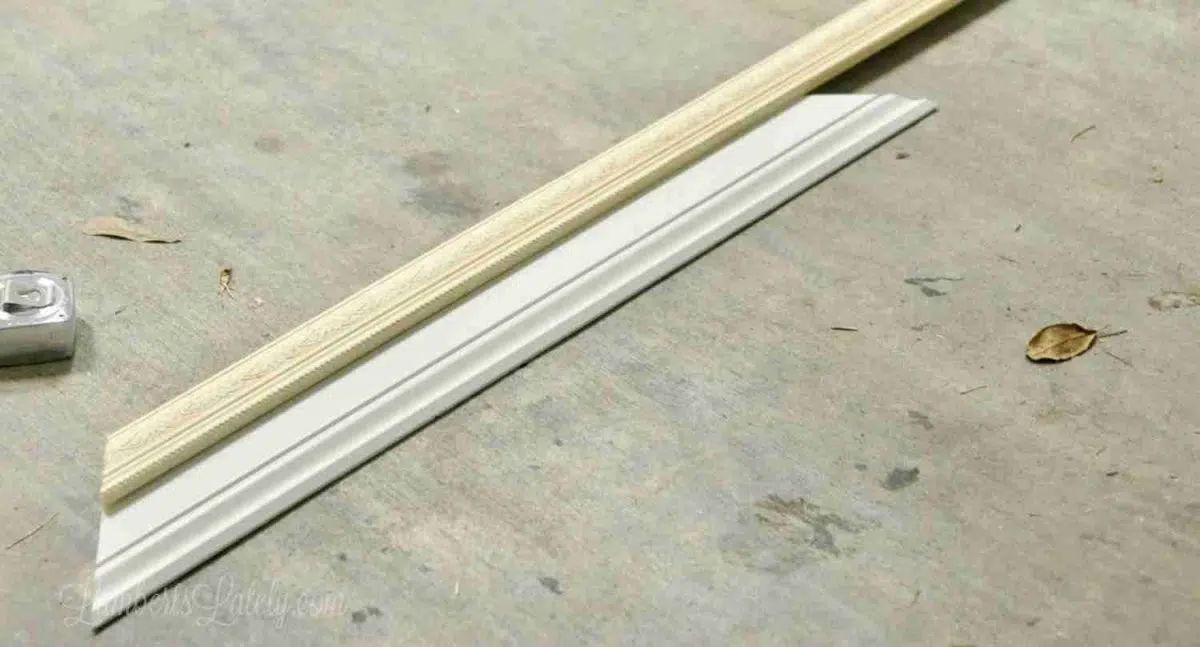
4: Add the smaller decorative molding.
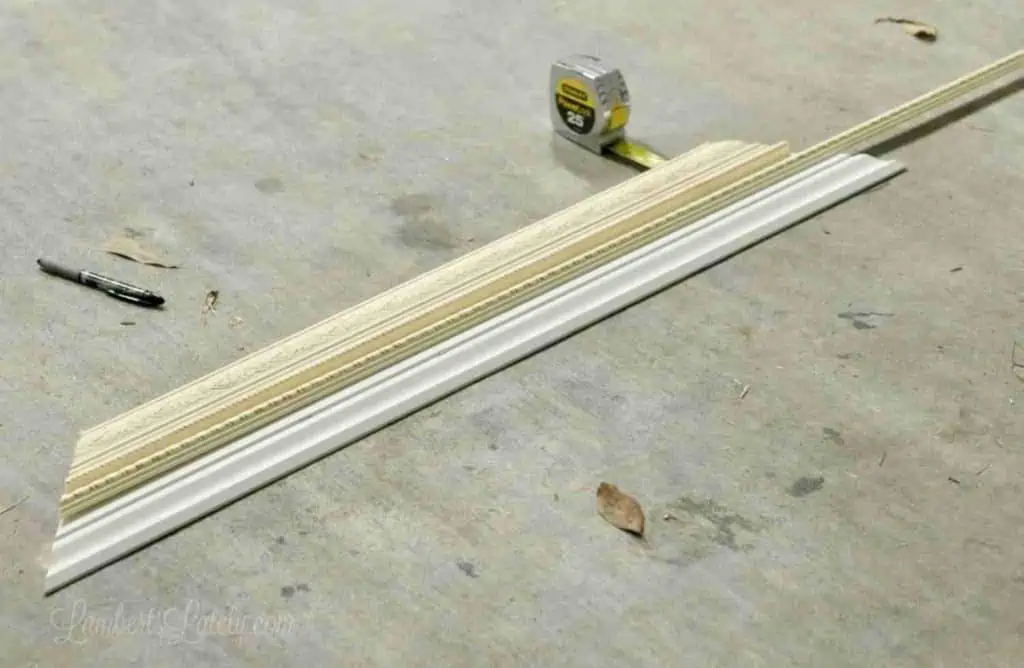
You will follow a similar process as the previous step for the small (1") piece of decorative wood molding.
Cut an inward-facing 45-degree angle on one side to match the baseboard, line it up on one side of your cut baseboard (below the 2-3" decorative trim from the previous step), and make sure it's straight all across by measuring in several places.
It doesn't necessarily matter where you choose to put this smaller decorative piece on the baseboard. I made a one-inch gap between the two decorative pieces, but you can do what you think looks best. The most important thing is that it's straight.
Once you've ensured that it's straight all the way across, mark and cut the 45-degree angle on the other side, just as you did in the previous step with the 2-3" piece of decorative trim.
5: Glue the 2 decorative pieces in place with wood glue.
The hard part is over! Once those pesky cuts are made, you're just assembling and painting from here on out.
I thought we were going to have to nail the decorative molding onto the baseboard, but simple wood glue ended up being enough to hold the pieces in place.
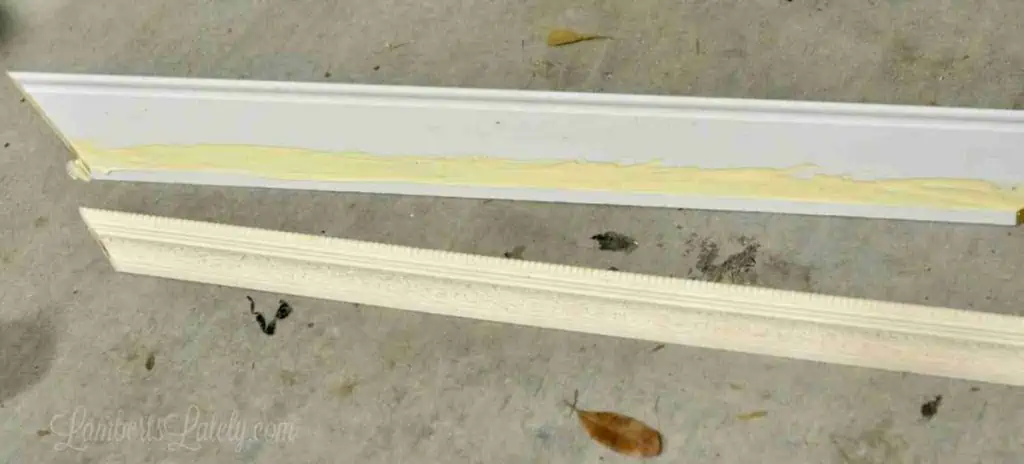
Brush on a decent amount of wood glue with a sponge brush and place both pieces of decorative molding in place on the cut piece of baseboard.
If you've cut your angles correctly, the top frame lip should still be even all the way across and the 1" piece should still be straight when you line up the angles on the baseboard. It doesn't hurt to recheck this while you're gluing.
Once everything is in place and you're sure your measurements are correct, clamp down the decorative pieces and allow the glue to dry overnight.
6: Repeat the process over, and over, and over.
Repeat this three more times for the other sides of the frame. If your picture length and width are different, mark the back of your pieces with either "top/bottom" or "sides" so you can tell them apart when attaching.
7: Sand down and even out the ends.
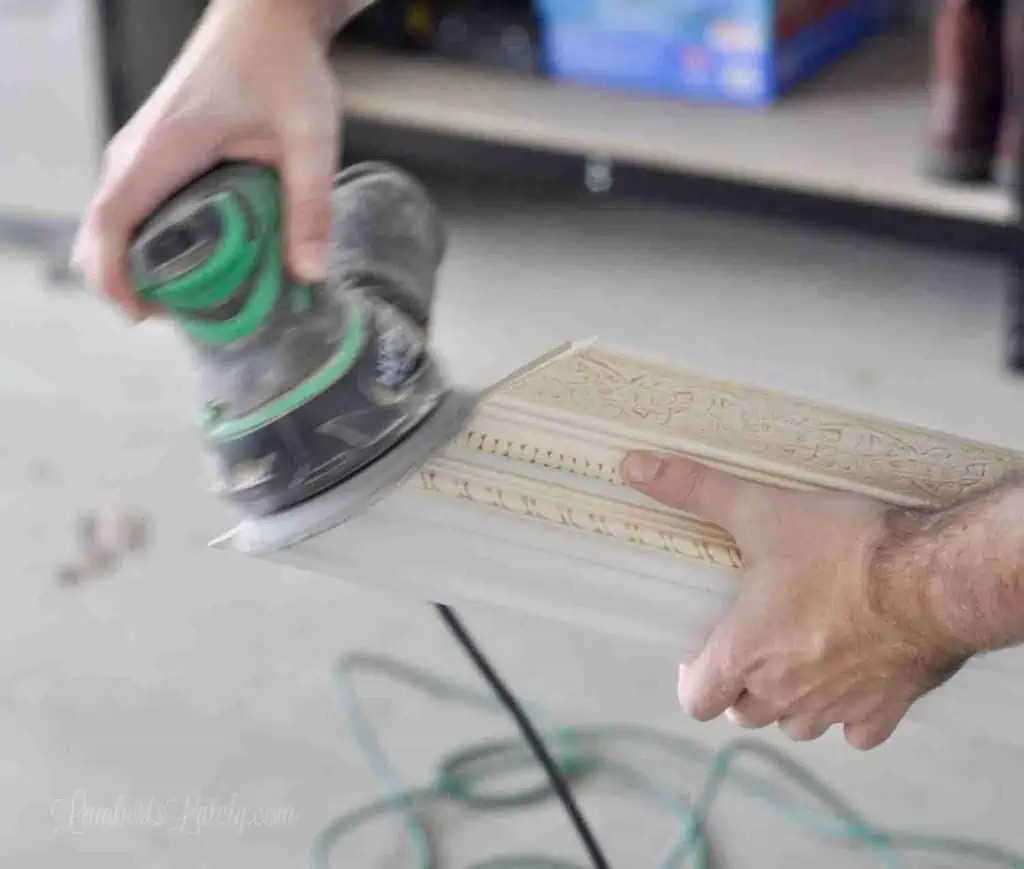
After everything is dry and secured together, you'll probably have very minor differences in the baseboard and decorative molding lengths. Just sand down the ends to make sure everything is even. (Careful not to take any length off, though!)
8: Lay out the frame & glue.
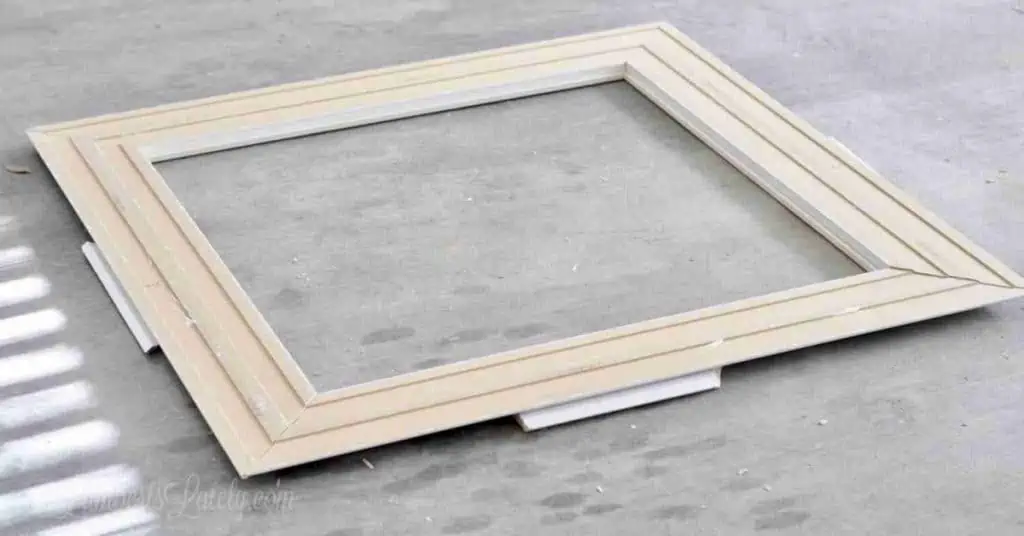
Once everything is dry and sanded, lay out the frame upside down.
The baseboards have a slight angle on the front, so I used scrap wood under each side to make the back frame corners line up.
Carefully lift the corners of the pieces of wood and glue each angle together with wood glue. Ensure the edges line up as much as possible when gluing.
After gluing and allowing the corners to dry, I went back with wood glue and painted a little into any gaps in the corners when the frame was lying upside down.
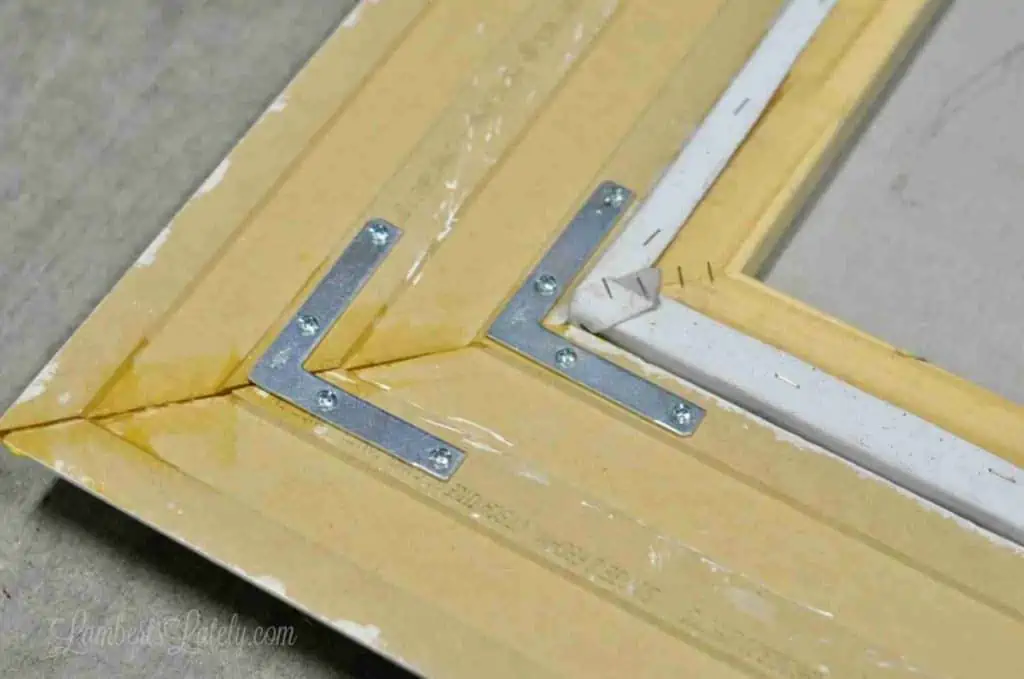
After this glue dries for a couple of hours, attach 2 corner braces at each corner. We drilled them into the raised part of the back of each baseboard to give us a little thicker wood to screw through.
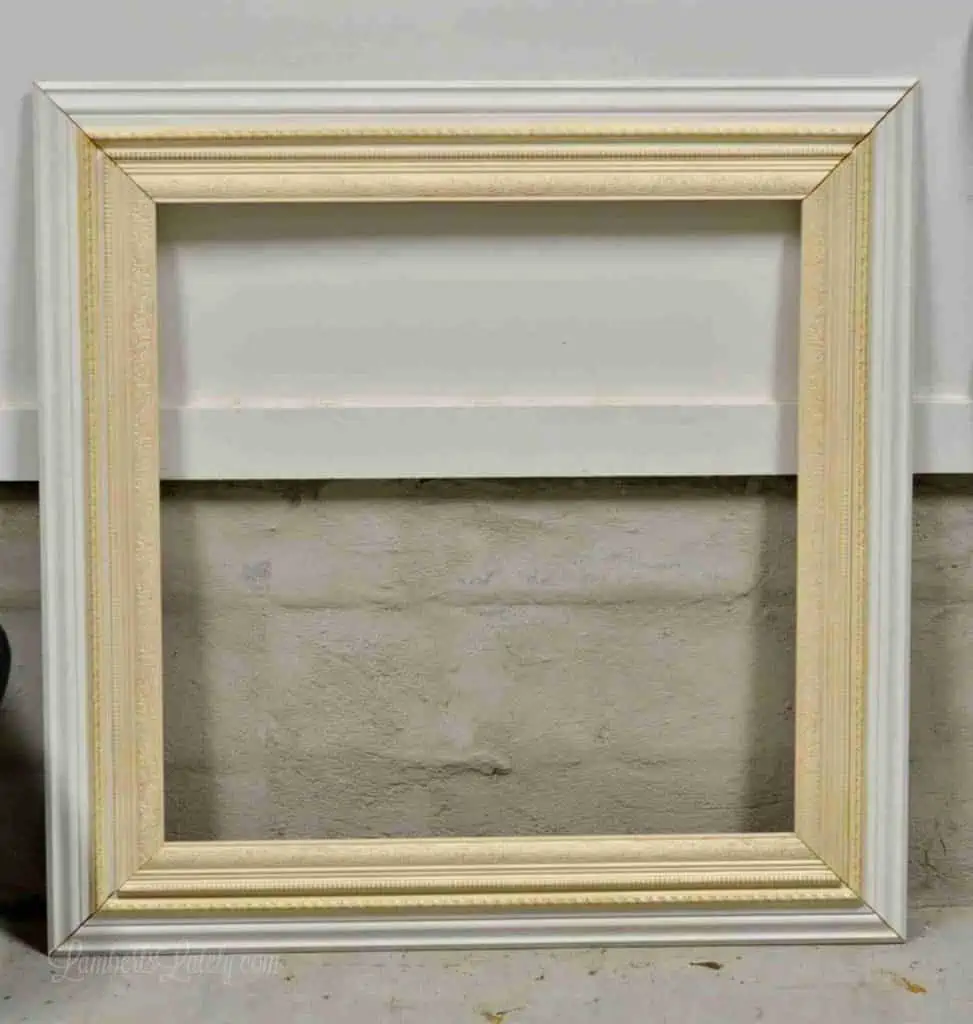
At this point, you have a frame! Now we just need to put the finishing touches on it.
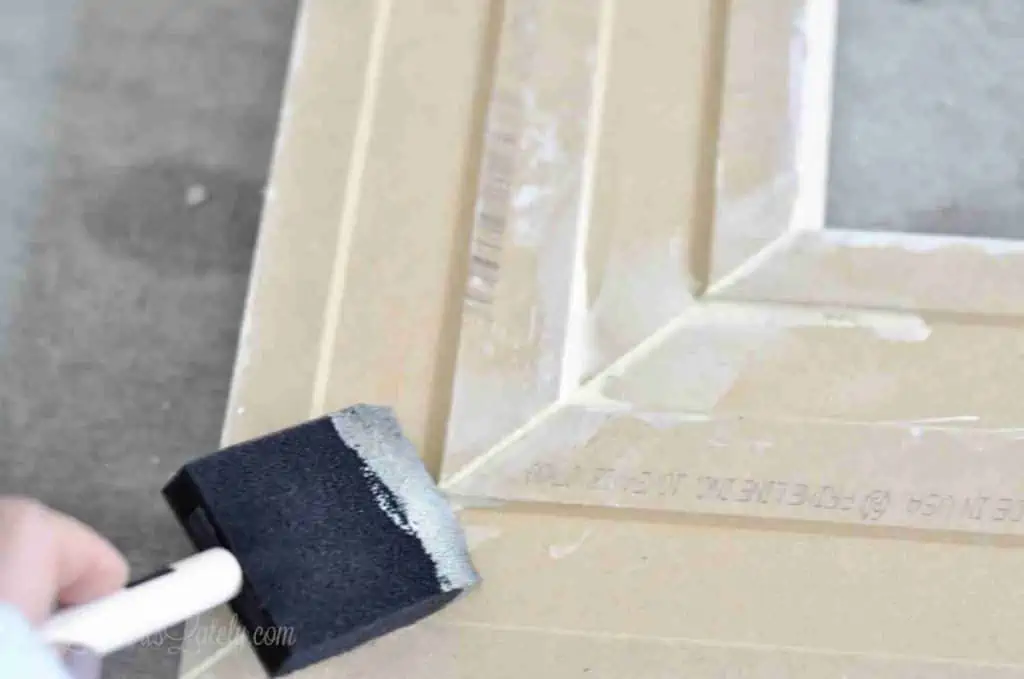
9: Caulk the corners.
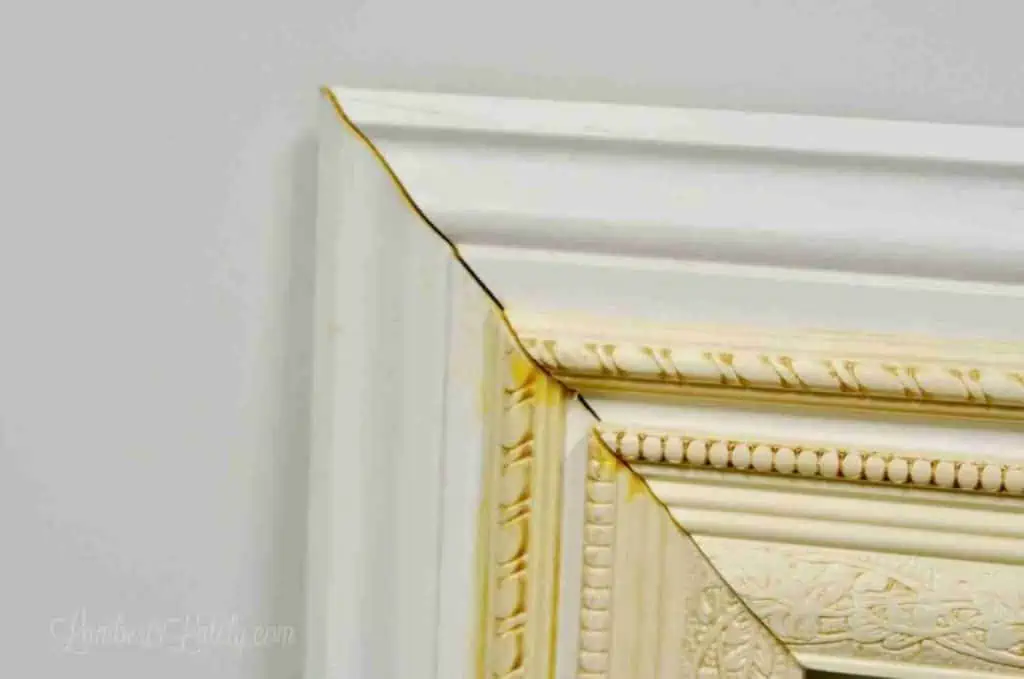
Unless you are 100% perfect in all of your measurements, the corners are going to be a little off. That's ok - easily fixable!

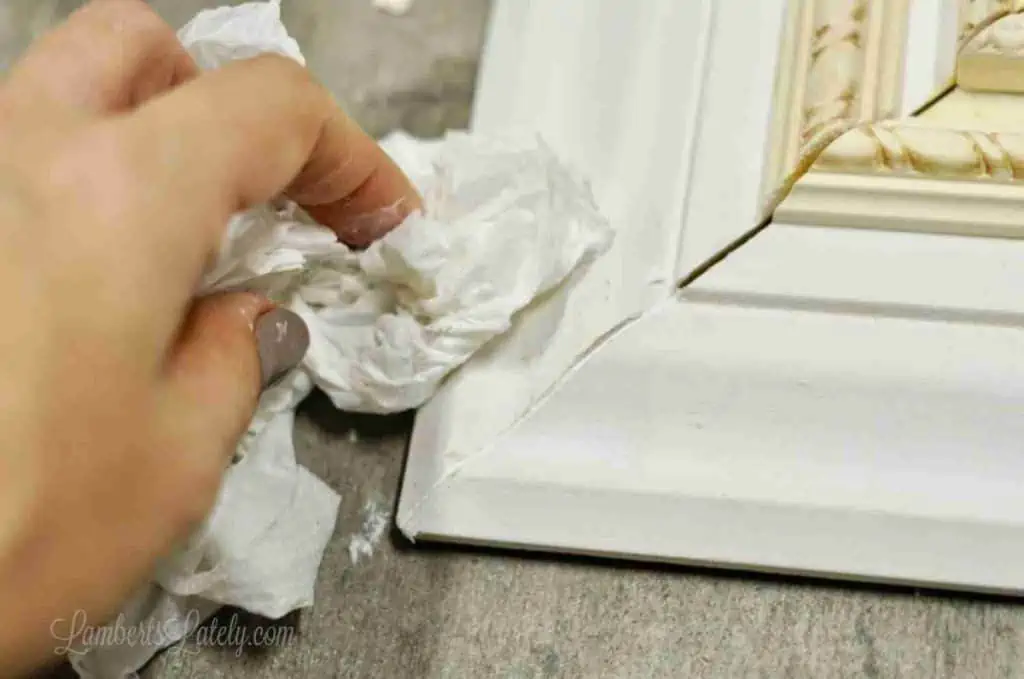
Use your finger to smear a little bit of caulk over any gaps, then wipe the excess caulk away with a wet paper towel. You might need to do this two times to really fill in the gaps.
10: Paint the picture frame.
This is probably the easiest (and the most fun) part of the whole thing!
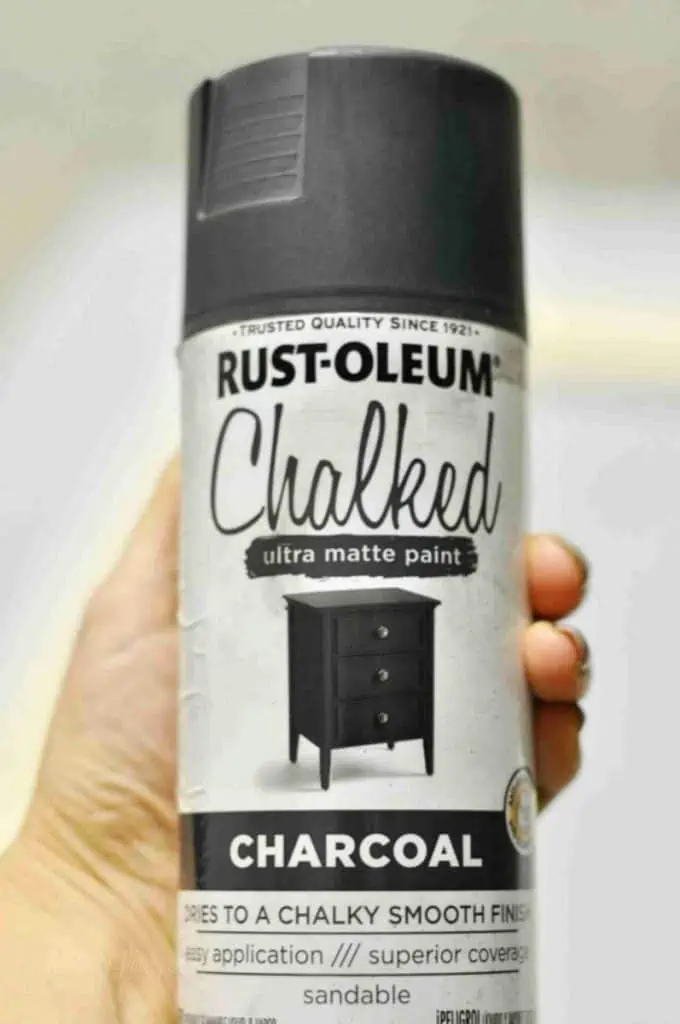
I wanted my picture frame to have an antiqued look to it, so I gave the frame a base coat of black matte paint. This is a paint I've used on other projects that goes on very well and doesn't need a base coat.
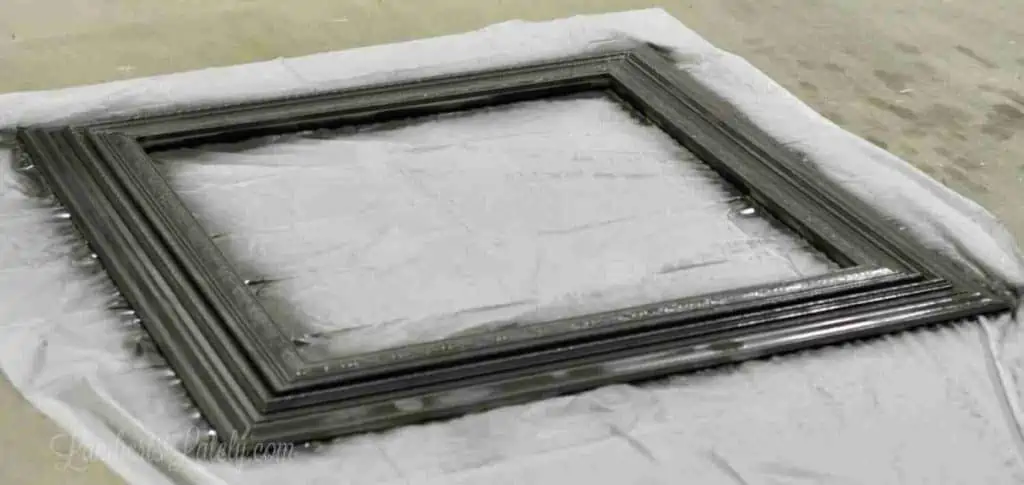
This base coat does not have to be perfect by any means. Allow the black paint to dry for about an hour before moving on.
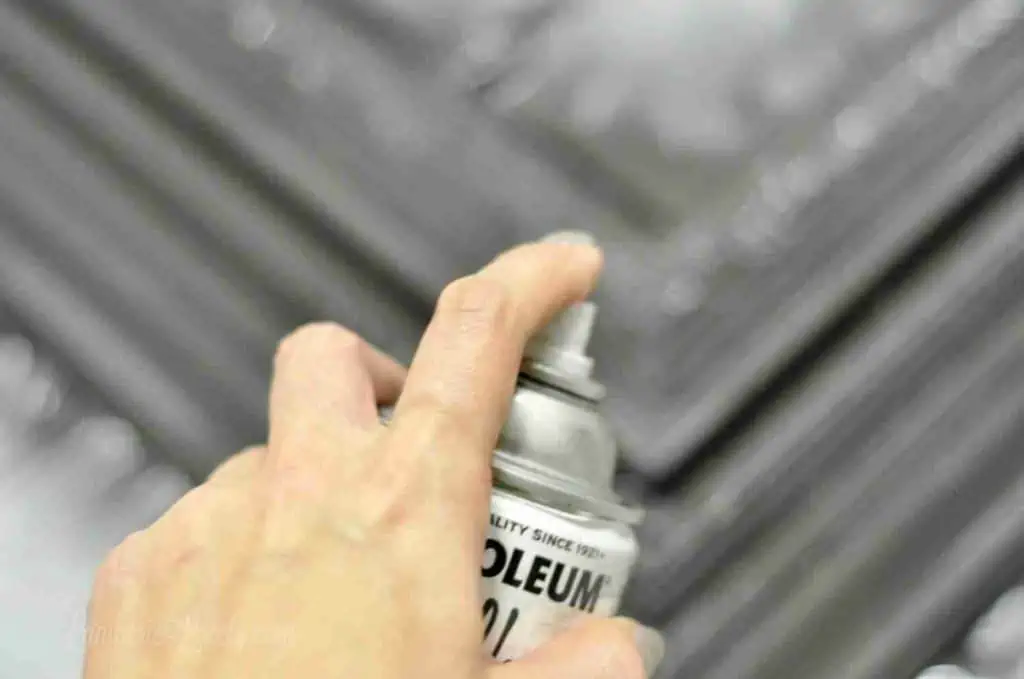
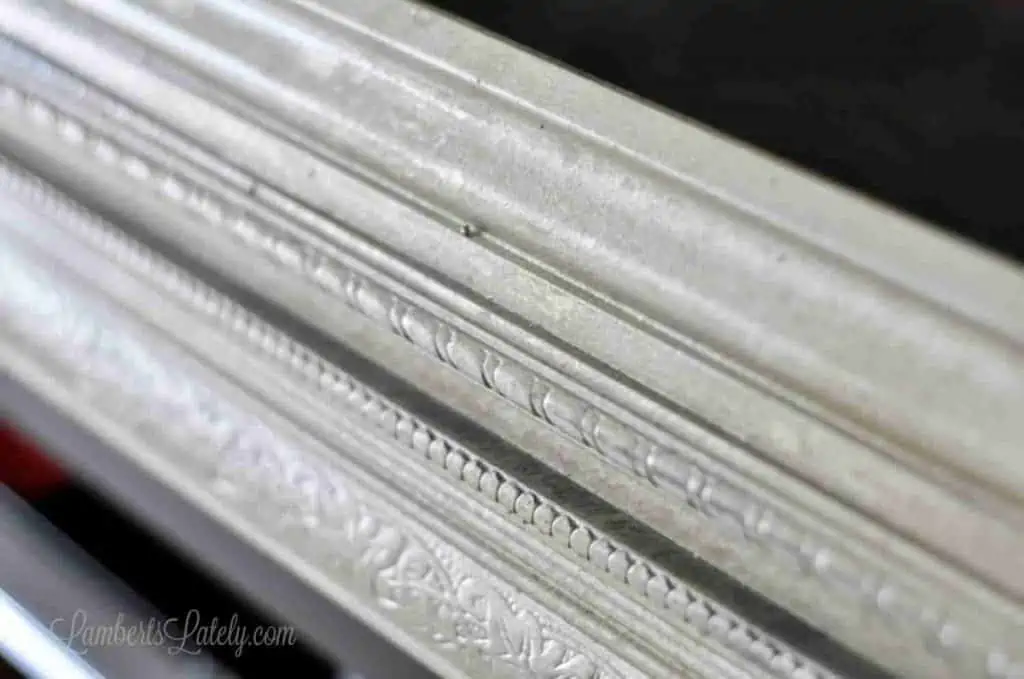
For my gold layer, I used this paint in the color Champagne Mist. It is a gorgeous color.
This bottle's spraying method gives it kind of a patina, aged look. It comes out in kind of a funky (almost splattered) texture, so don't expect it to go on evenly. I would only use this paint if you want your frame to look a little aged.
My frame required two coats of gold. One bottle was the perfect amount for this size frame.
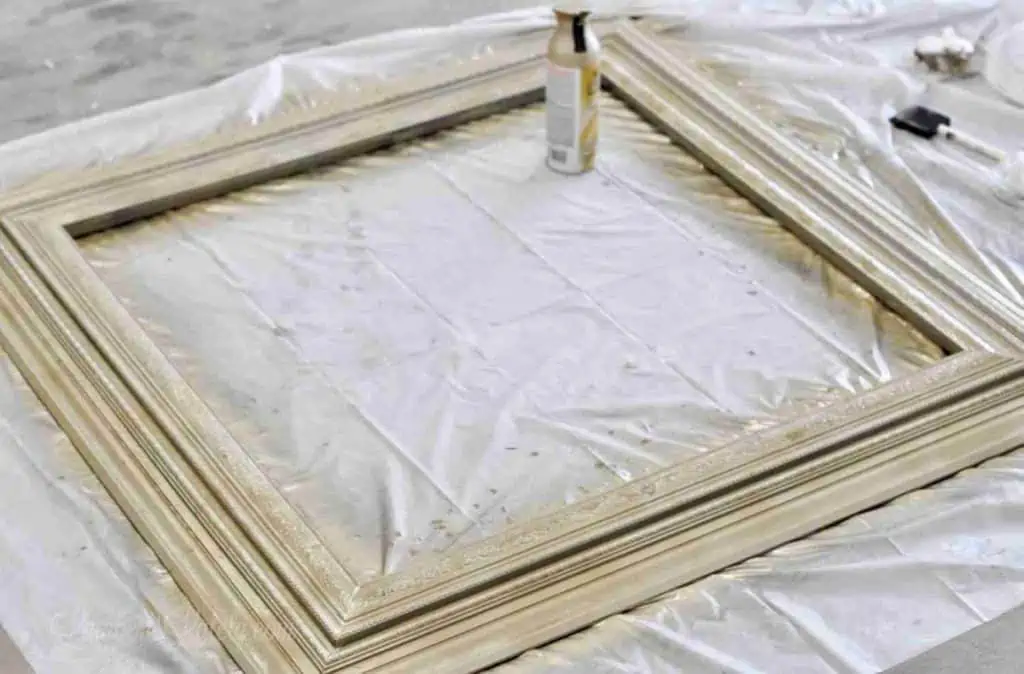
11: Antique the paint.
Once the paint is dry, you're already going to notice a little bit of aging. I purposefully didn't get the gold paint in every little bit of the gaps. I wanted it to look a little old and antiqued, and having a little bit of black showing through in those gaps did just that!
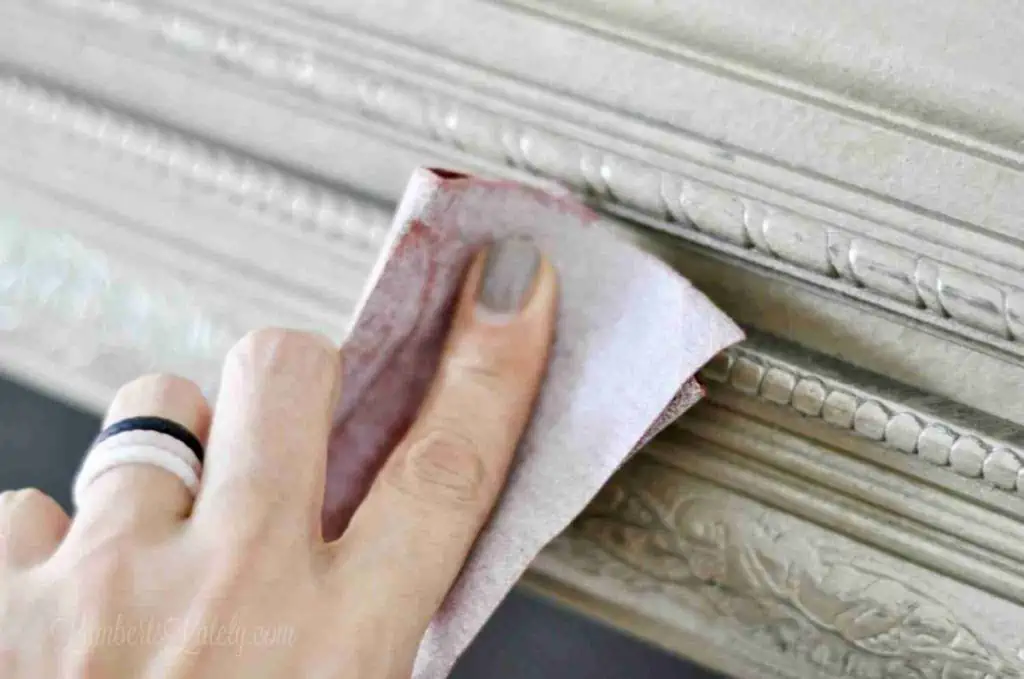
Make sure the paint is completely dry, then go over the raised edges (very lightly) with a finer grit sandpaper. You'll notice the black comes through very easily. Don't be too aggressive!
Going over very lightly with the sandpaper gave it just a little bit more wear and really brought out the black undertones.
12: Attach hanging materials.
I used a wire picture hanging kit to hang this frame. This allowed the frame to sit off of the wall a little bit, which was needed since our canvas was just a little bit thicker than the finished frame.
(Important: double-check your kit to make sure it supports the weight of the frame.)
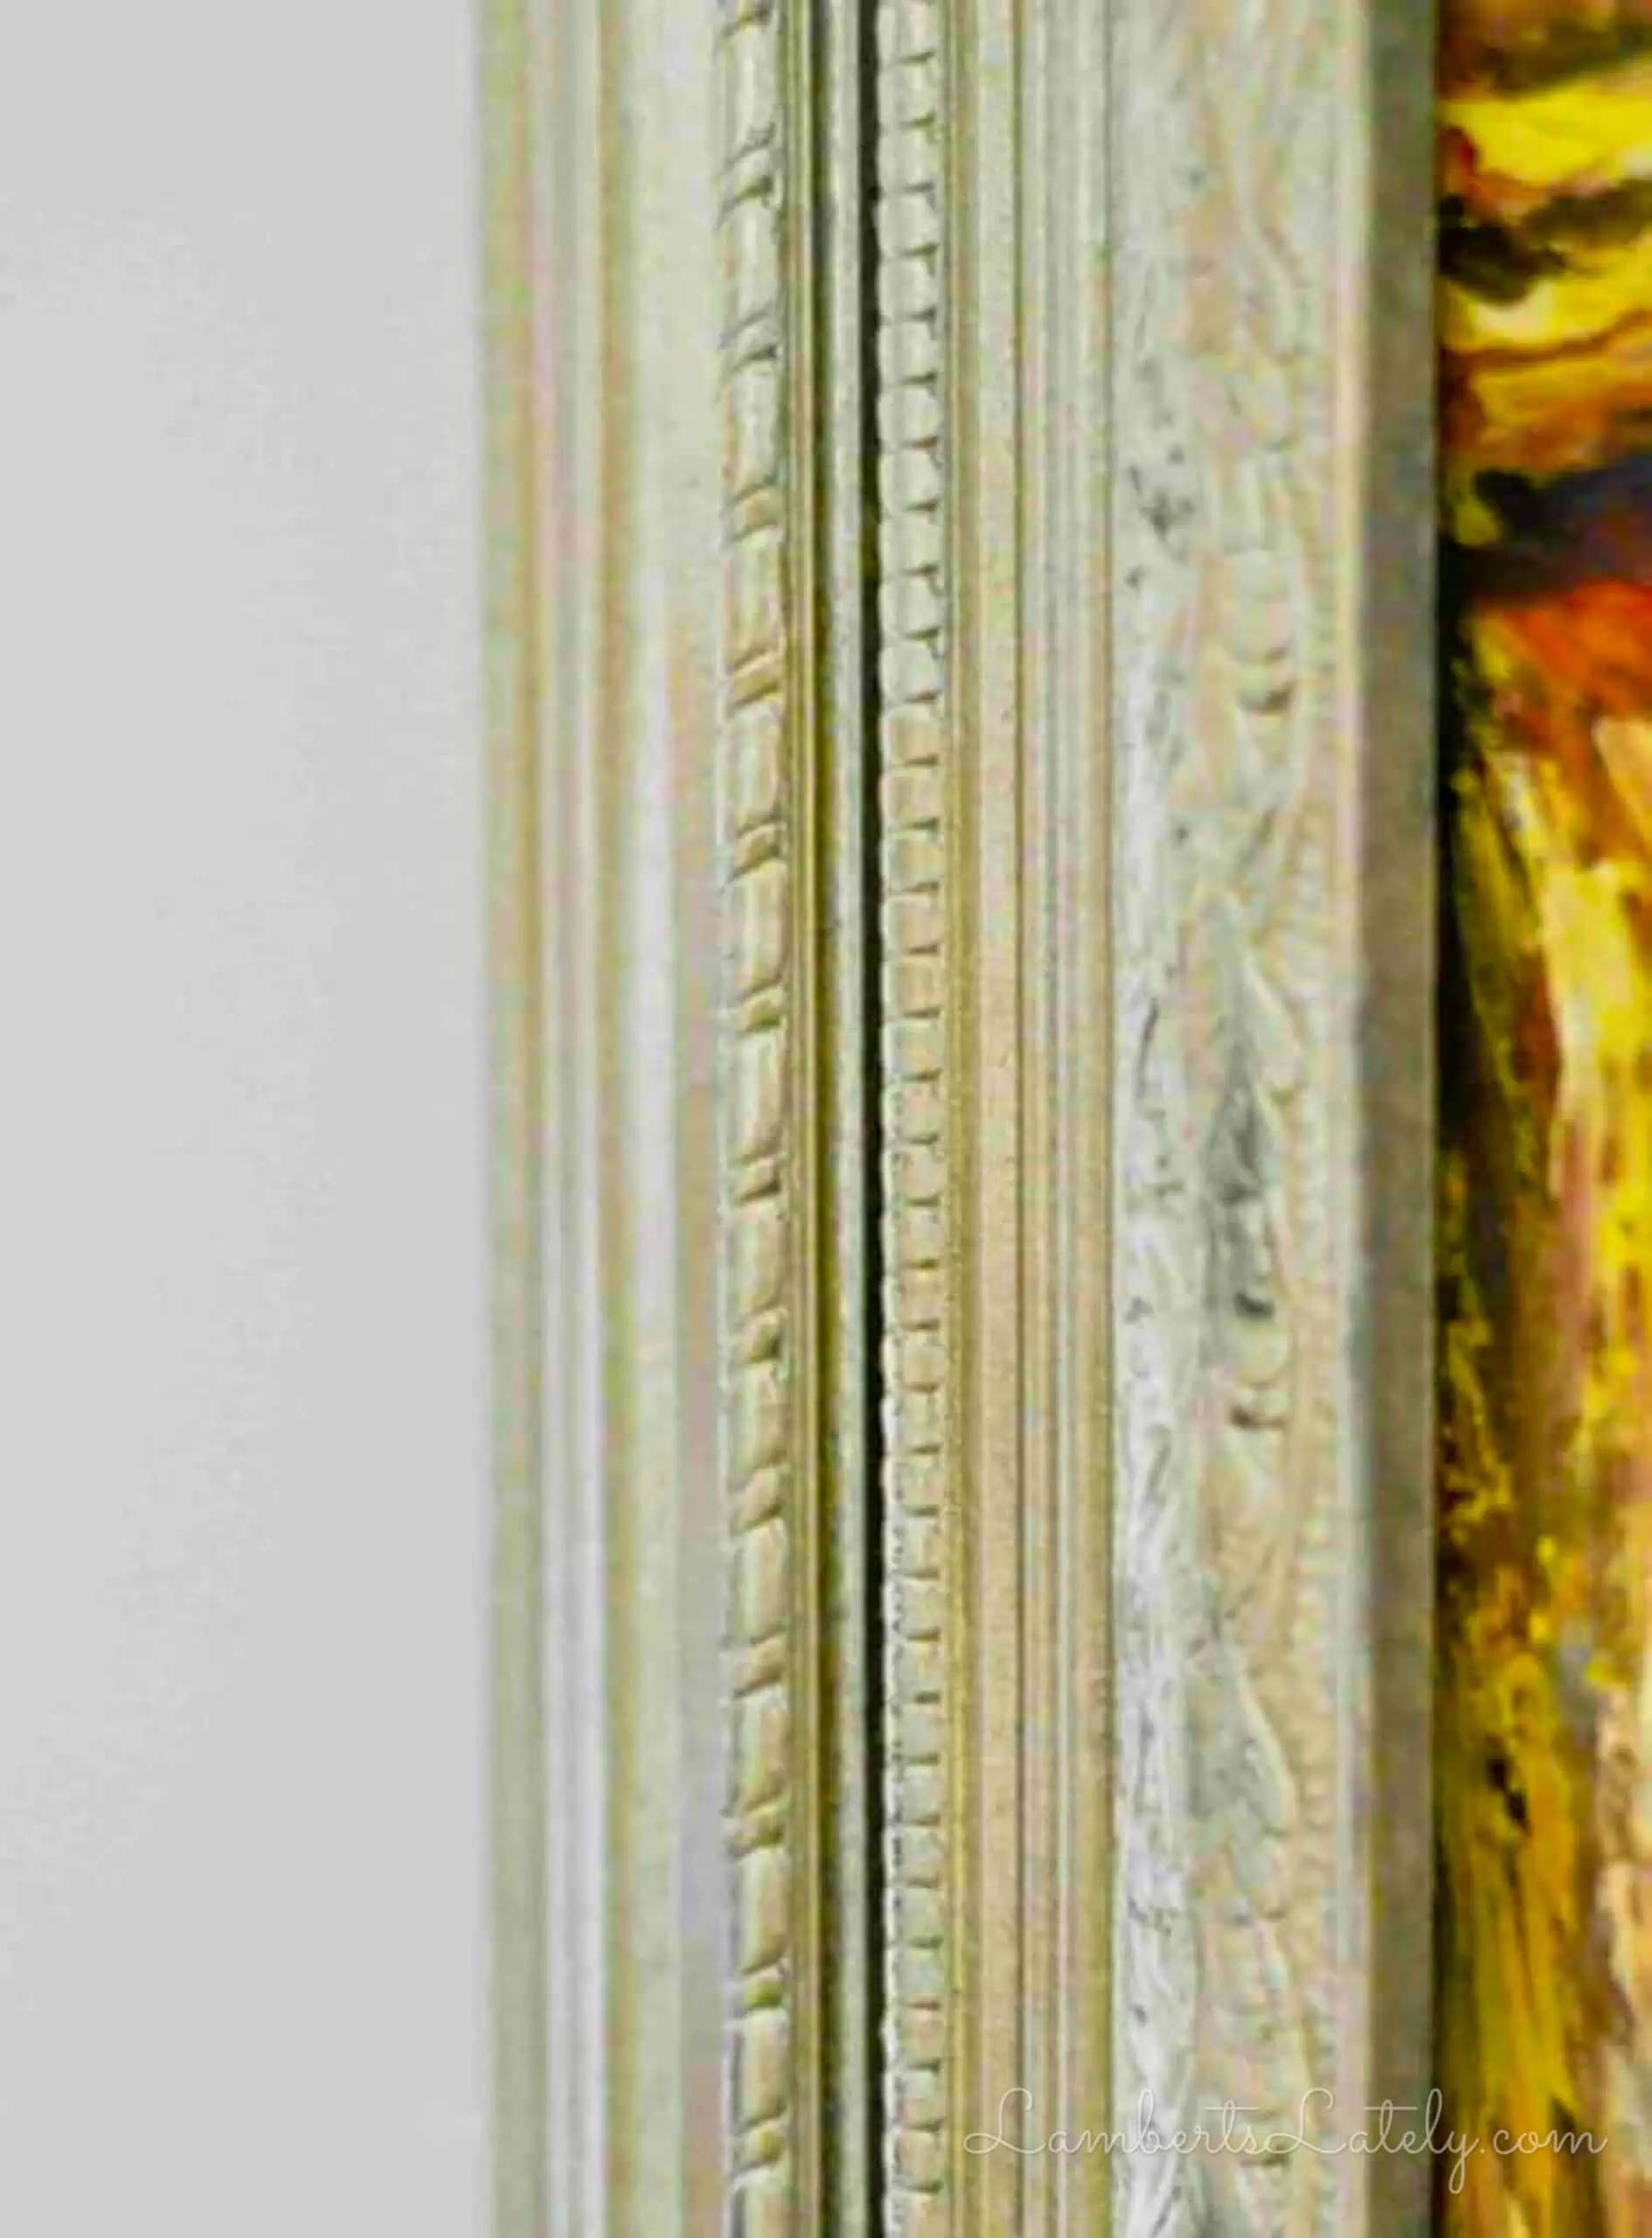
Final Result
This makes me smile every time I walk into our bedroom!
We all have that list of projects for our home - this was on mine. I am so incredibly pleased with how it turned out (and how I saved literally hundreds over having a frame made for this canvas). It's now one of my favorite pieces of home decor!
More Tips & Tricks For How to Make a Picture Frame
- This frame can also be made for a thinner photo or piece of artwork. If your framed item is thinner than a canvas, I recommend cutting a piece of cardboard or foam board to go behind the photo in the frame.
- Instead of painting the frame, staining might be an option. You would need to use a baseboard that doesn't have a white finish to do this. I show more about how to stain wood in this post about my inexpensive blanket ladder.
- It helps a lot to have all of your supplies before you start the project. Having to start and stop the project a lot can really throw off your work process and can cause varied, incorrect measurements.
- Whether you choose to use a miter saw or a miter box, make sure the blade you're using is sharp. A dull blade will cause uneven edges and lots of wood shards that will have to be sanded later.
FAQs


If you follow this DIY Picture Frame tutorial, I'd love to see the results! Tag me on social media (@lambertslately) with your gorgeous frames 🖼️. And make sure to follow along for the latest DIY projects from Lamberts Lately!

Leslie Lambert is a lifestyle writer and content creator specializing in home organization, family recipes, and intentional living. With 17 years of experience in blogging and digital storytelling, she helps busy women create calm, purposeful homes they love.


I wanted to find out what the depth of your canvas painting is, in order to compare to what I am dealing with. Want to make sure mine is not to thick for this type of frame.
Thanks,
Sarah
This one is a .75" thickness, but the frame would really work for something a little thicker too. It might sit off the wall a little, but I used hanging wire on the back - so the wire would just reach a little bit further back to the wall (if that makes any sense at all).
Will this kind of overlap between 2 mouldings support the weight of the acrylic glass? I have a 53' x 24' 1/2'' cross-stitch work that I want to frame but I do want to protect it from dust.
I'm not sure - we didn't put any kind of glass on ours.
Hi, could you please tell me how did you attach the canvas to the frame? Maybe with some photos?
Thank You,
Cecilia
Mine was kind of a snug fit, so it's just placed in there (nothing else attaching it). It sits close to the wall once hung, so that holds the fairly light canvas in as well. If you have something heavier than a canvas, you might need some kind of bracket on the back of the frame.
Hi… my sister is an artist and she makes her own frames and she always screws her canvases to the frames. She does this in the corners and at an angle so the screws DO NOT go through the front of the canvas. Hope this helps???
Great DIY guide. Thank you very much,
Curious how the first attempt was a disaster - mistakes to avoid?
I tried using actual frame moulding and it was incredibly difficult to line up and make the right angle cuts. I'd leave that to the professionals!
This is amazing! Thank you!
Wonderful information! Thank you very much for this clear process for creating frames. I found it extremely useful.