
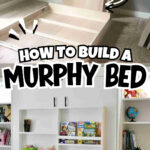
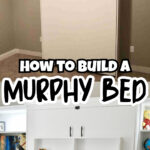
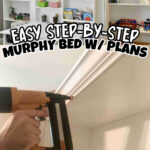
See how to build a full-size DIY murphy bed with a fold-out desk and IKEA Billy bookcases...perfect for a guest bedroom or craft room! We used a Create-a-Bed kit to make it small-space friendly and high-quality.
Paid links used in this post. Read more about my link usage policies.
We've had our DIY Murphy Bed in our craft room/home office for a few years now, and I can honestly say it's one of the best home improvement projects we've ever completed. It turned a rarely-used guest room into a functional, everyday space without sacrificing a spot for guests to sleep.
When we first planned this out, we had a tall order: we needed a guest bed, a desk for the kids, and plenty of storage. After a lot of brainstorming, we cooked up a solution using a Create-a-Bed kit, a custom fold-out desk, and our favorite IKEA Billy bookcase hack.
Why We Chose a DIY Murphy Bed vs. Buying Pre-Made
We priced out pre-made Murphy beds and - whew - the cost was easily $1,500-$2,000 before shipping. That was way out of our price range.

If you're on Pinterest, you'll see posts claiming you can build these for under $100. Please don't believe the "build a DIY murphy bed for under $100" posts. After doing this project, I don't see how you can safely build a functional, lasting bed for that.
If you're putting in the effort, invest in high-quality hardware so it actually lasts!
Project Overview: Cost, Tools, & Difficulty
- Difficulty: Advanced (Requires precision and two people for assembly)
- Time: 2-3 Weekends
- Estimated Cost: ~$600 (2019 prices) | ~$850-$900 (Current 2026 estimate)
Project Supplies & Hardware
The foundation of this entire build is the Create-a-Bed Full-Size Vertical Hardware Kit. It includes the pistons and detailed blueprints that make this project fool-proof.
Materials List (see Create a Bed instructions for more detailed list):
- 4 sheets ¾" x 4' x 8' birch plywood
- 2 sheets ¼" x 4' x 8' plywood
- 14 1x2" furring strips
- 3 packs Melamine veneer tape
- Hardware: Titebond wood glue, finish nails, various wood screws (#8 coarse thread), and a ¾" poplar dowel.
Part 1: Building the Murphy Bed Frame
Note: These steps are a summary of the Create-a-Bed instructions. Please follow their specific diagrams for safety!
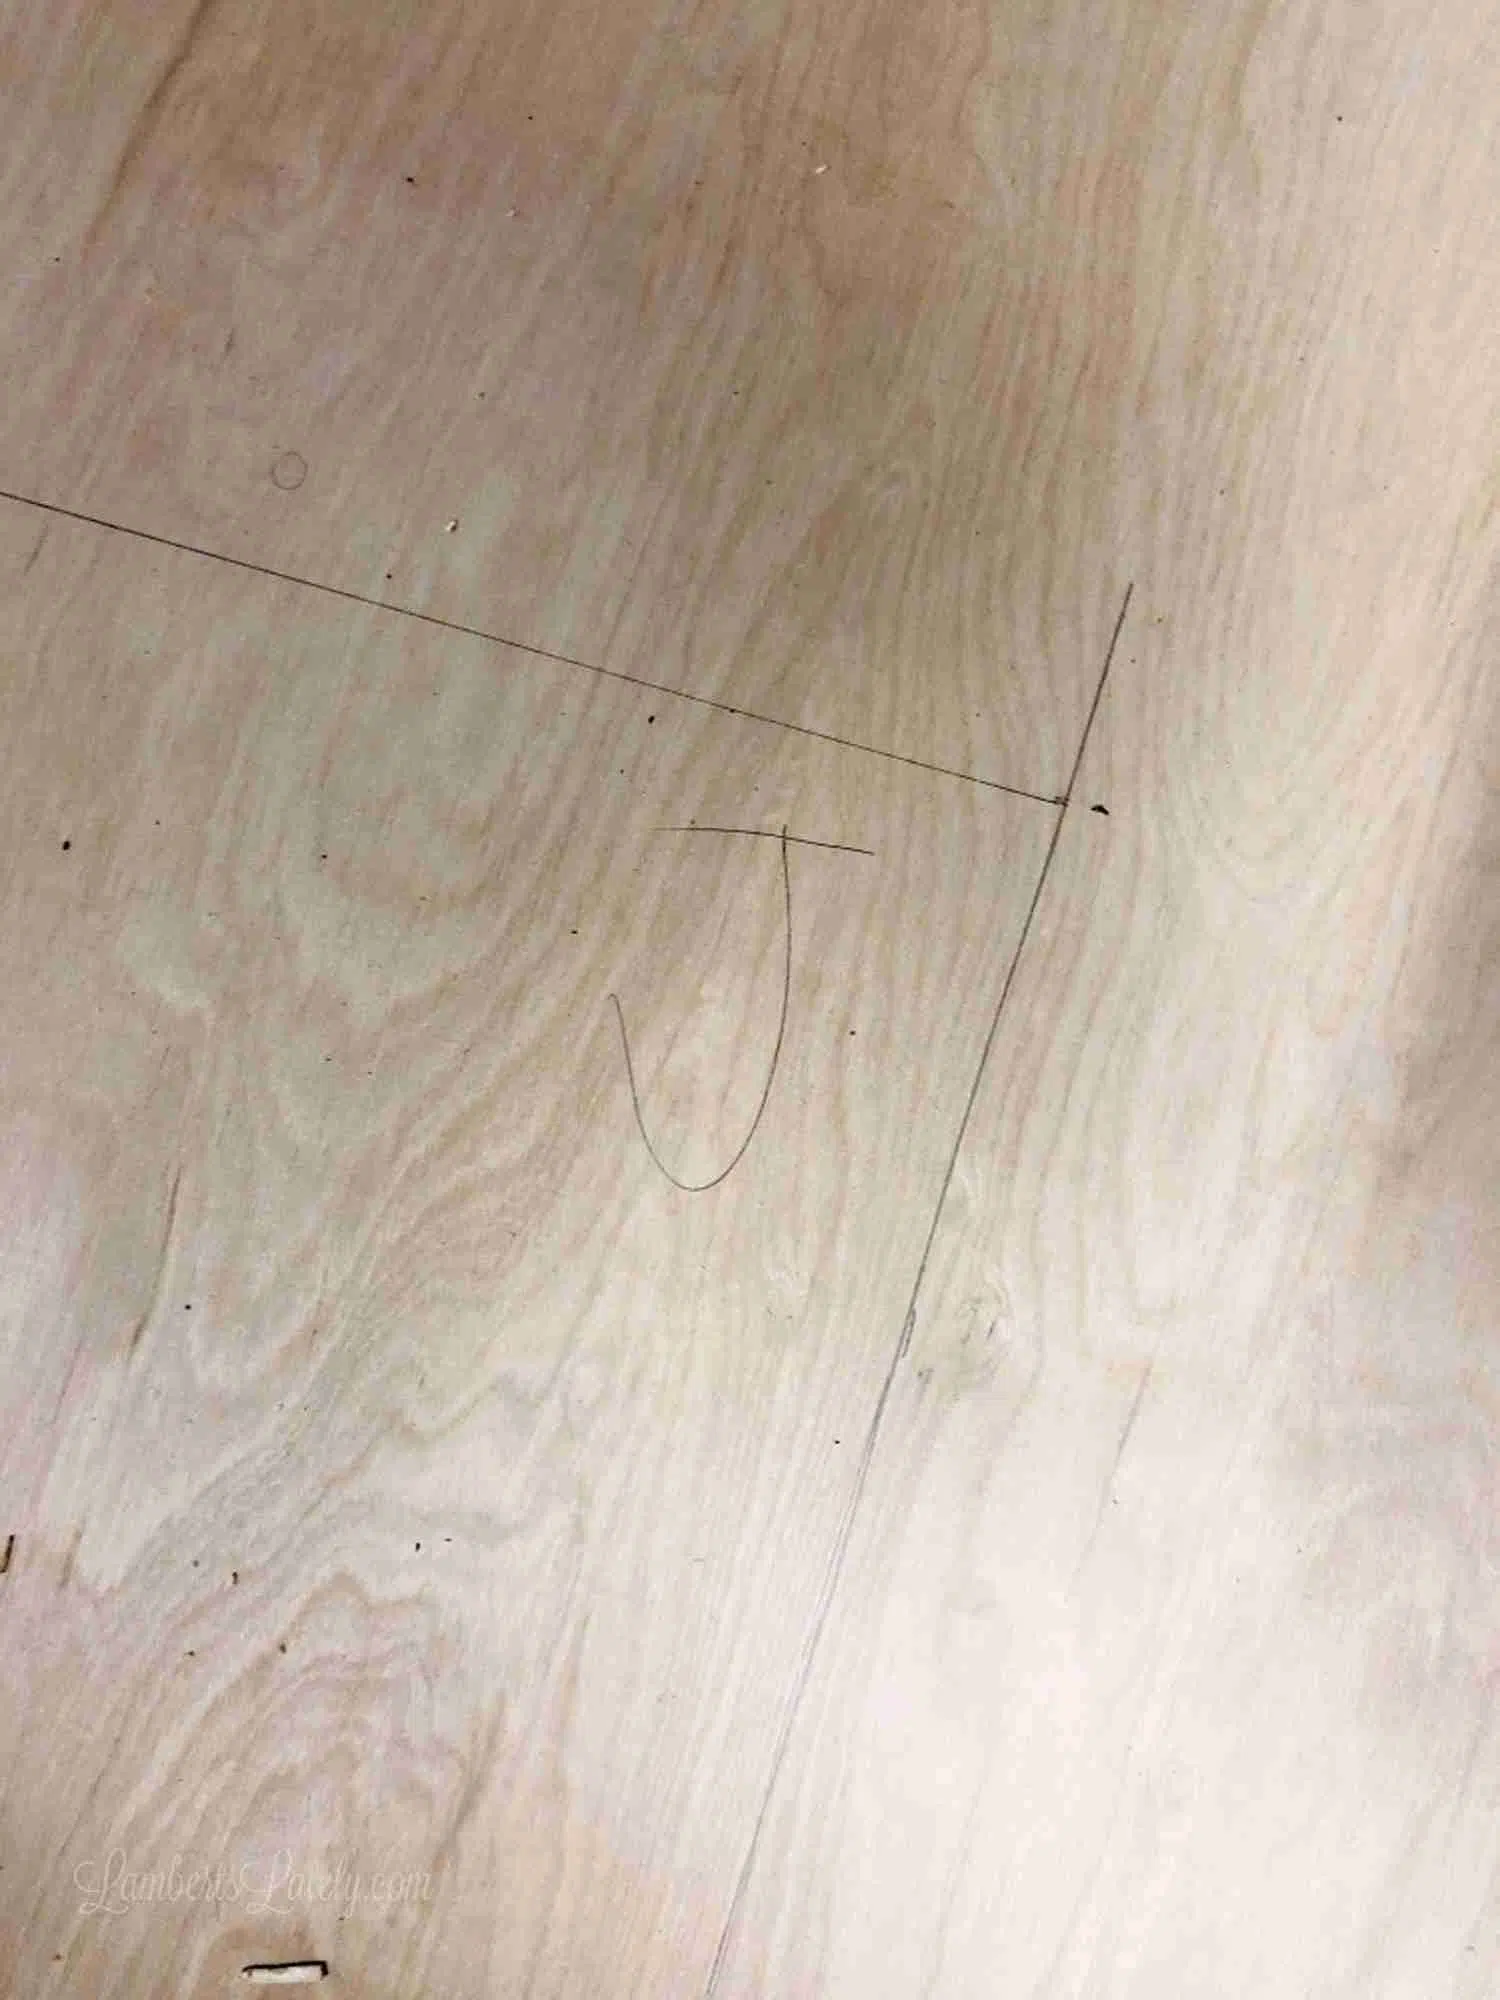
Step 1: The Plywood Cut List
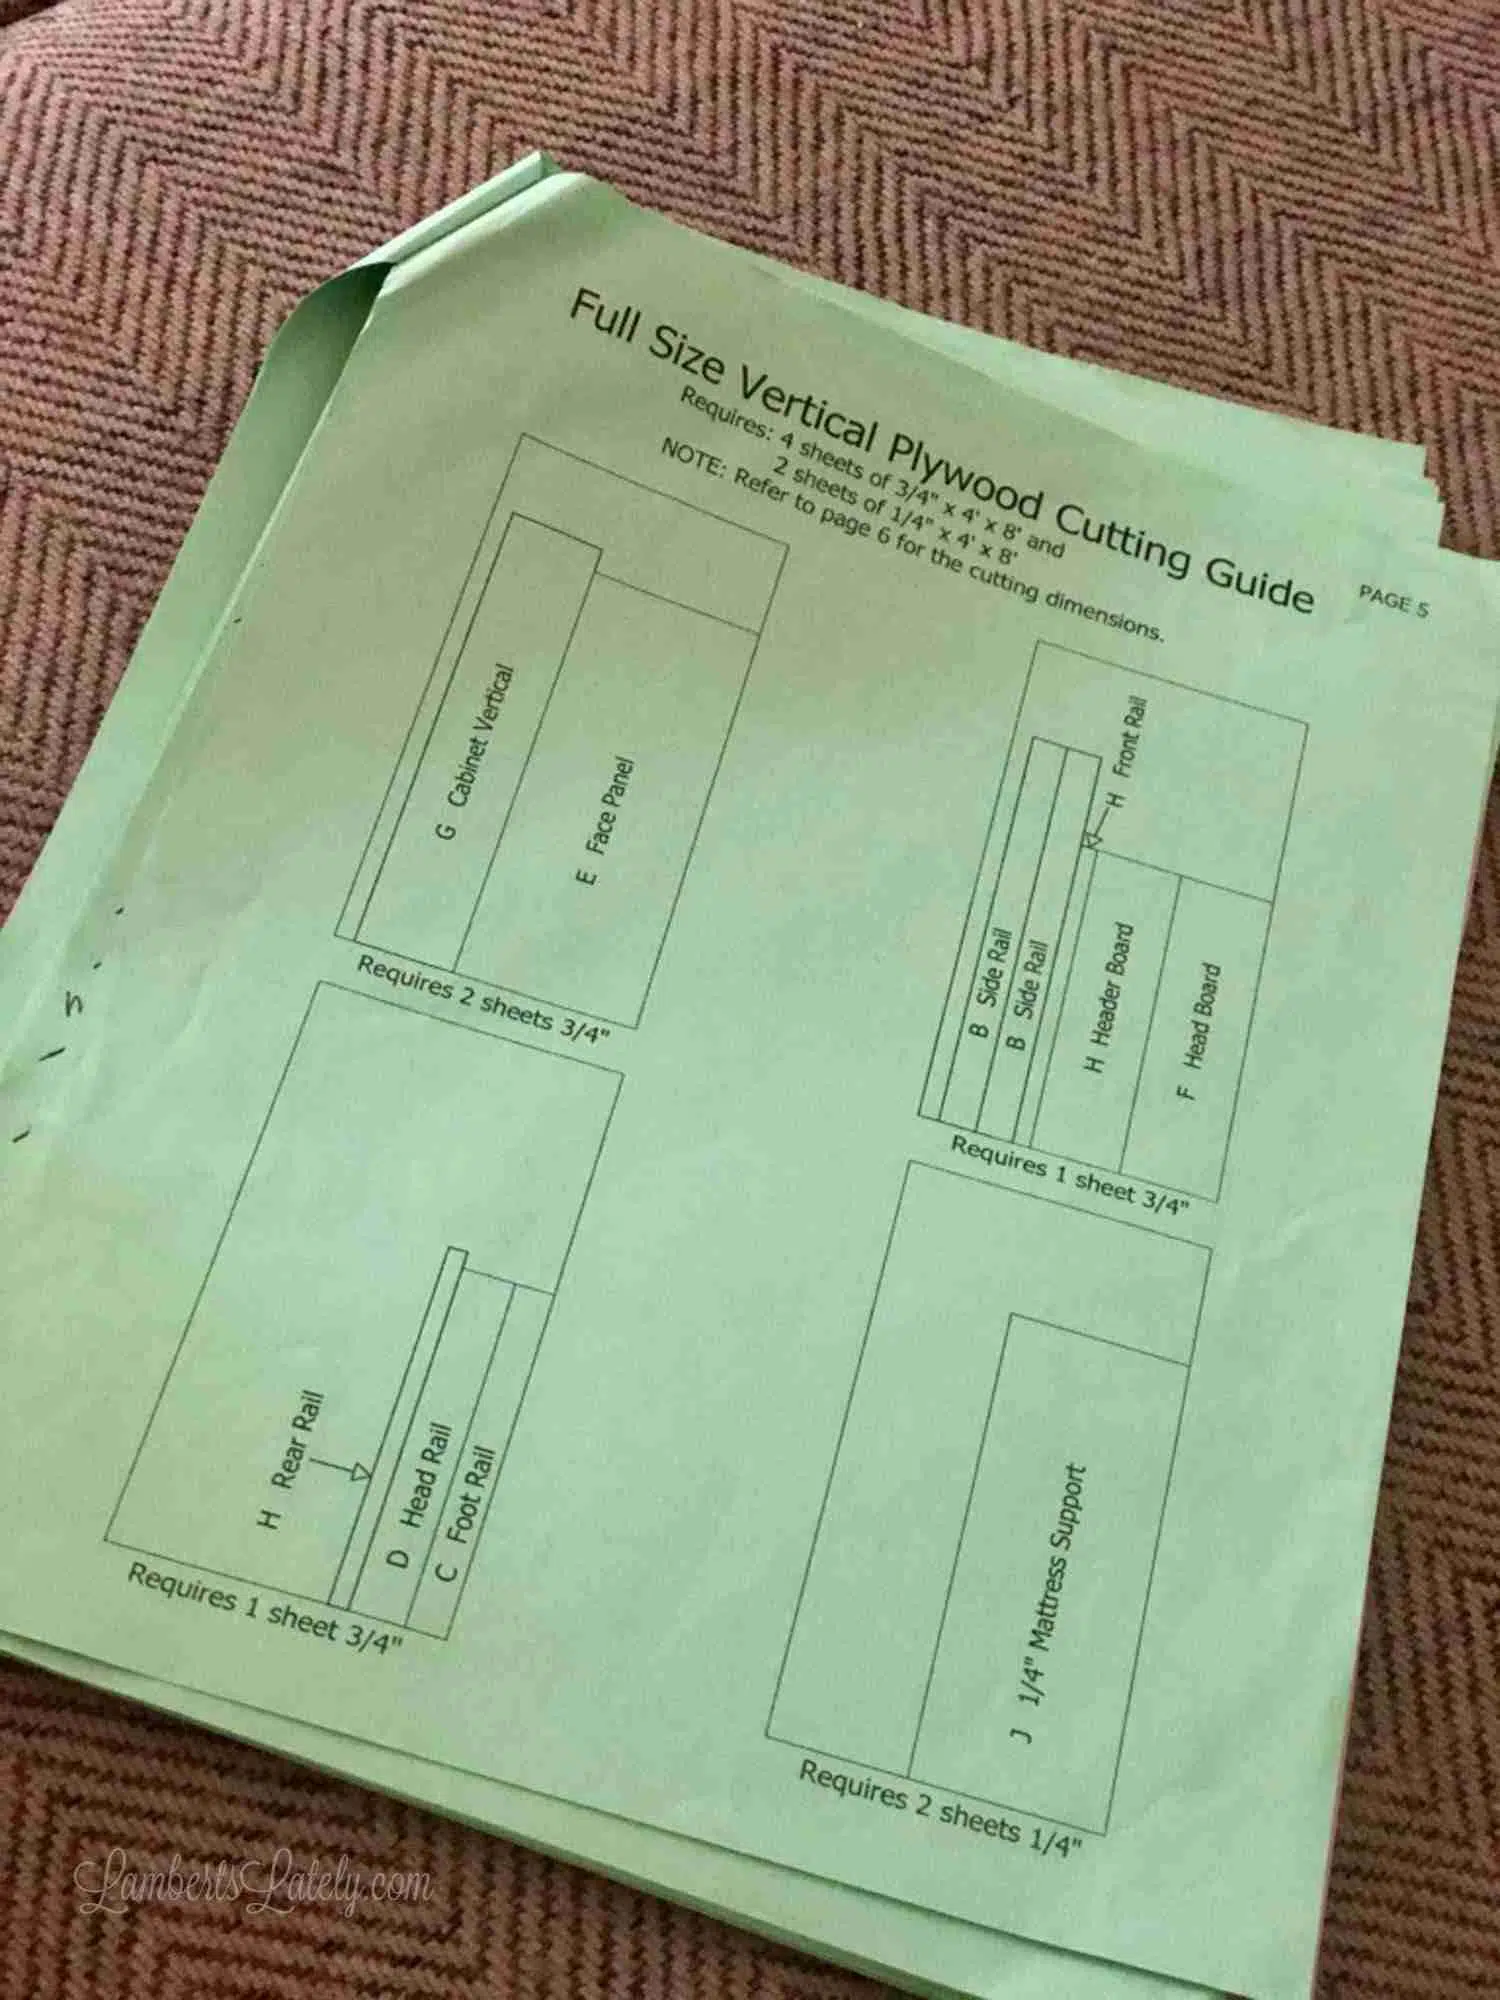
Don't be like us - get your cuts done at Lowe's or Home Depot for free! It saves a massive amount of time and heavy lifting. Label every piece with its corresponding letter (Part B, C, D, etc.) immediately.
¾" Plywood Cuts:
- Part B (2): 5-⅞" x 76-½" (Side Rails)
- Part C: 3" x 56" (Foot Rail)
- Part D: 7-⅞" x 56" (Head Rail)
- Part E (2): 29" x 76-¾" (Front Panels)
- Part G (2): 15-⅞" x 82-⅛" (Cabinet Verticals)
Step 2: Construct the Bed Frame
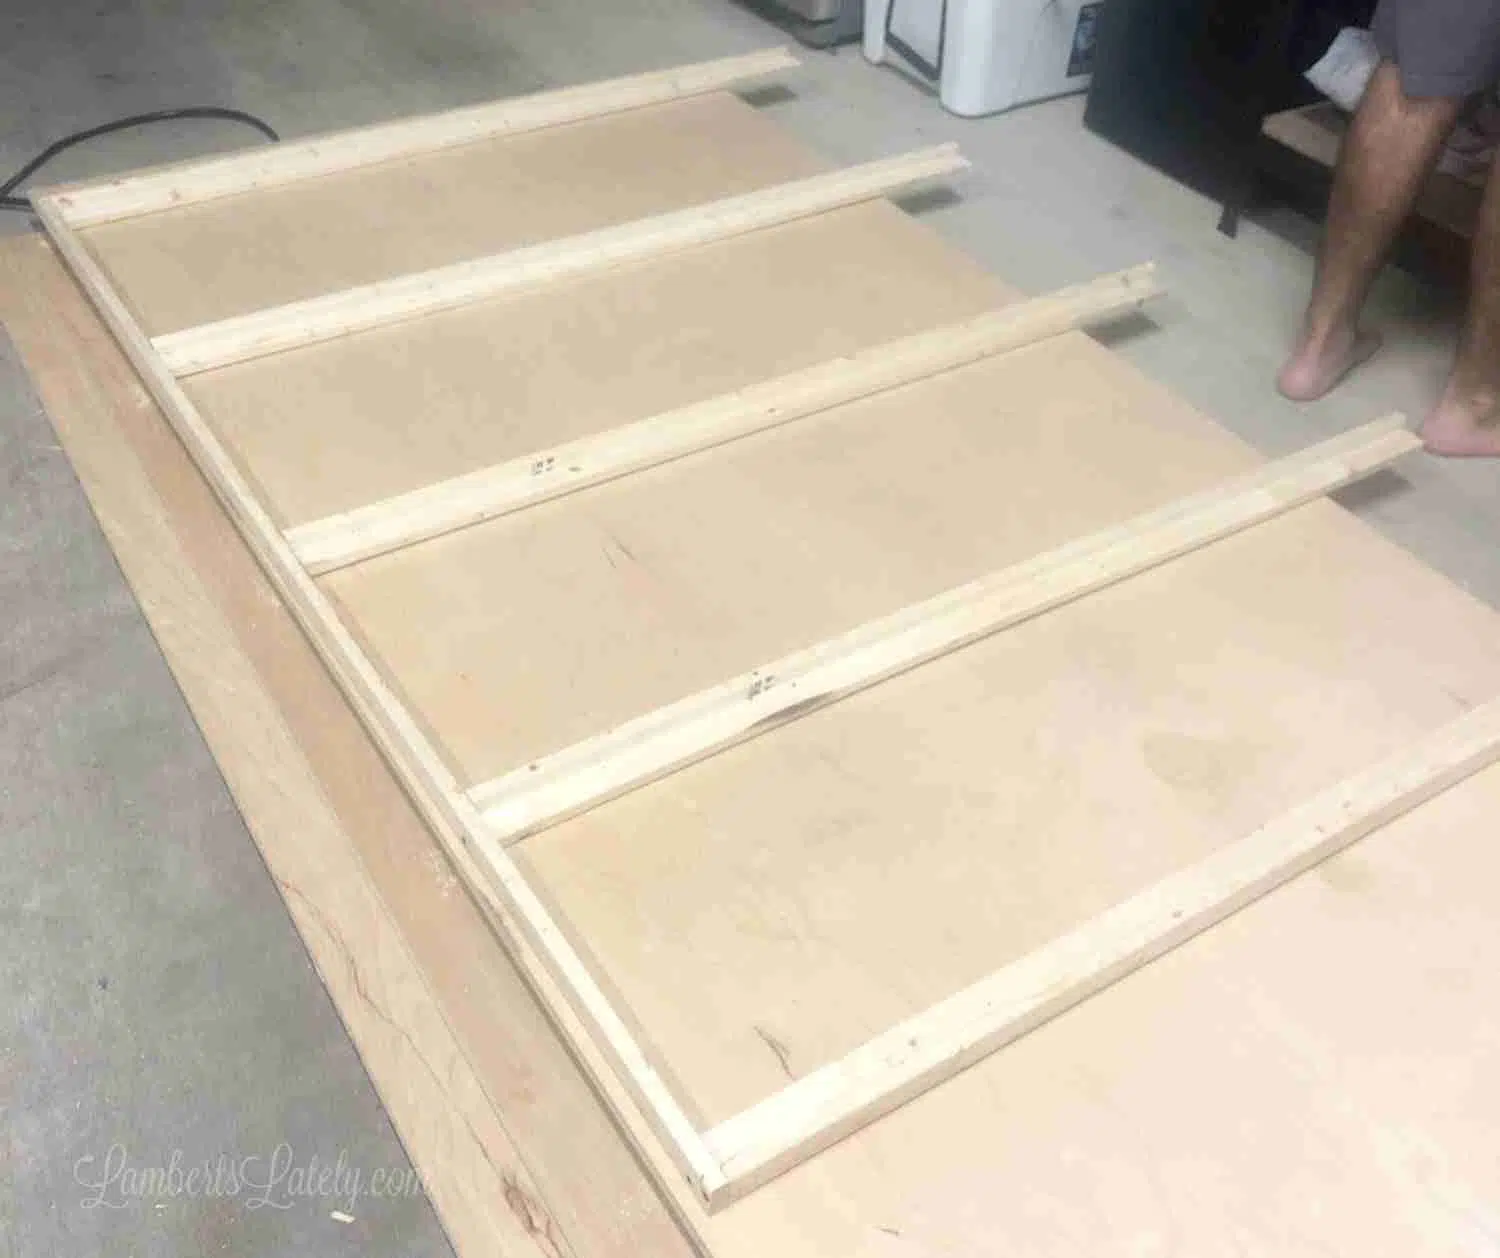
This is the "L" shaped strut assembly. Glue and nail your 1x2 struts together, then attach the frame sides. This part goes quickly - usually about an hour.
Step 3: Hardware Placement & Side Rails
Precision is everything here. You'll trace the rounded edge template onto your side rails (Part B) and cut it with a jigsaw. Use a ⅝" forstner bit for the leg pivot holes.
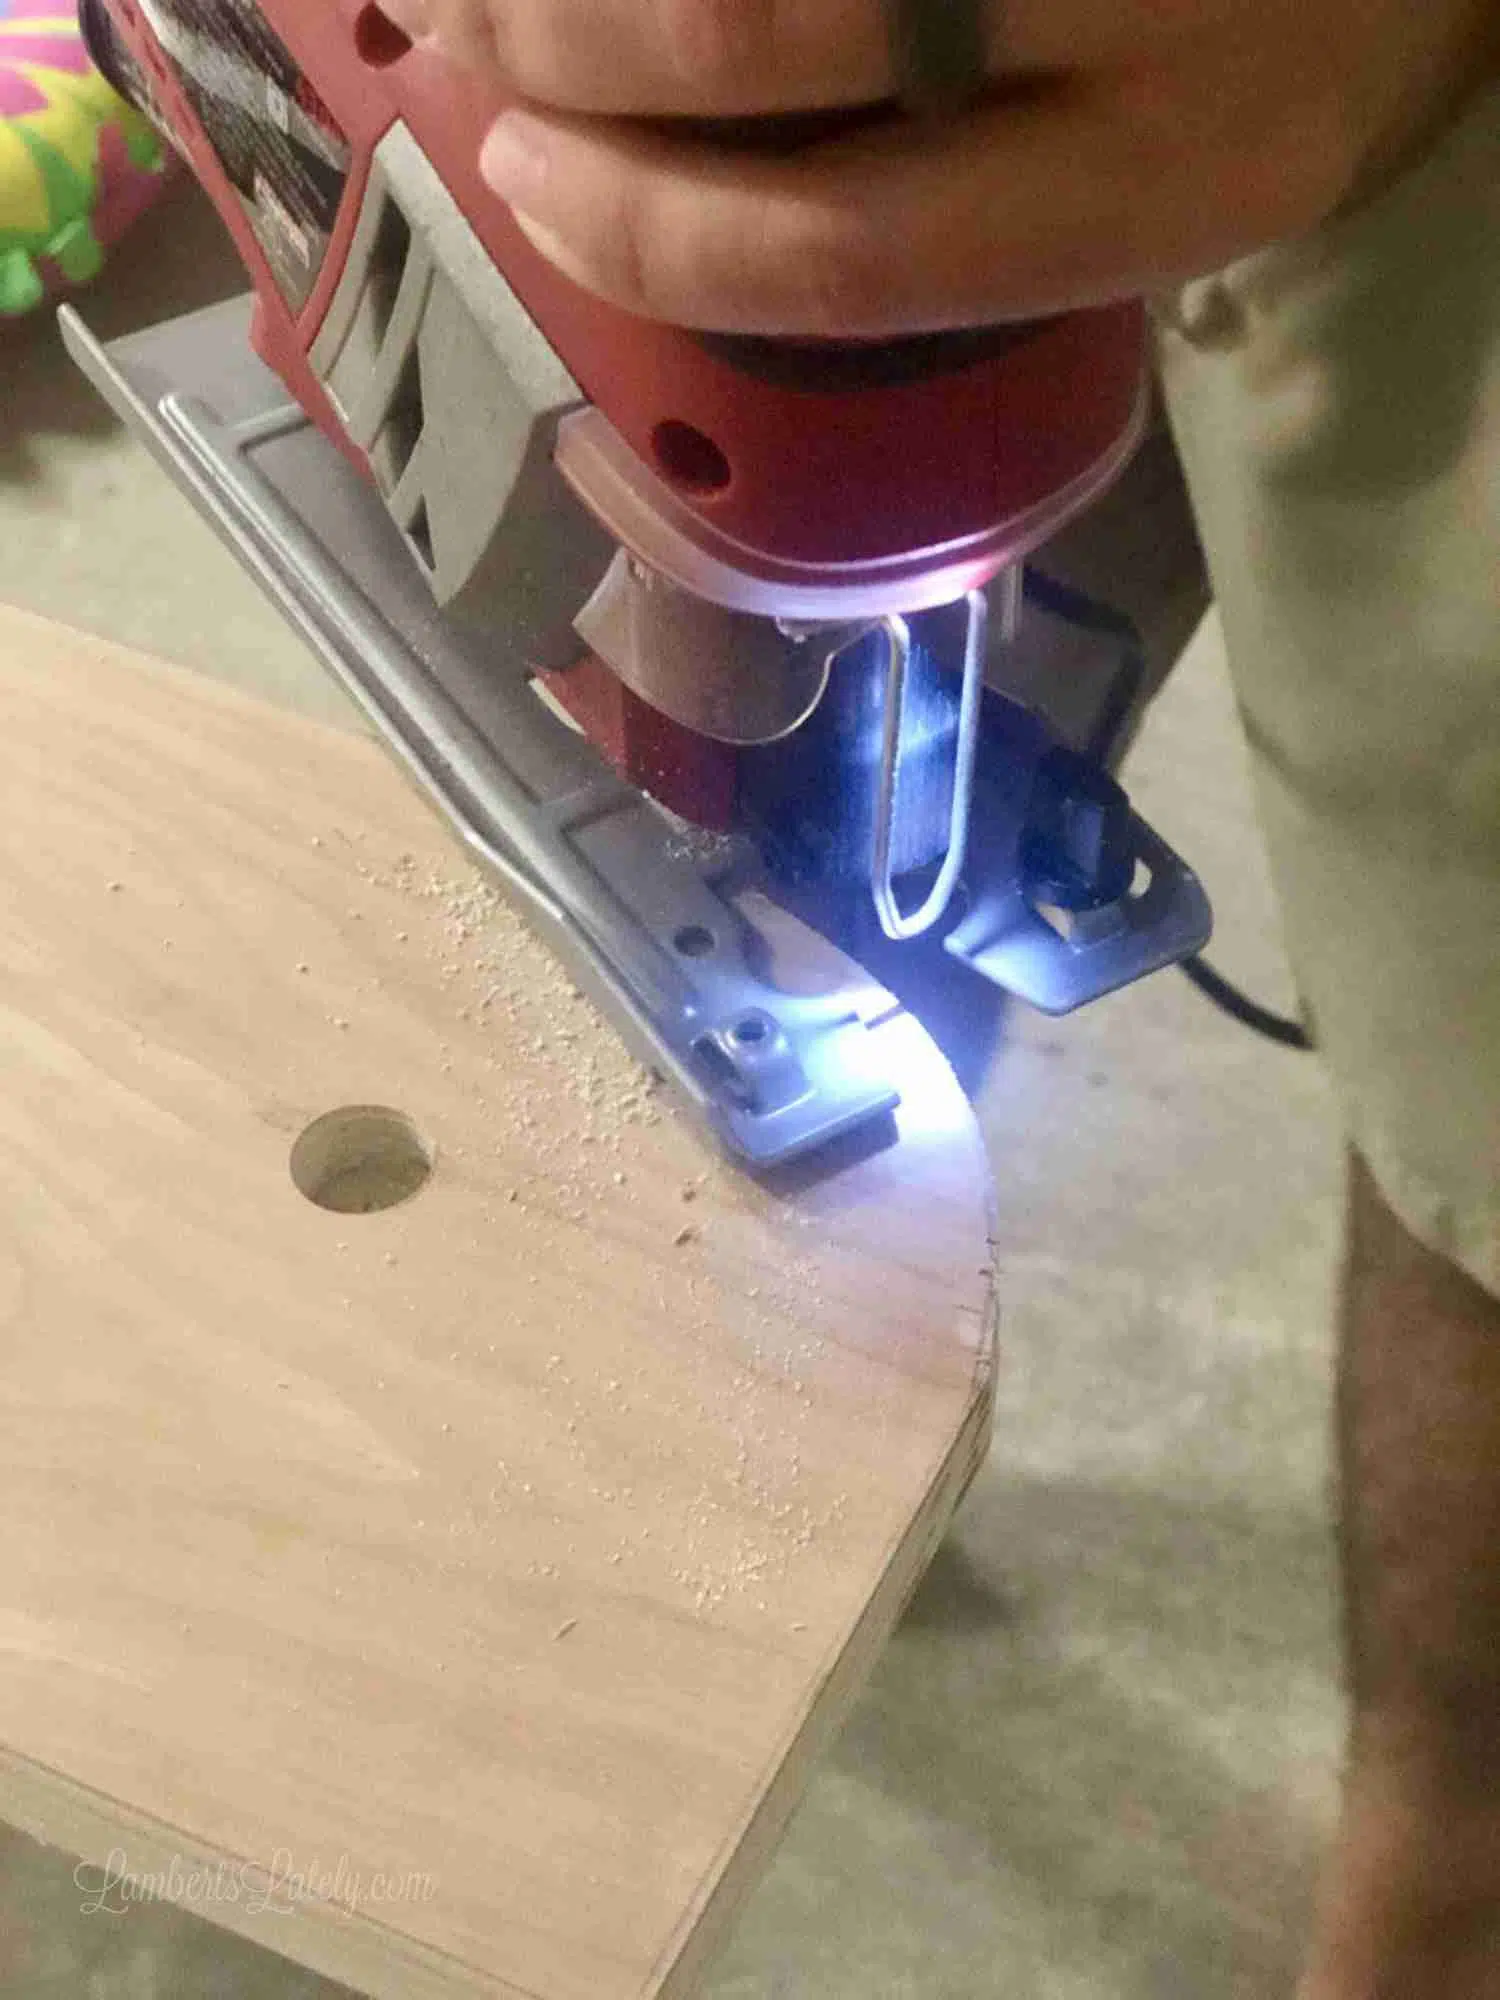
Expert Tip: Your measurements for the pivot plates must be exact, or the hardware won't line up. Measure twice, drill once!
Step 4: Final Frame Assembly & Painting
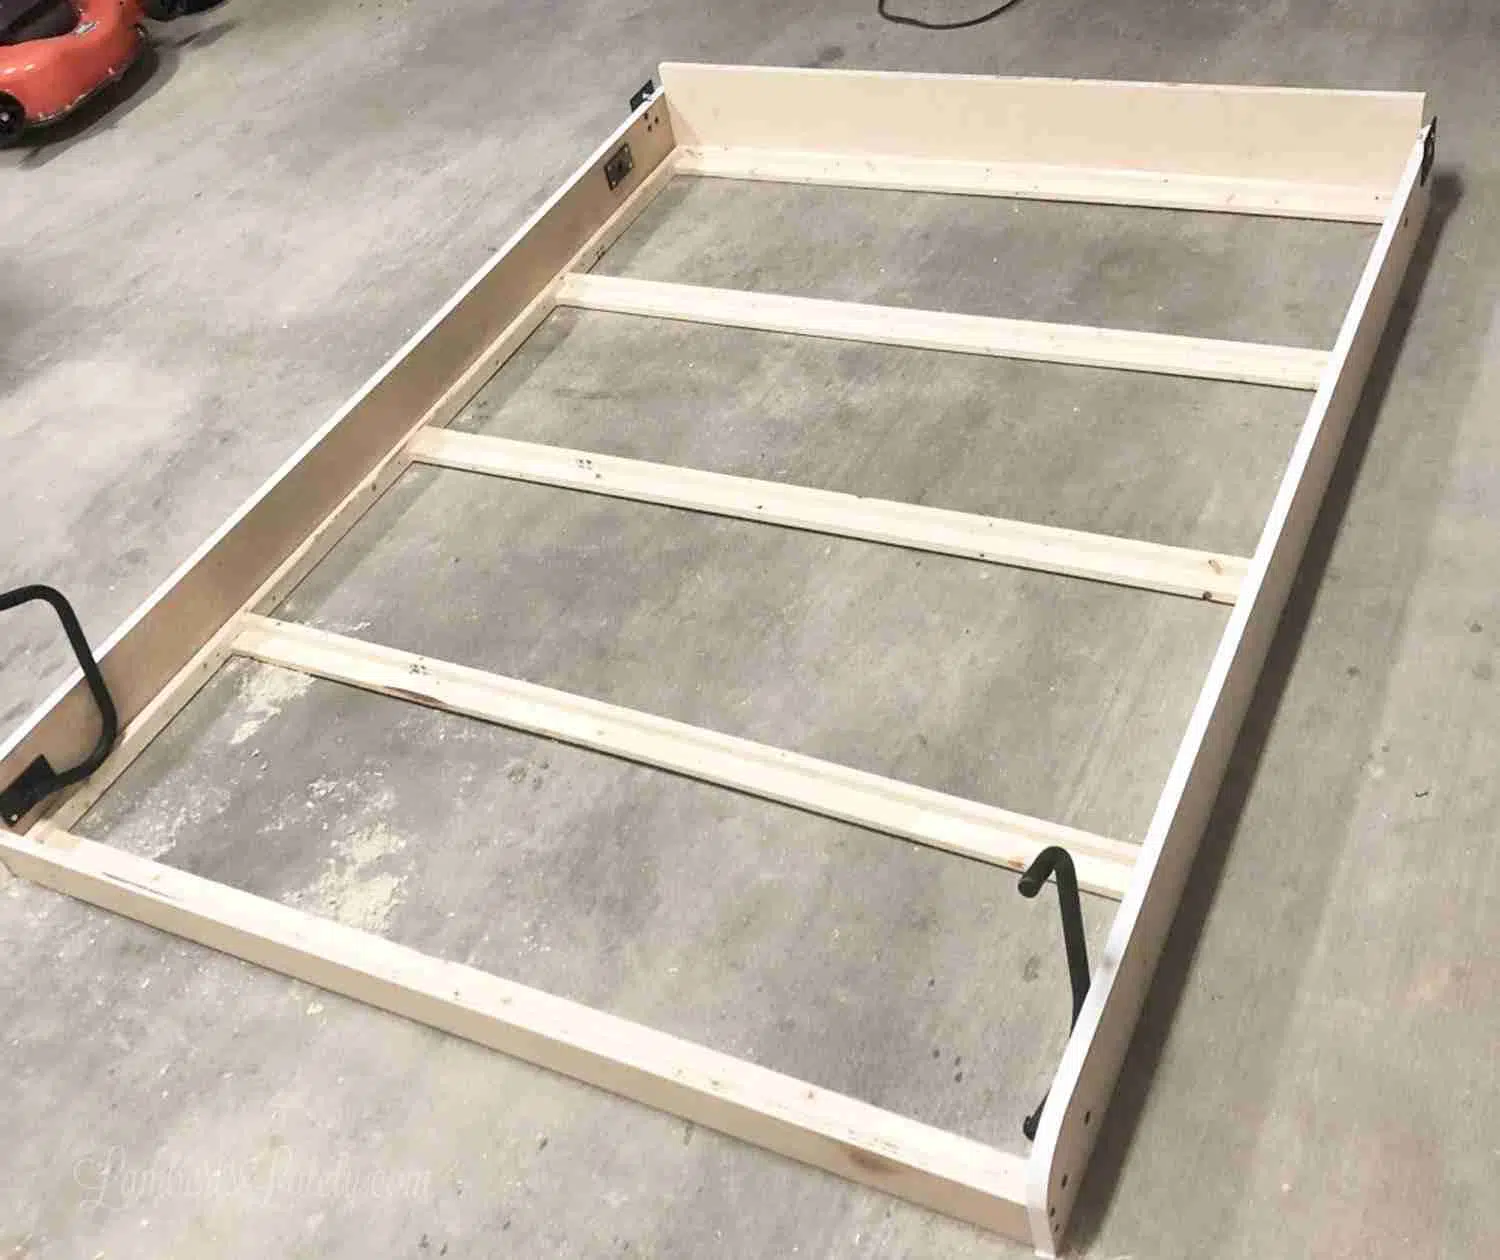
Once the rails are attached to the front panels (Part E), it finally looks like a bed! Before you install it, paint, caulk, and tape. I used a primer because birch plywood drinks paint. I also applied veneer tape to all exposed plywood edges using a standard iron - it's super easy and makes the wood look like expensive solid lumber.
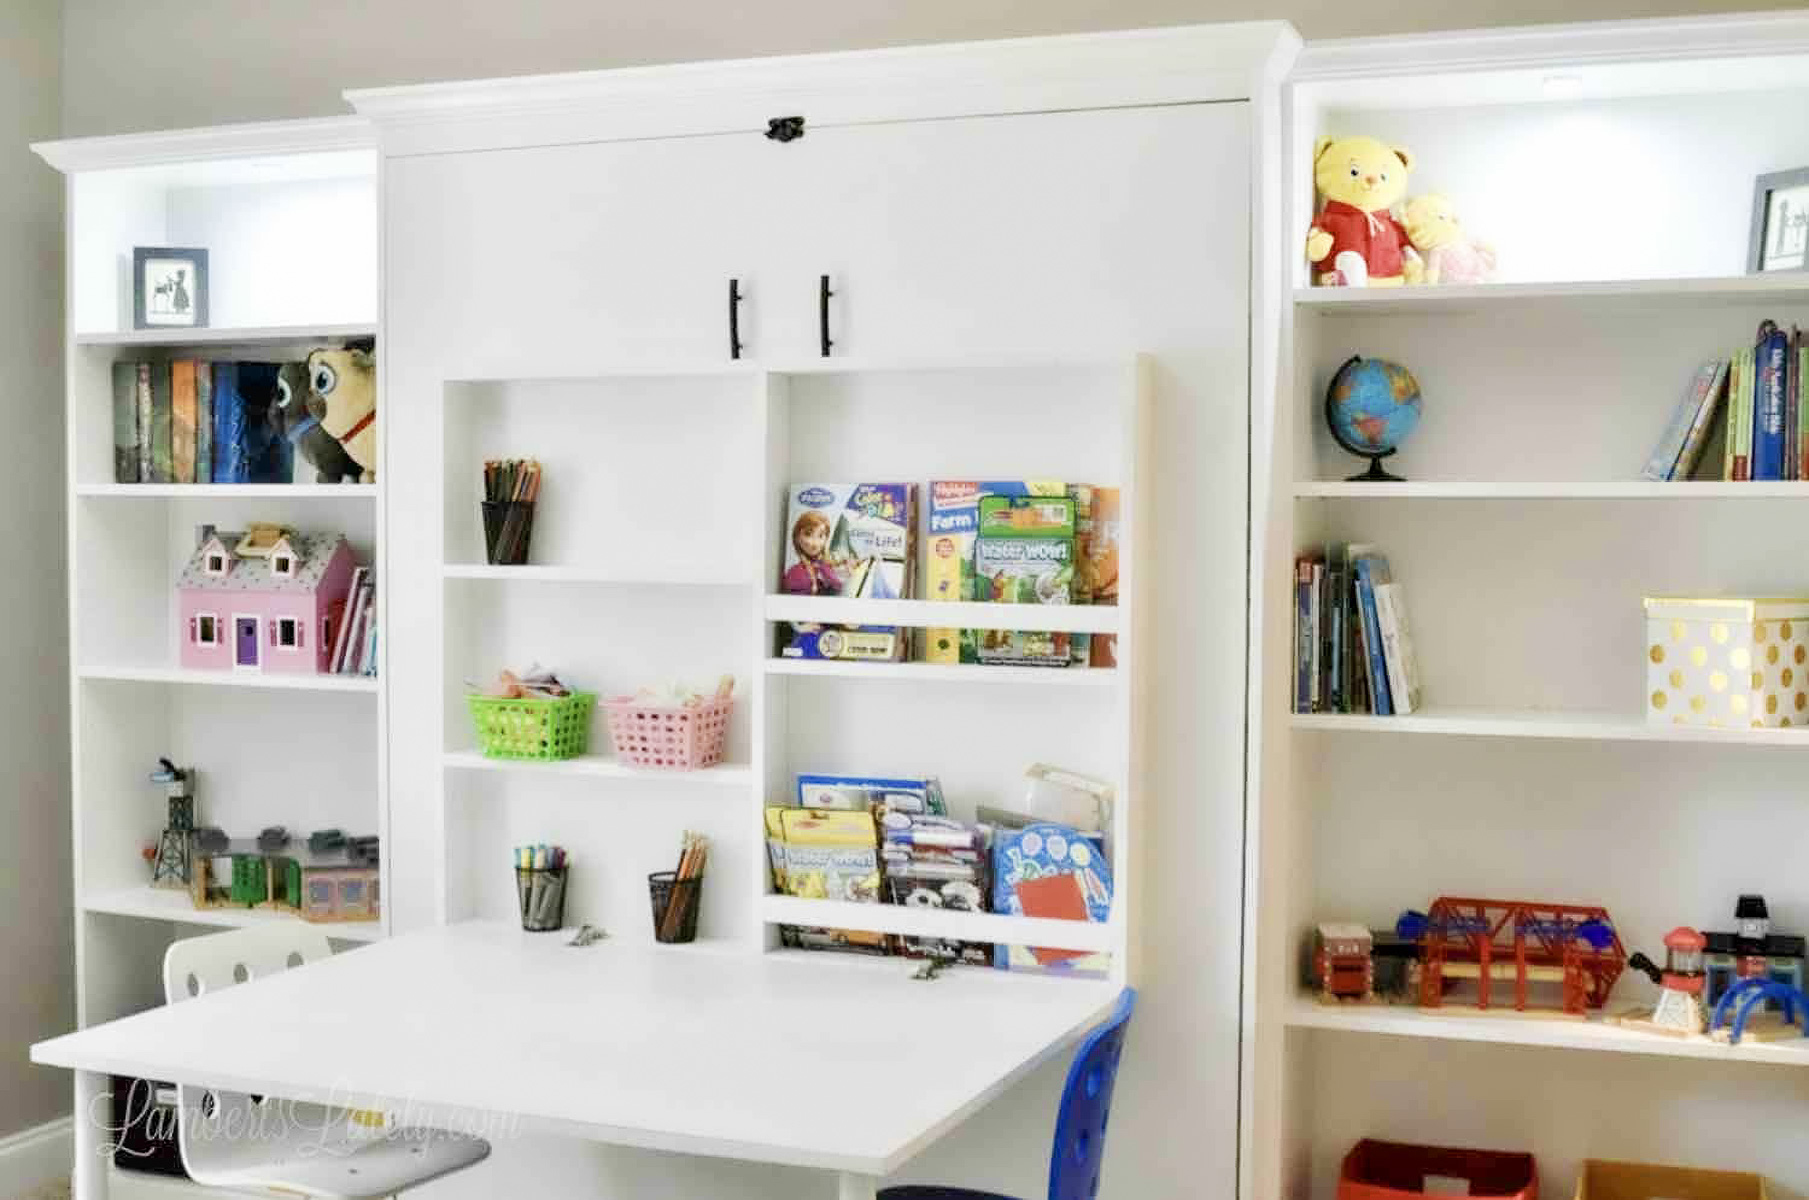
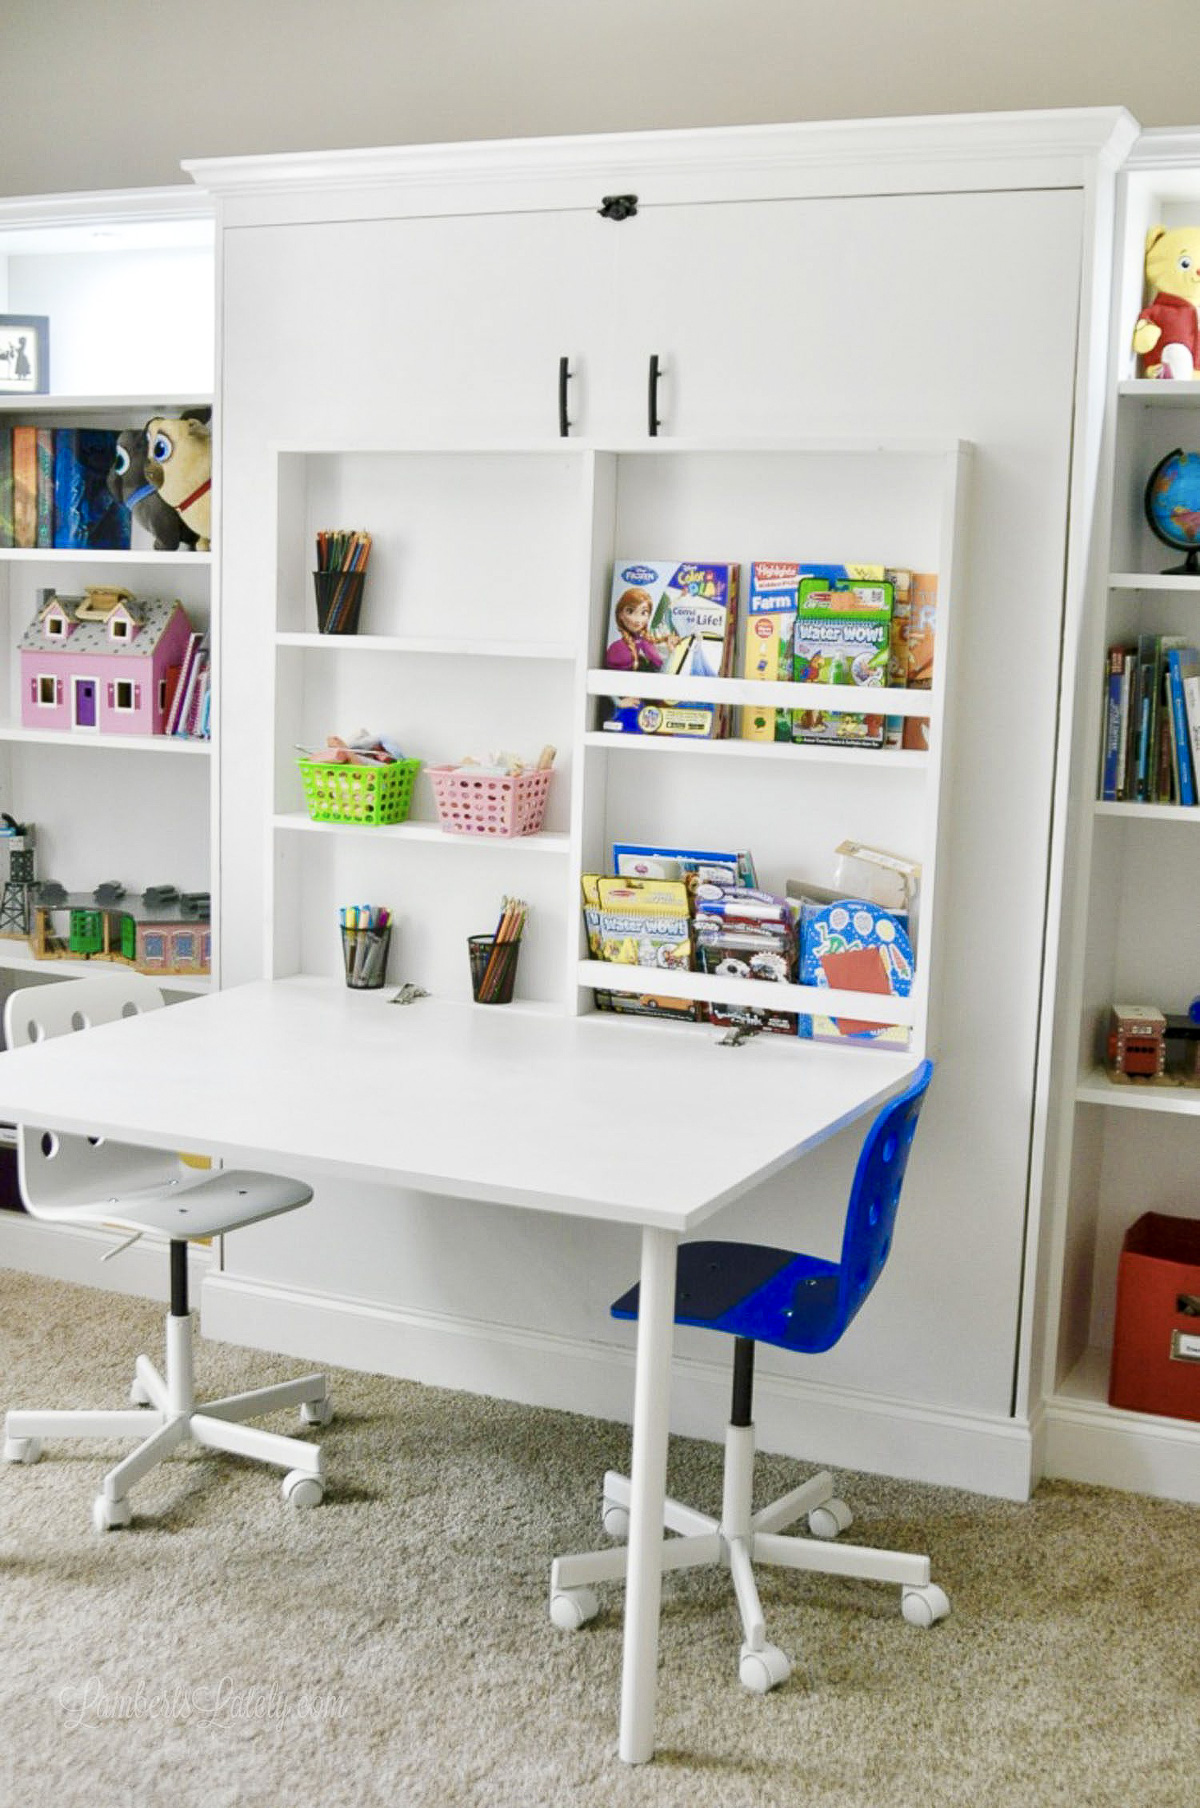
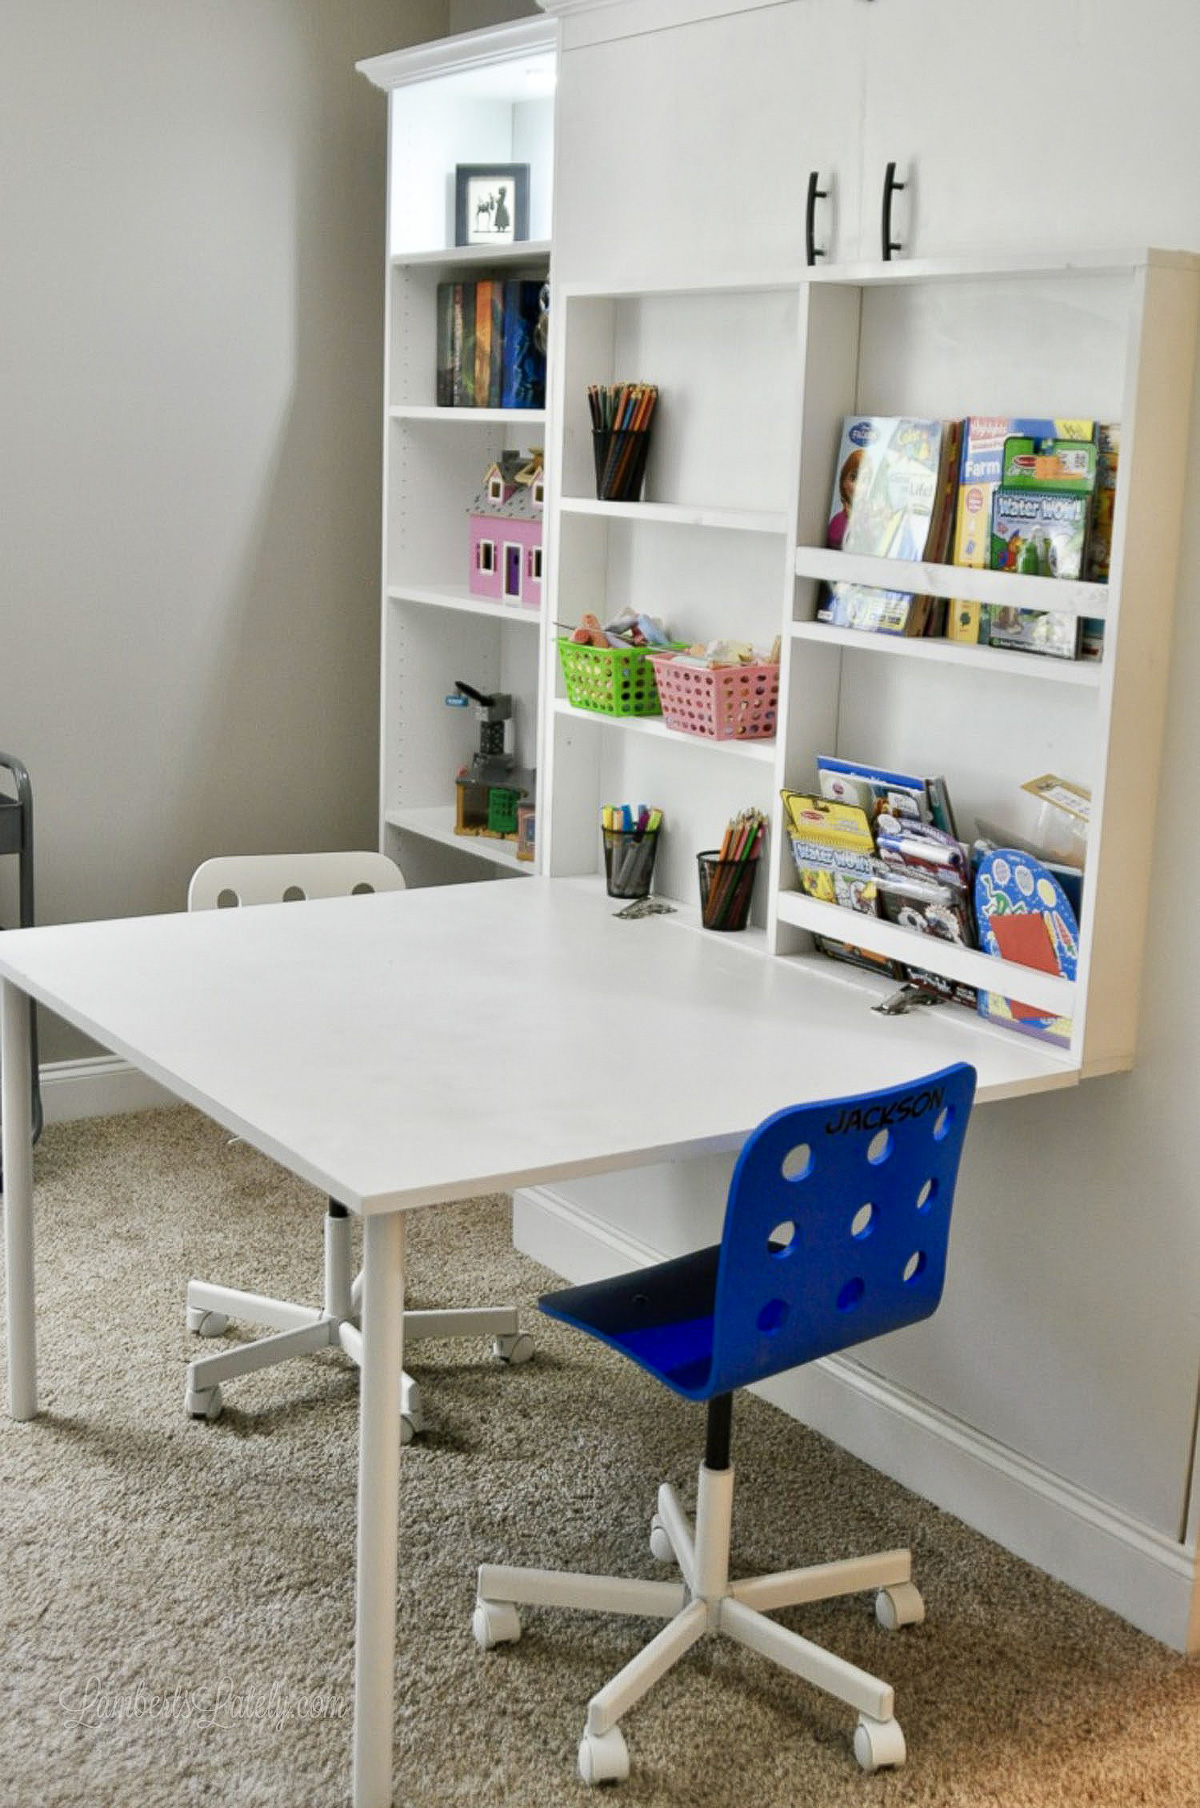
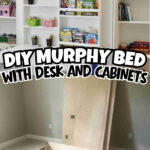
Part 2: The IKEA Billy Bookcase Hack
To make this look like a high-end built-in, we added IKEA Billy Bookcases to both sides.
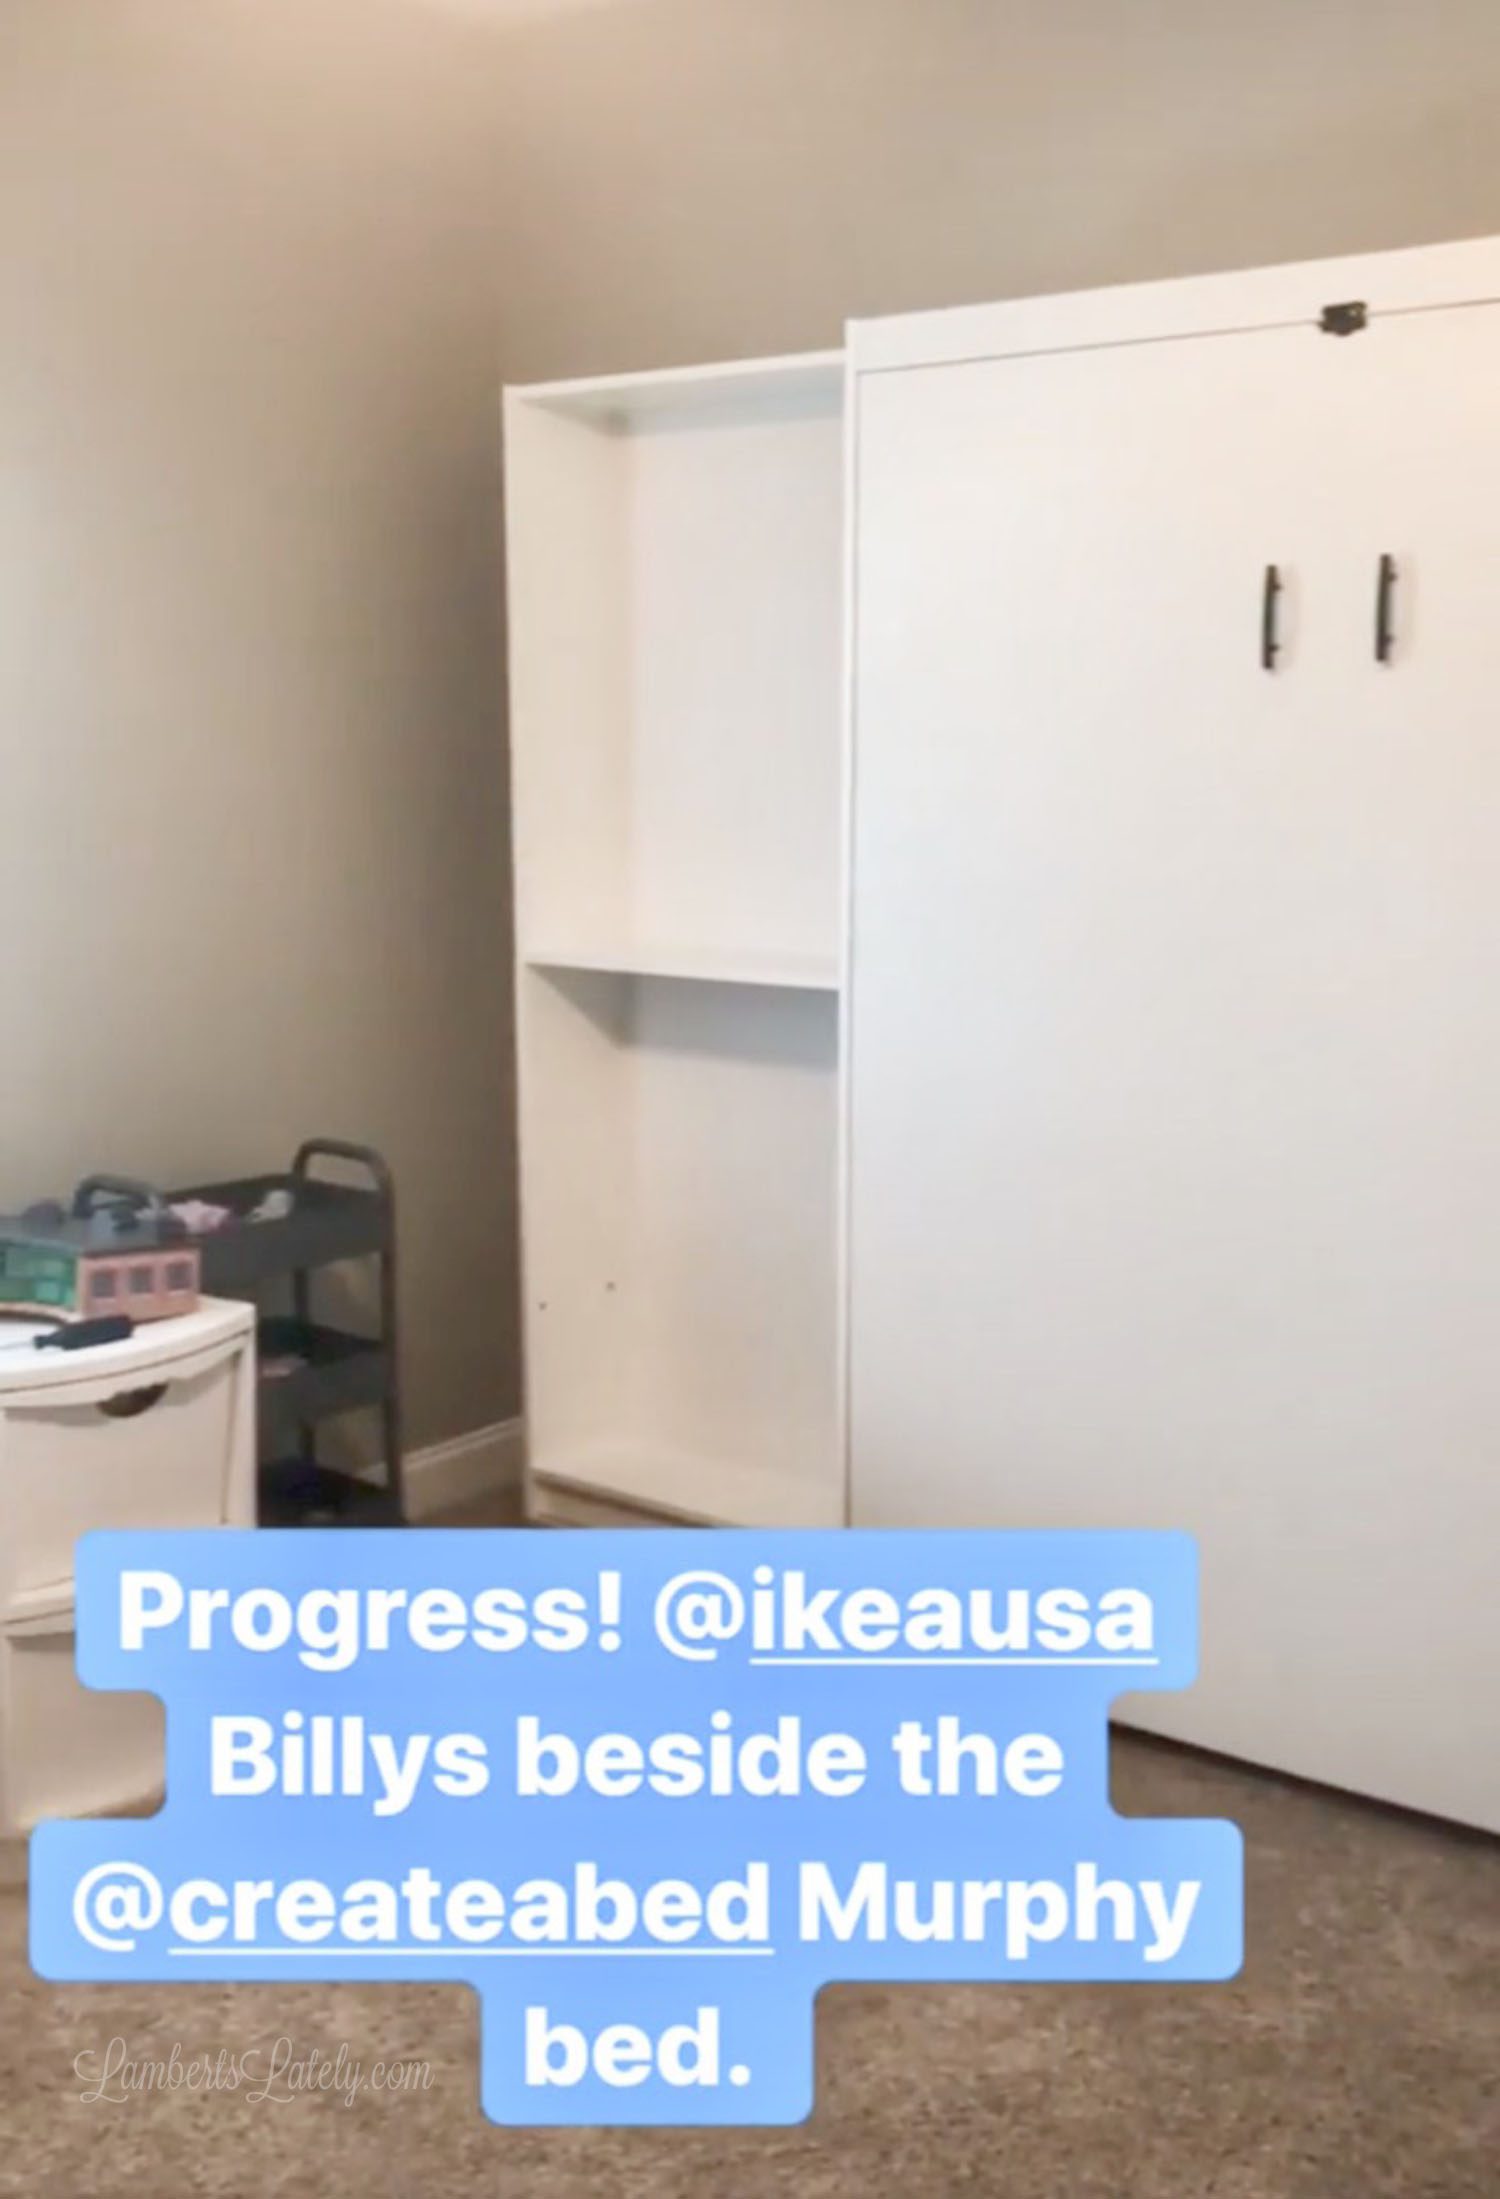
Prep the Base: We placed 2x8 and 2x4 scrap wood under the bookcases. This props them up so you can run your baseboards across the bottom of the whole unit for a seamless look.
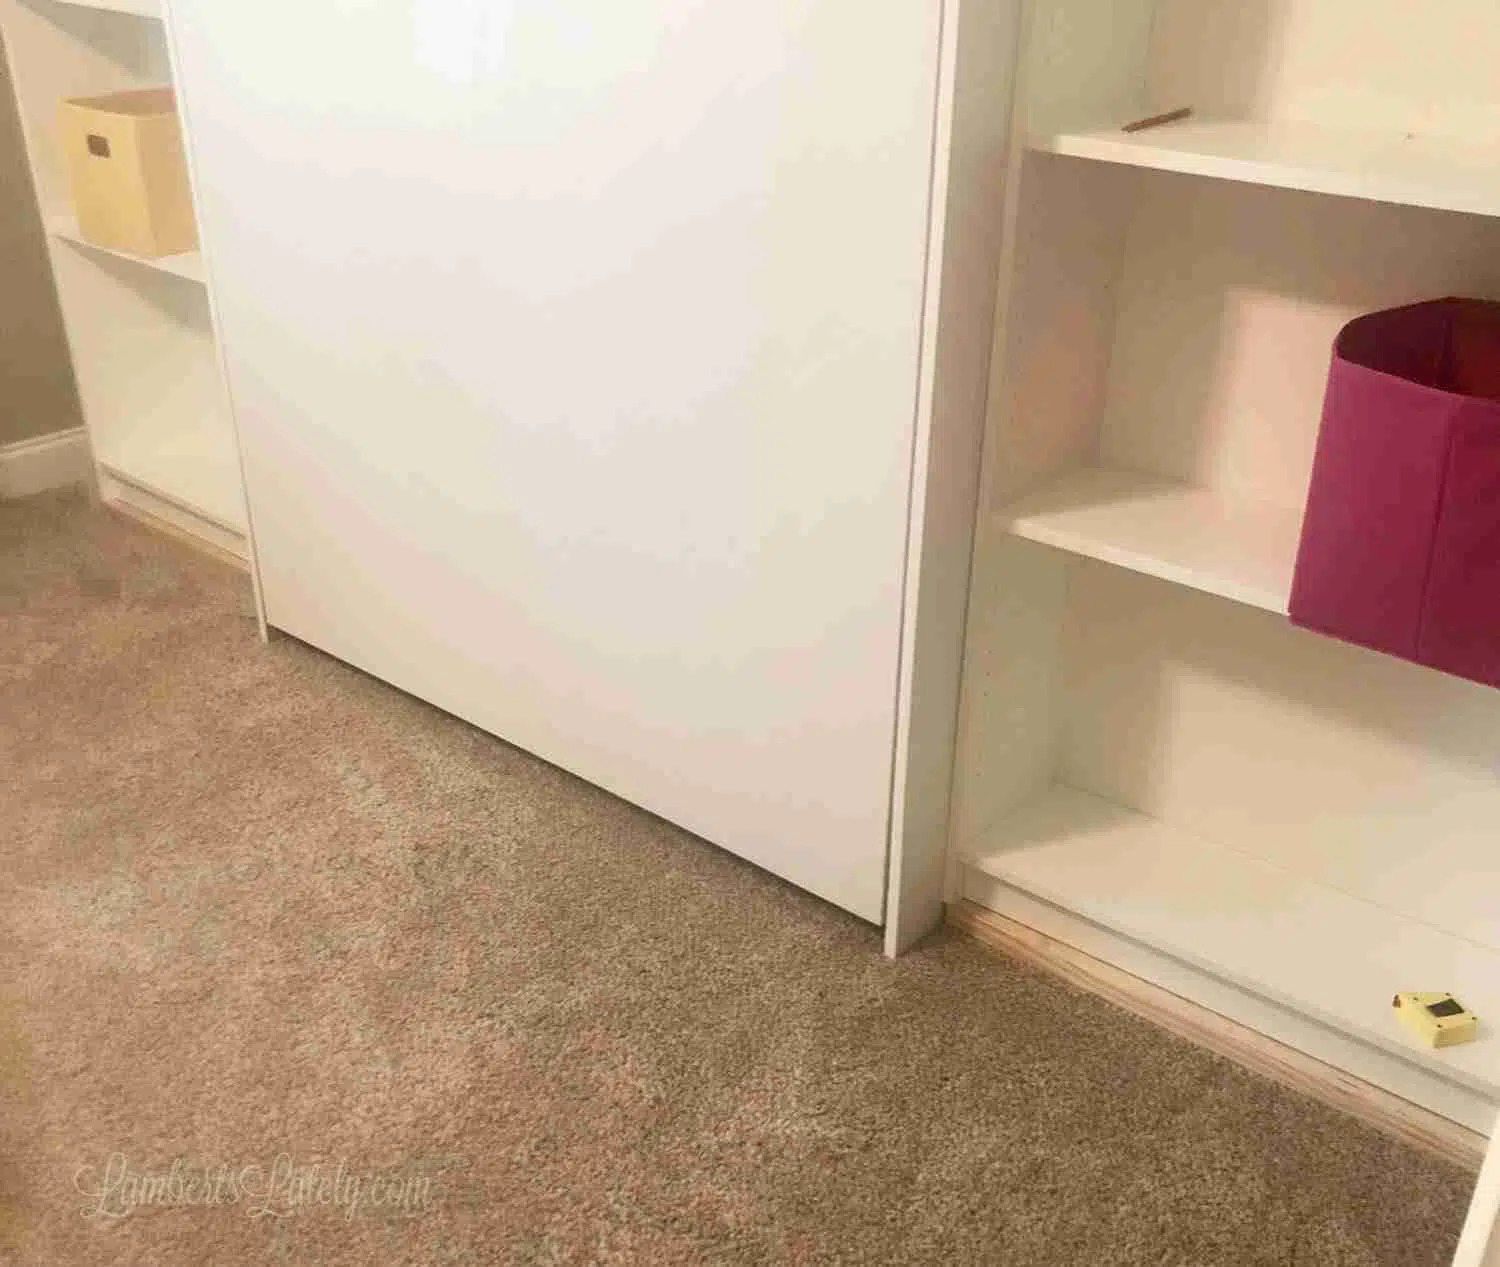
Secure to Studs: IMPORTANT! This is a heavy unit. You must anchor the bookcases and the bed header to wall studs. If you don't, the bed can literally pull the wall down when you open it.
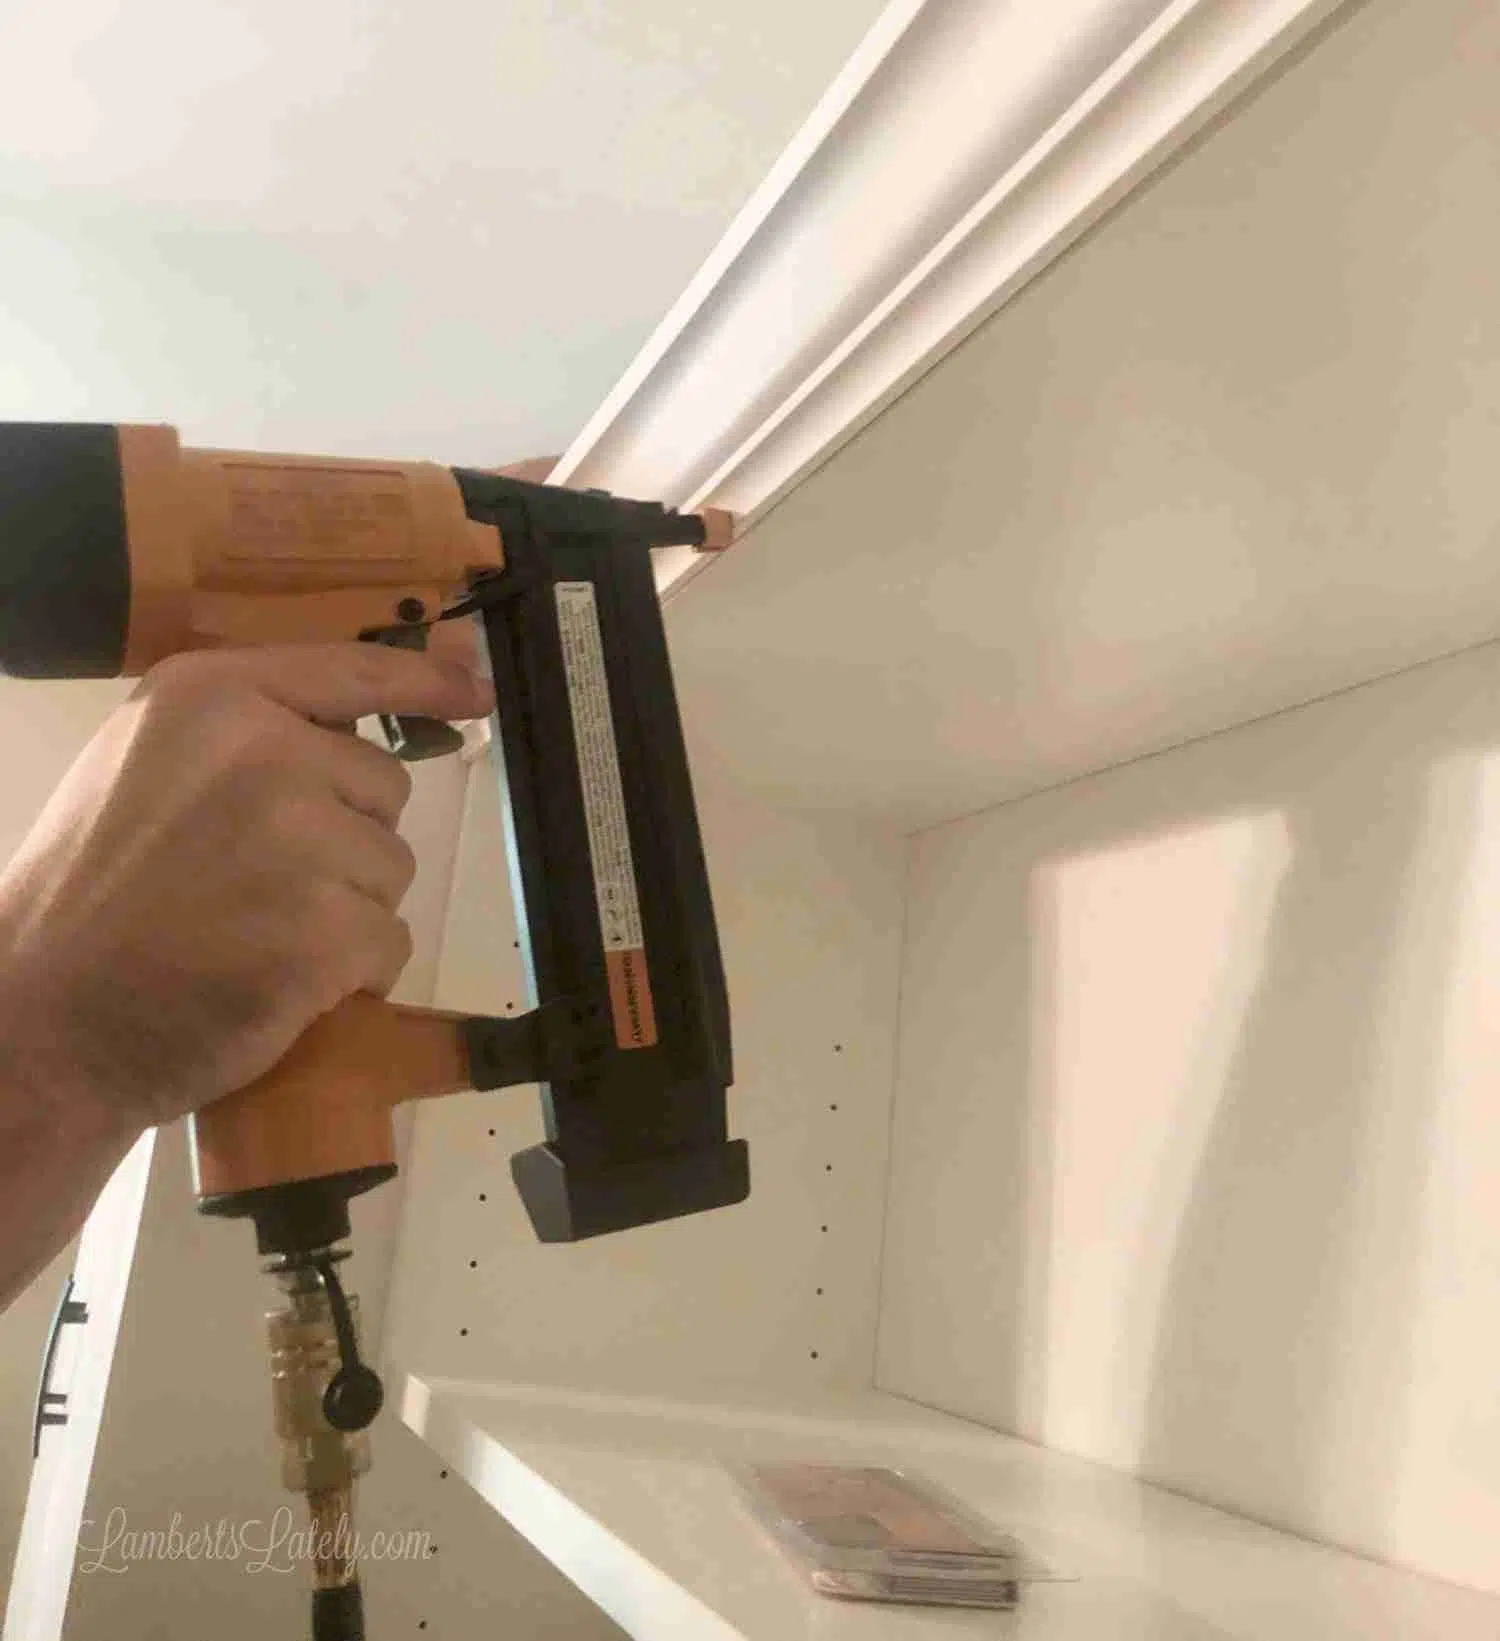
The "Secret Sauce" (Molding & Caulk): To truly hide the fact that these are IKEA shelves, we added crown molding to the top and baseboards to the bottom.
Full disclosure: crown molding is my worst enemy! My brain just doesn't do angles. But here's the trick: don't stress if your cuts aren't perfect. A little bit of finishing caulk and a coat of white paint will hide those uneven gaps and make the whole thing look like custom carpentry.
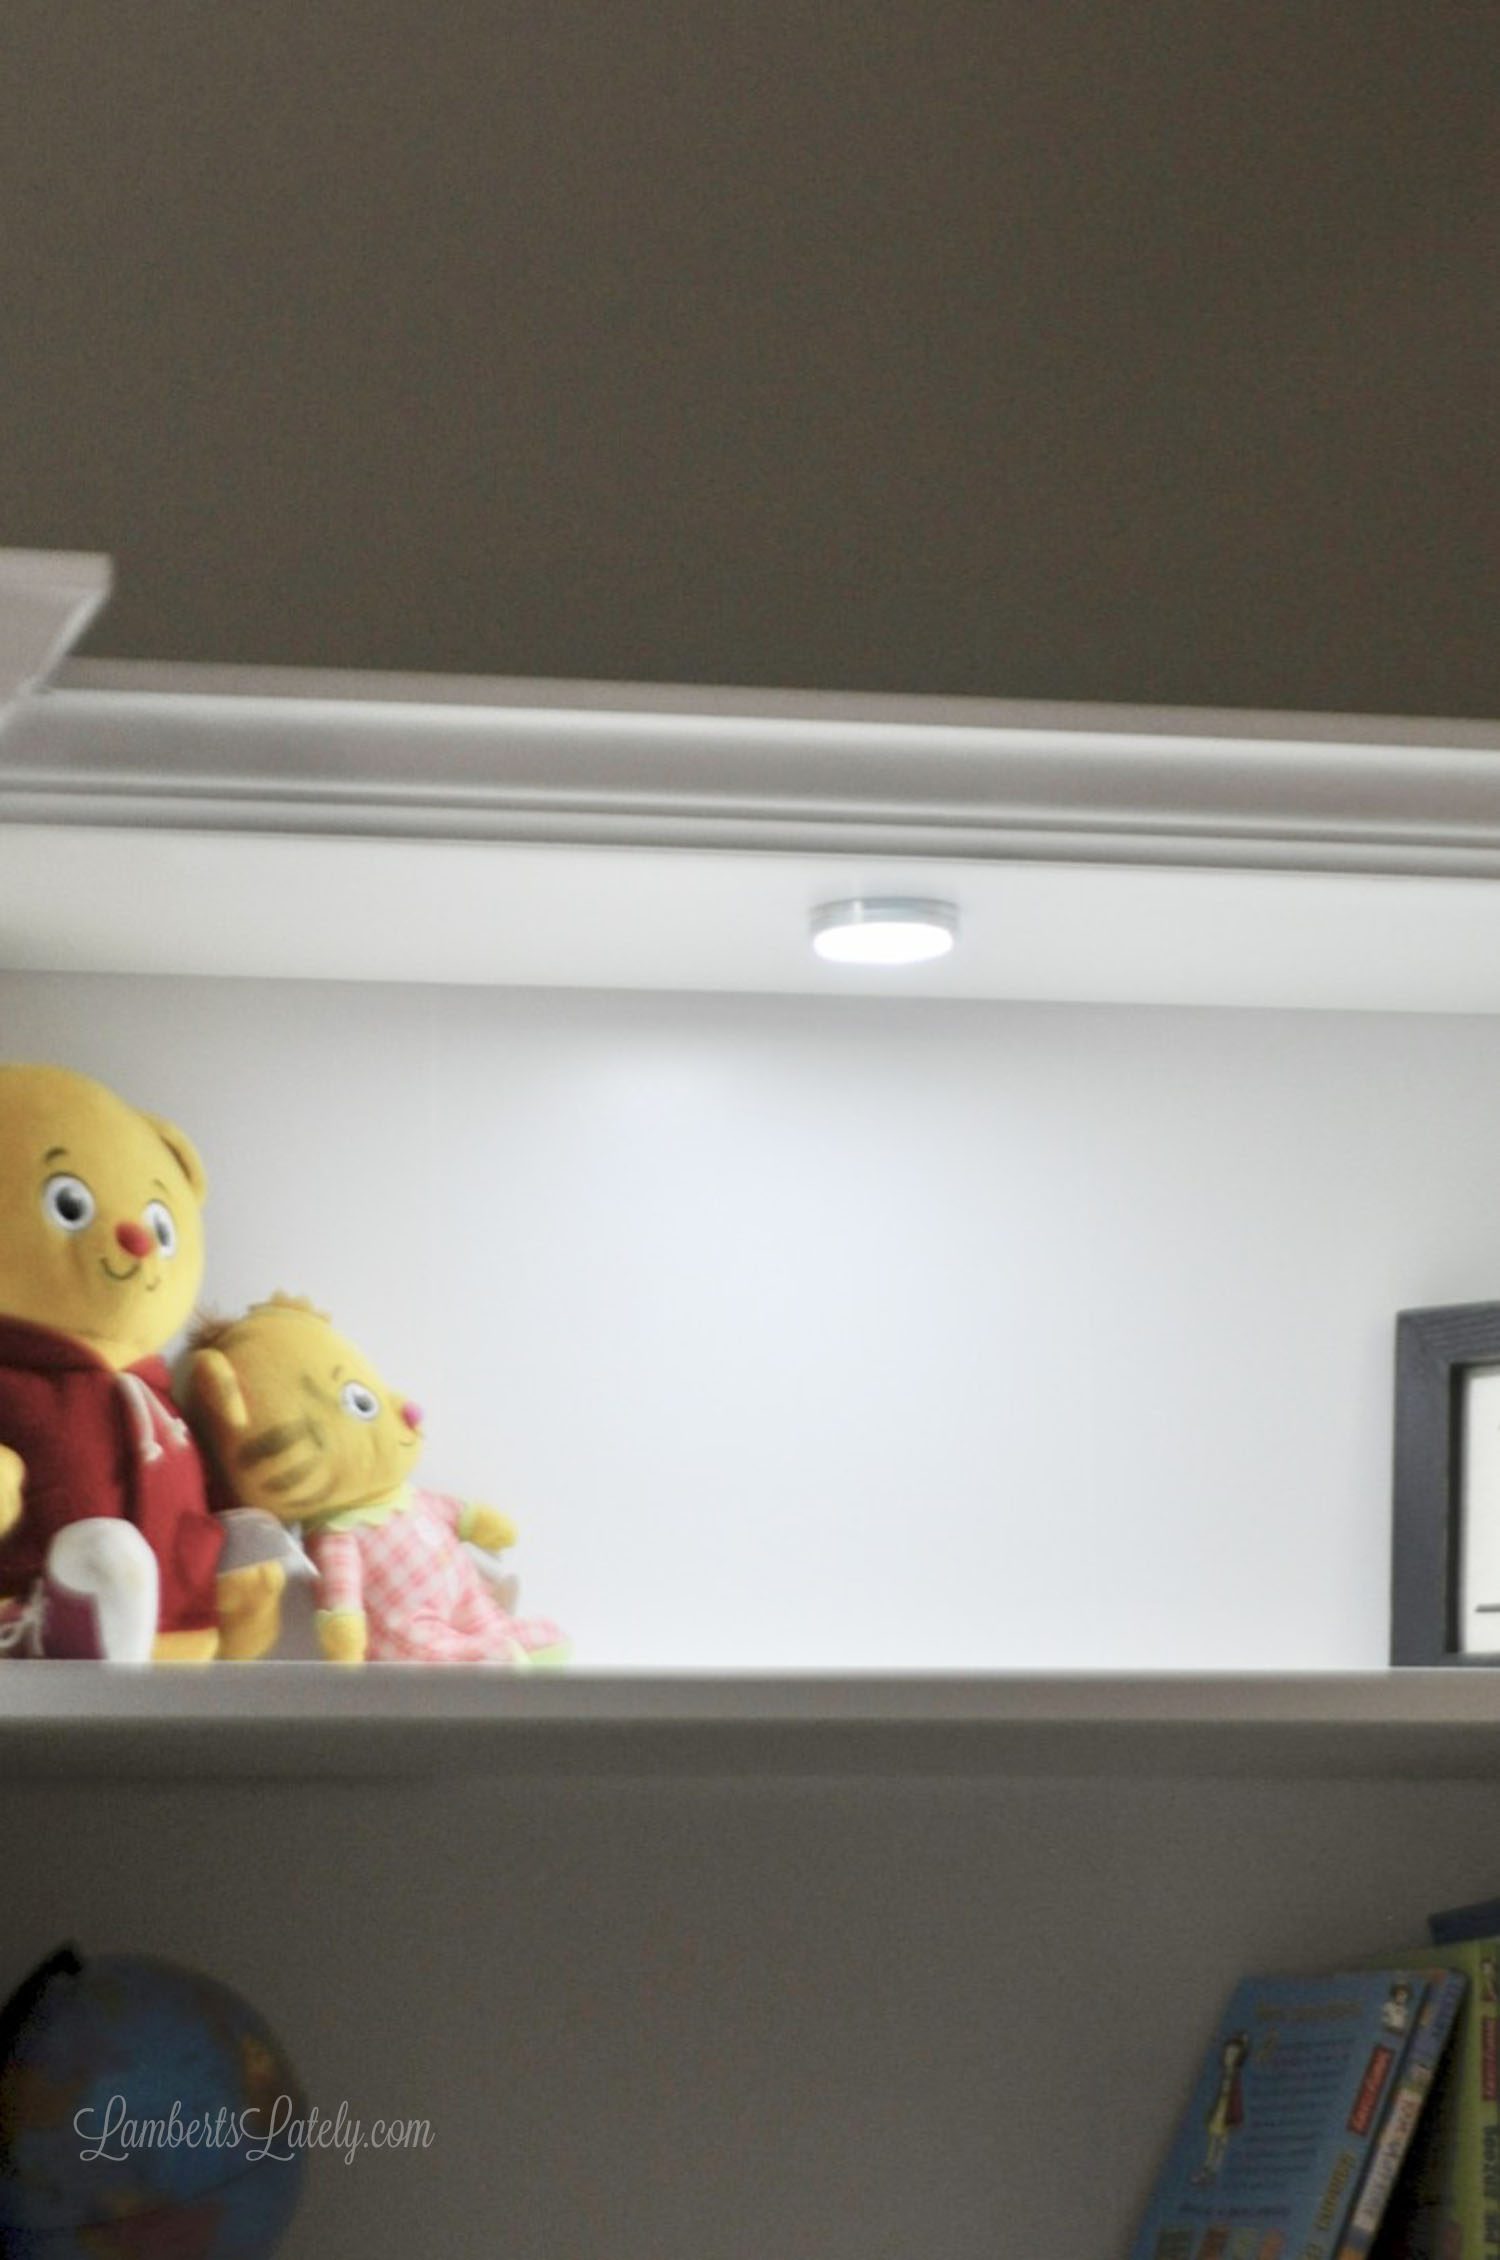
Lighting: We ran extension cords behind the cases before mounting them, then added these puck lights to the top shelves.
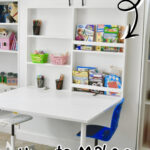
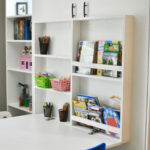
Part 3: Adding the Fold-Out Chalkboard Desk
Since this room is also my office, I needed a desk. We used a modified version of Ana White's flip-down desk plans.
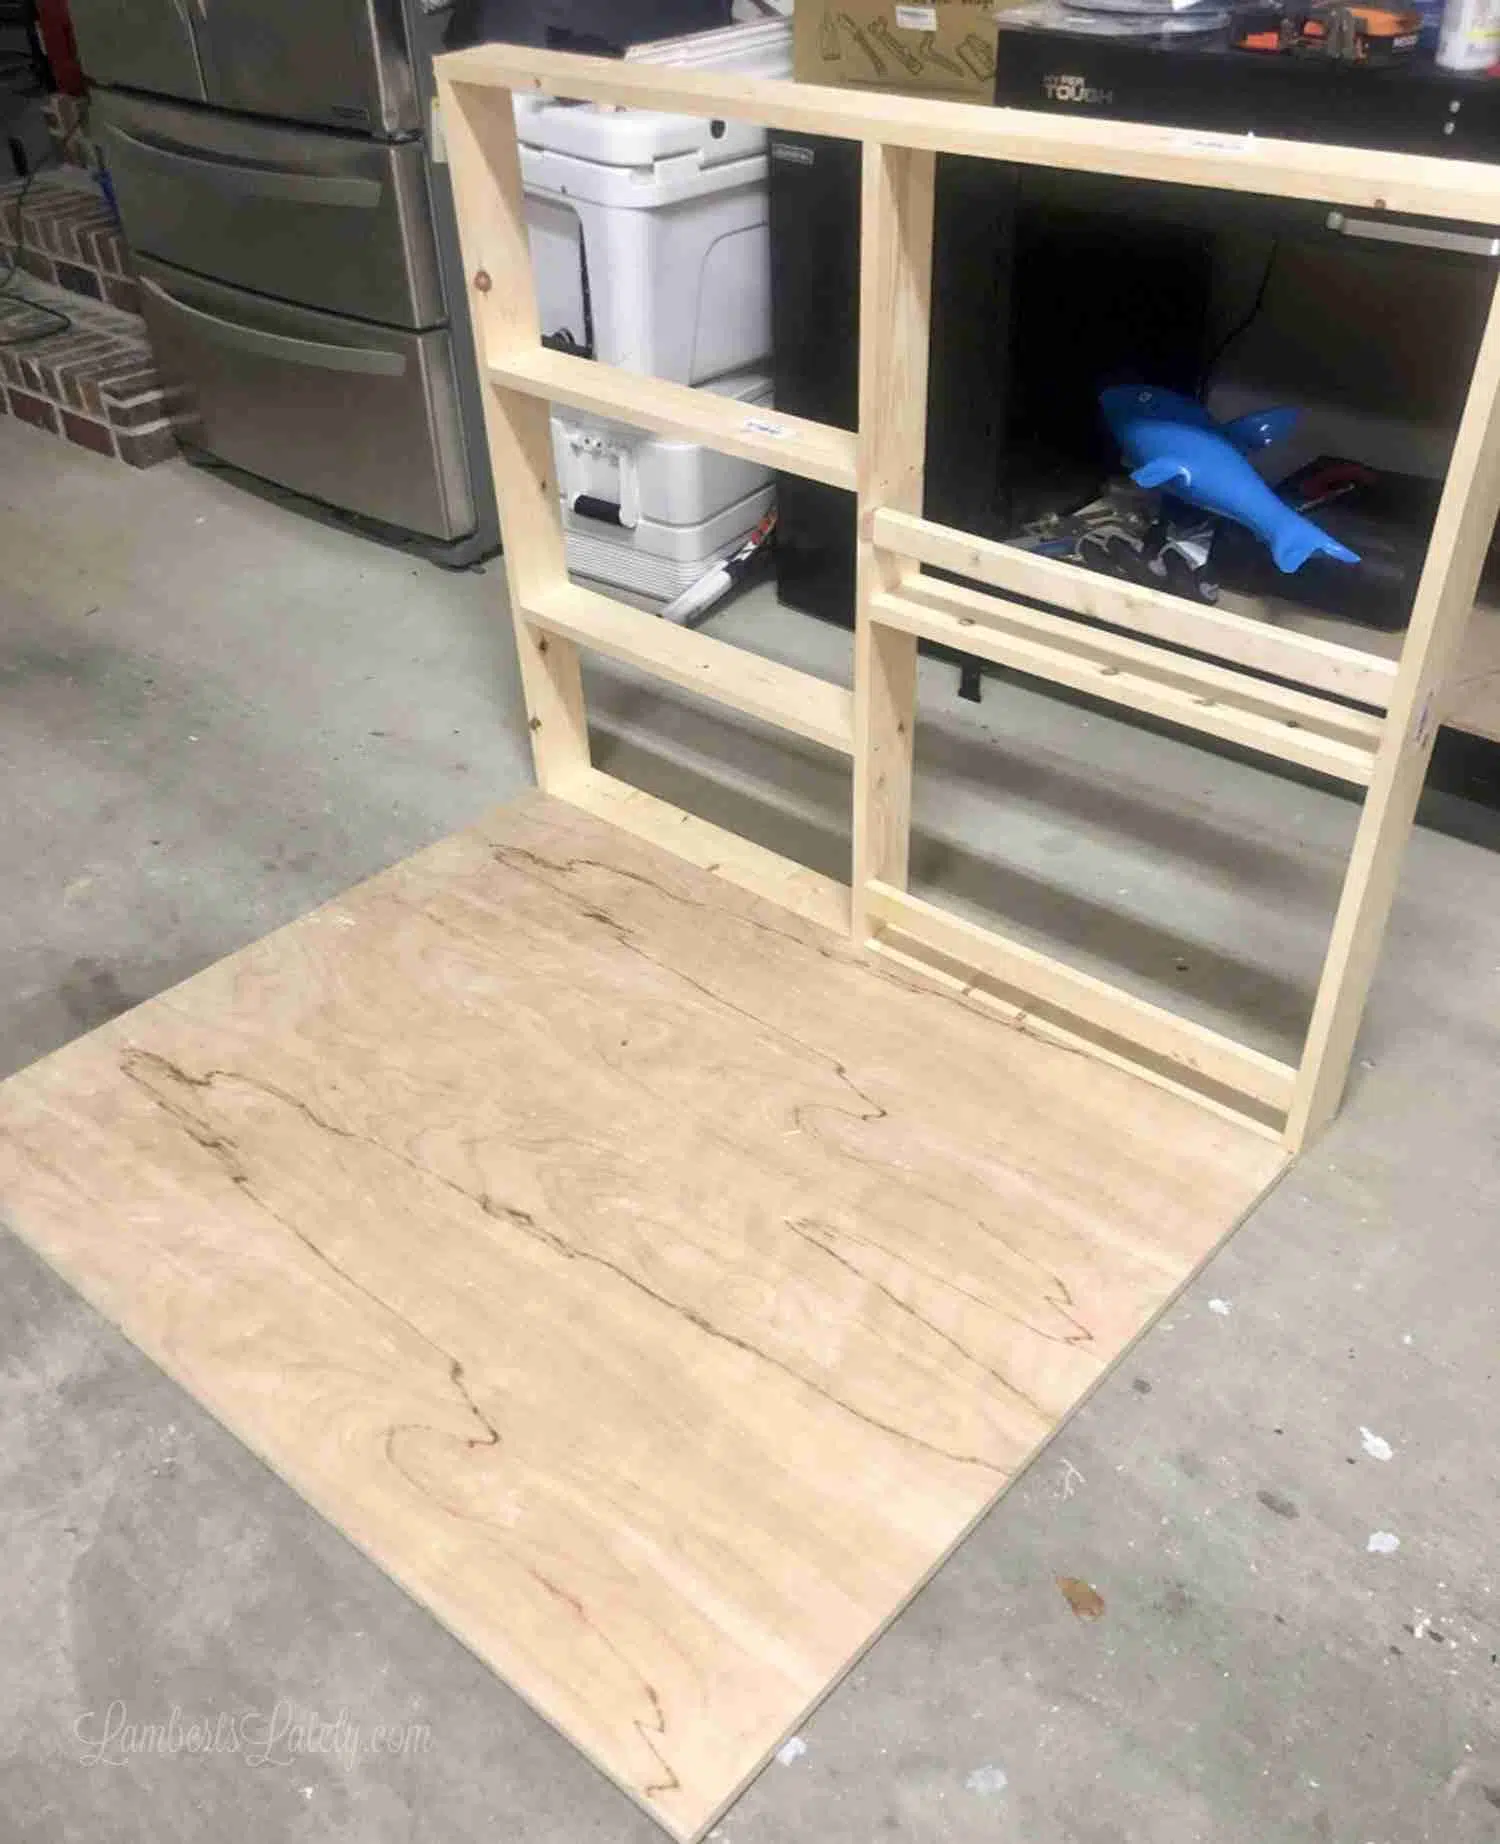
Mounting: We bolted the desk frame directly through the front panels of the Murphy bed. To keep it closed, we used a simple latch at the top and heavy-duty magnets.
Assembly: We doubled the measurements to 48x32" and used 1x4" lumber.
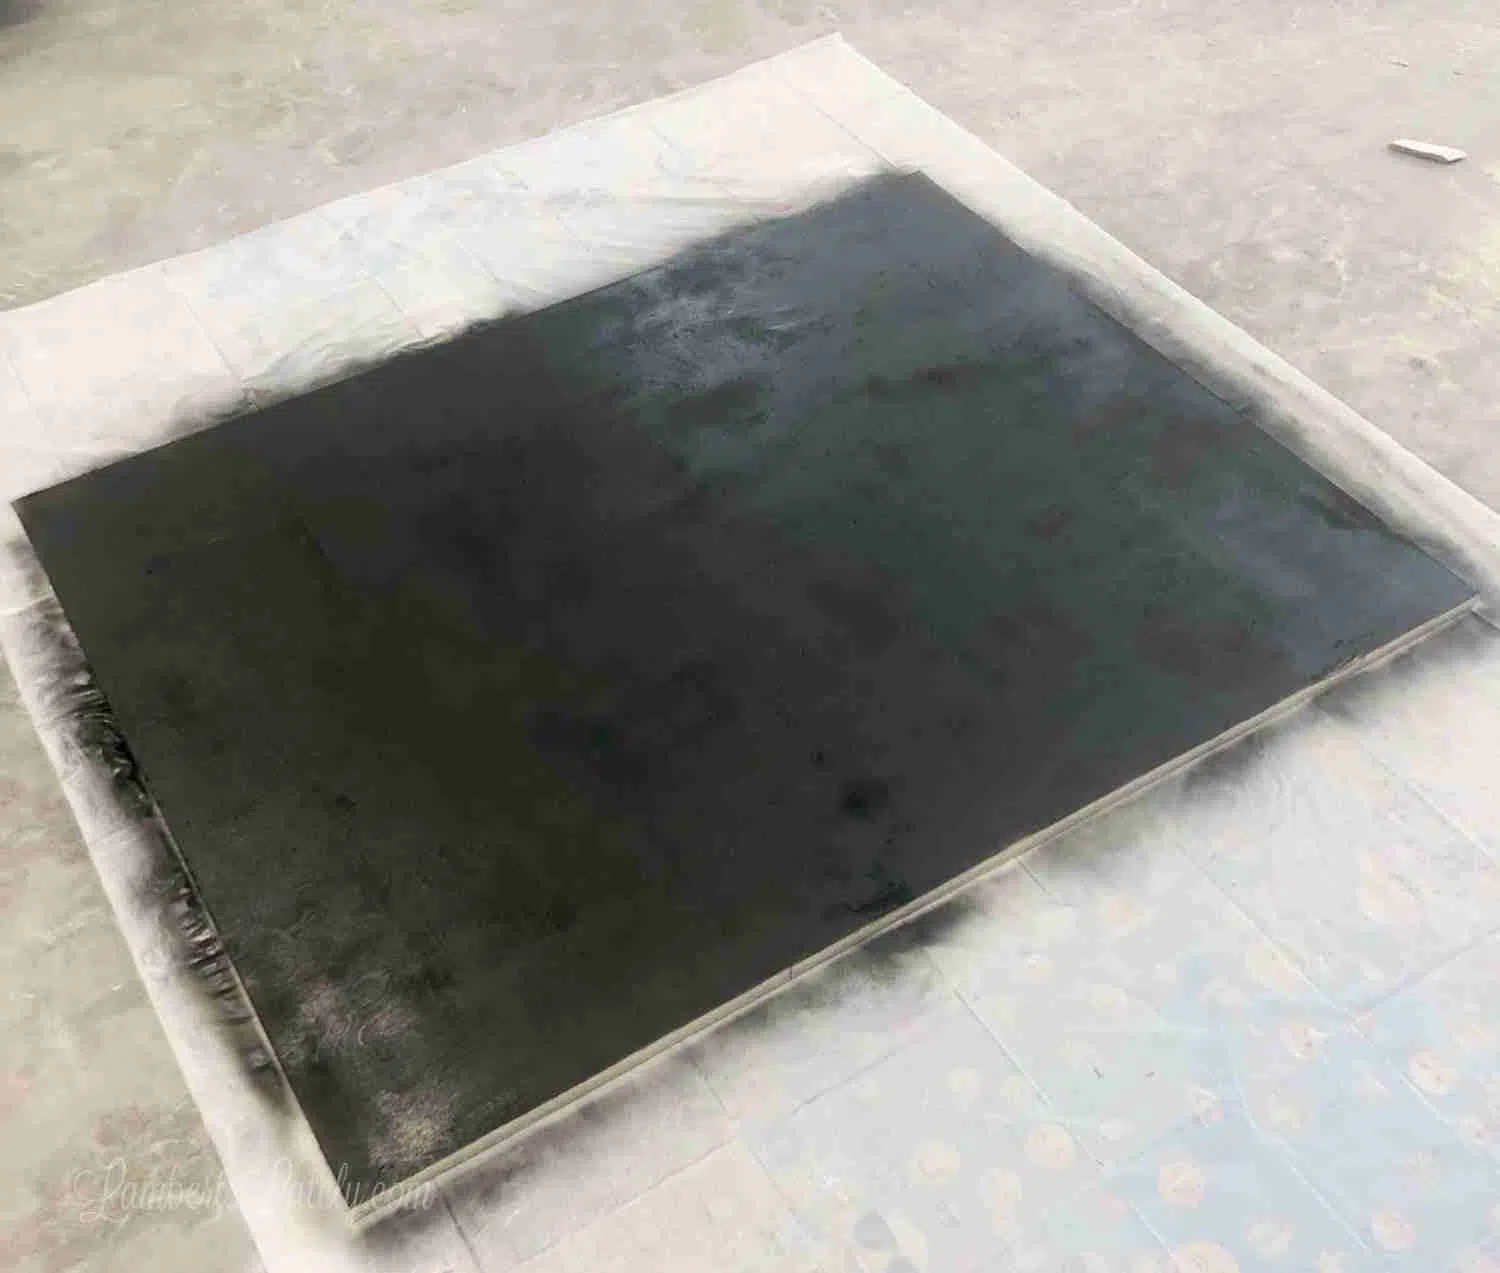
The Finish: I used chalkboard spray paint on the bottom of the desk so that when the desk is folded "up," the front of the bed becomes a giant chalkboard for the kids.
This project was a ton of work and took us a couple of months to totally wrap up, but it is the hardest-working piece of furniture in our house. If you're looking to save space and your sanity, this is the way to do it!
FAQs
More Craft Room Makeover
This post is part of a series on how we turned our junky guest room into a fun, functional craft room space! Check out more posts from this series...

Leslie Lambert is a lifestyle writer and content creator specializing in home organization, family recipes, and intentional living. With 17 years of experience in blogging and digital storytelling, she helps busy women create calm, purposeful homes they love.
Completely impressed by this! Amazing work. Question...why not take up the entire wall...add shelves on top .. something on sides ..?
The big reason is a closet door on the right side (you can see it in the pictures). If we had gone all the way to the wall, it would have blocked the door. We wanted it to be symmetrical, so it couldn't go to the wall on the other side either. Plus, the Ikea bookcases just don't come in the perfect size for the wall.
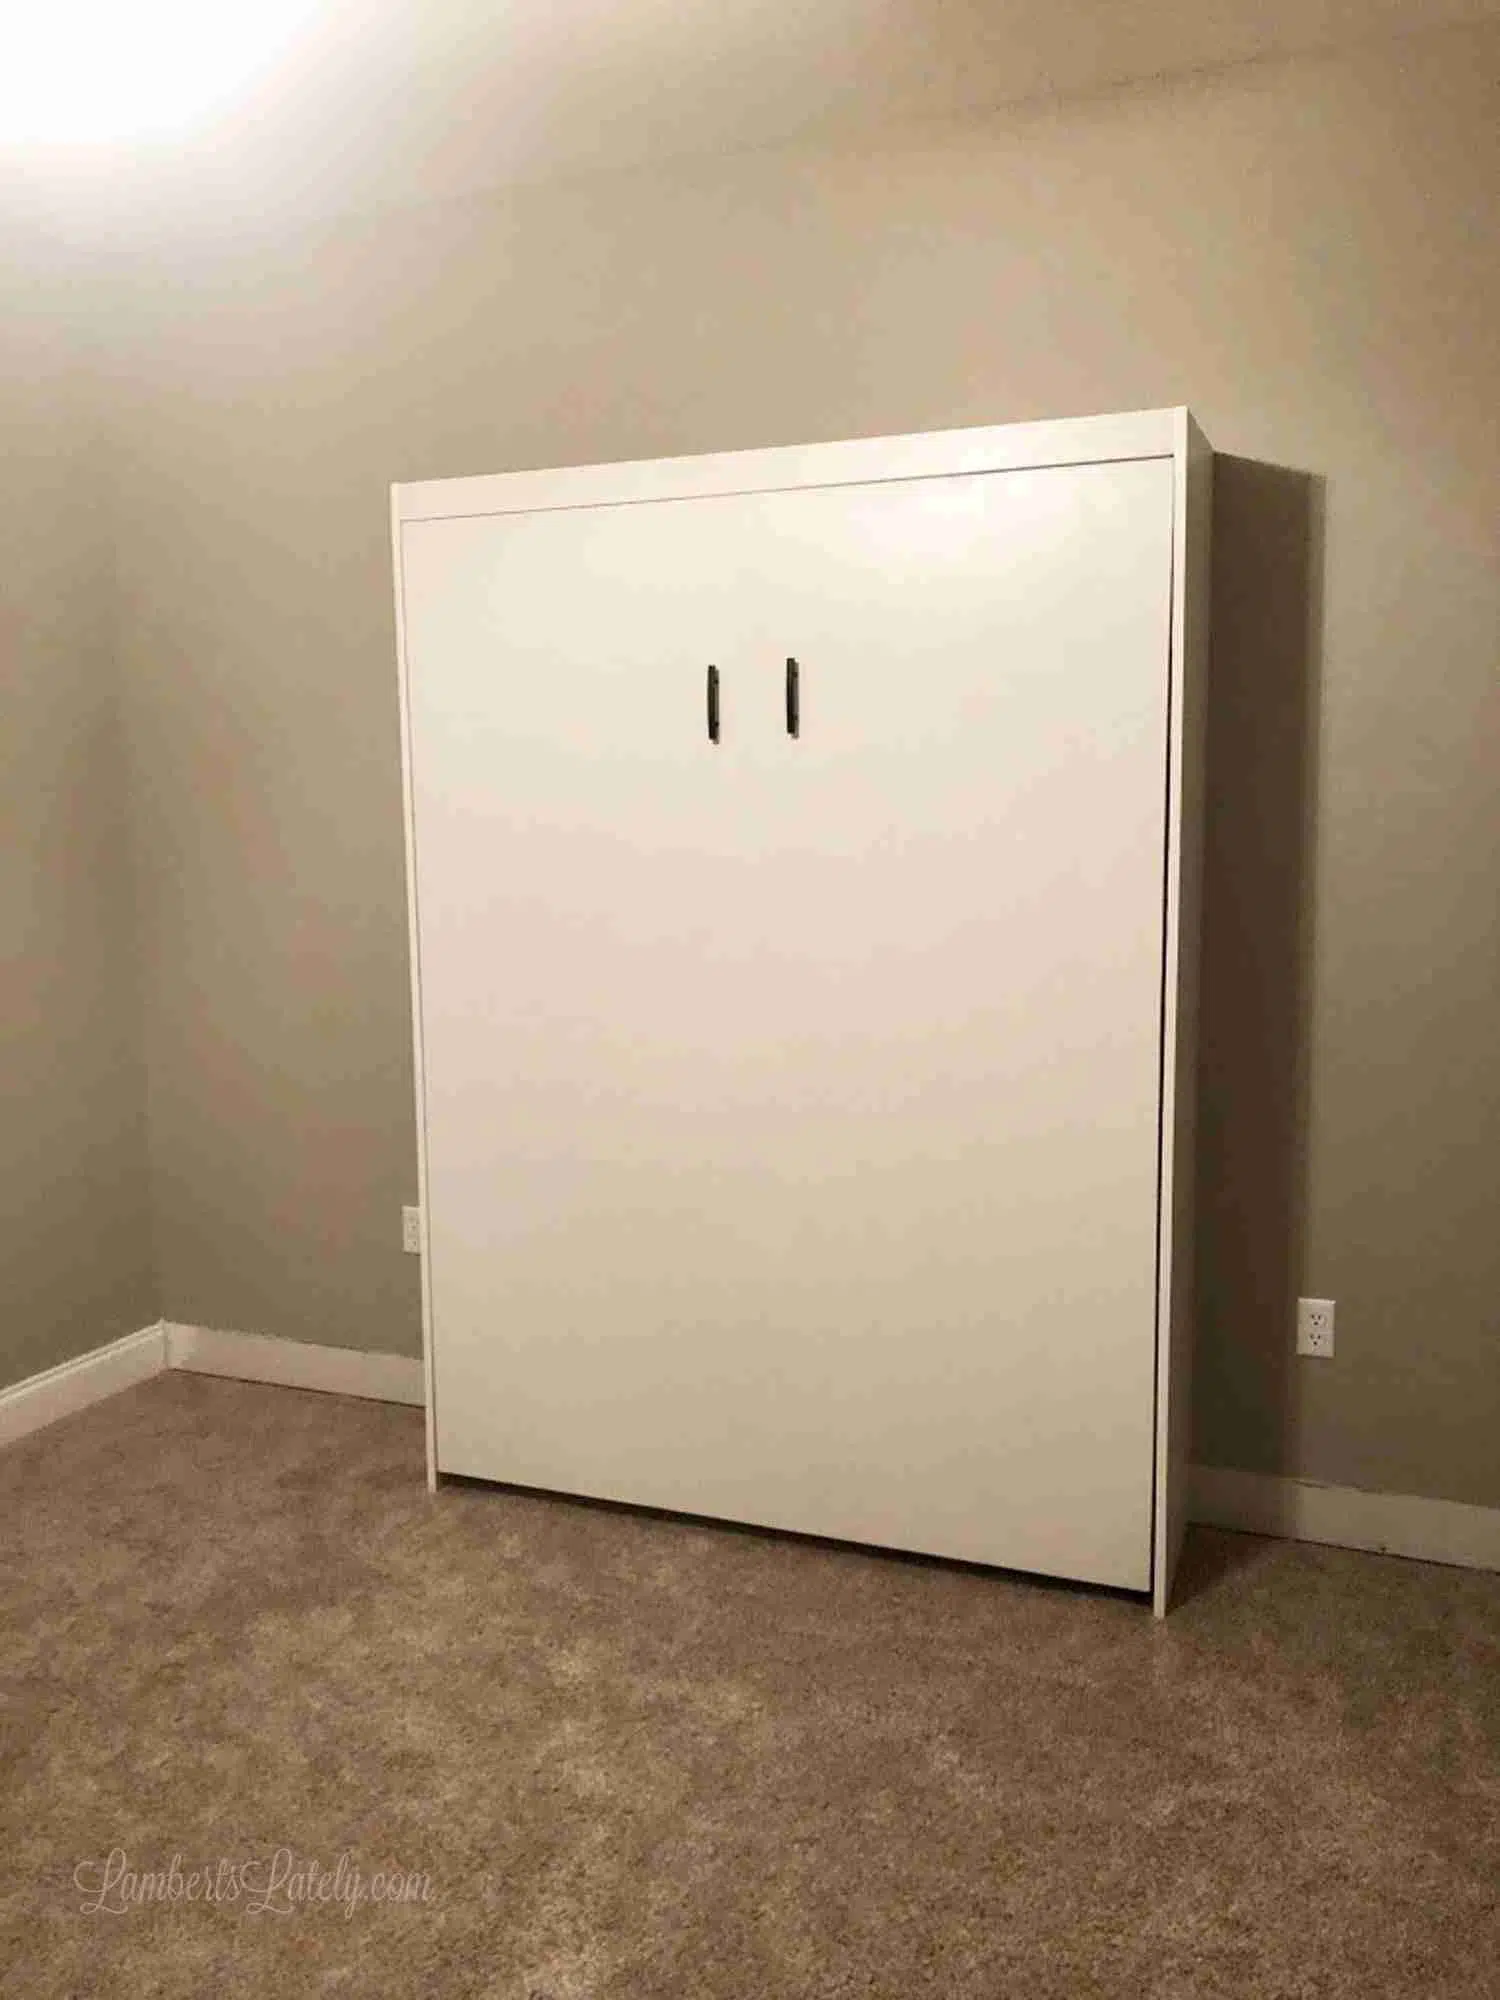
Hello there! Thanks so much for your post and detail. We've got the murphy bed kit, now just planning what we want to create around it 😊 Do you happen to have any pictures with the desk closed? Noticed all were with it open.
I'm so sorry for my delay in replying! I went back to my original photos from this post and found one...I just updated the post with a picture of the desk closed. Check right above the FAQ section!
Hi! Thanks so much for this. Considering building something for my daughter's small-sized bedroom, but I'm a total newb to DIY projects of this caliber. About how long do you think this project took you in full?
Hi Ashley! I would say it took 1-2 months of weekends (maybe a few hours each weekend) to complete.
Love this. Can you provide the measurements of the Murphy bed w/o the cabinets?
Hi! The kit makes a bed that's roughly 66" wide.
Hi! My husband and I are looking for this exact set up for our office/guest/craft room. For the bed, is the mattress you use just a regular mattress? We're wondering if we need to buy a special mattress that can be stored vertically in the Murphy bed structure, or if we can just use the queen size mattress we already have.
Yes, just a regular mattress! I do recommend trying to get one on the thinner side.
Hi! I'm so impressed by this. Thank you so much for such a detailed posting about it. What you've done would be perfect in my son's room. A few questions... when the bed is down, I imagine the supplies and books become disheveled? Realistically, how deep of a matress would fit when the bed is closed? I already have a mattress and hoping I can still use the current one. Thanks again for the amazing post!
You are so welcome! We try to store as few supplies in that front desk as possible so it's easy to pack up and fold down when needed. We do typically take those out when the bed is folded down so they don't fall all over the place.
My husband and I are big DIYers, however have multiple other projects going on currently. May I ask the forbidden question, is there somewhere you seen this bed to purchase? I really want this exact bed and am willing to pay versus build. It looks AMAZING. I just don’t have time right now for another project, but would love this in our Lakehouse for our grand babies. Thank you so much!
I have, but it's a) much more expensive and b) difficult/very costly to ship. I totally understand not having the time though, this one is time-consuming! But, if you check places like etsy, you might have some luck in finding a custom builder.
This is such a fantastic idea! I love how you combined the Murphy bed with the desk and bookcases for both functionality and aesthetics. The step-by-step instructions are super helpful—I can’t wait to try this in my own space. Thanks for sharing!
This DIY Murphy bed project is amazing! I love how you incorporated the desk and bookcases for a multifunctional space. The step-by-step instructions are really helpful, and the photos make it easy to follow along. Can't wait to try this in my own home! Thanks for sharing!