
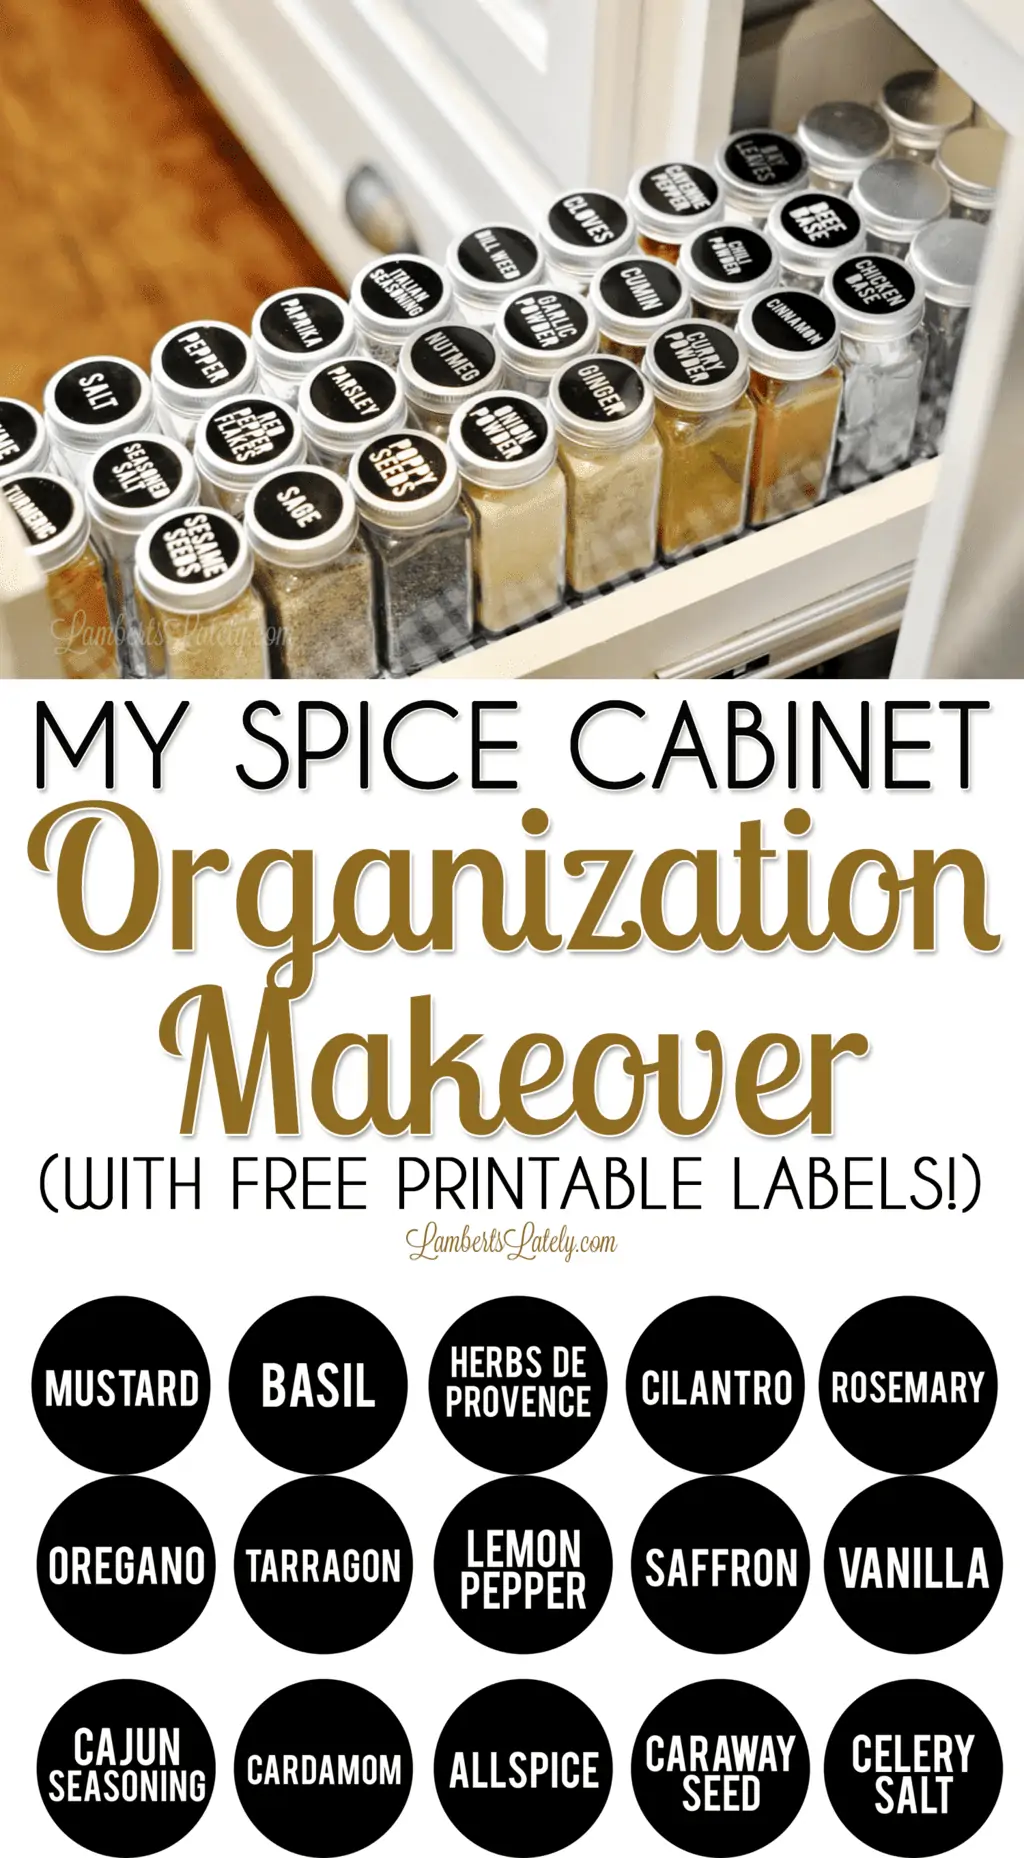
Get ideas on organizing a spice cabinet, including what containers to use, how to label (with free printables), and ways to store in a pull-out spice drawer.
Affiliate links used in this post. Read more about my link usage here.
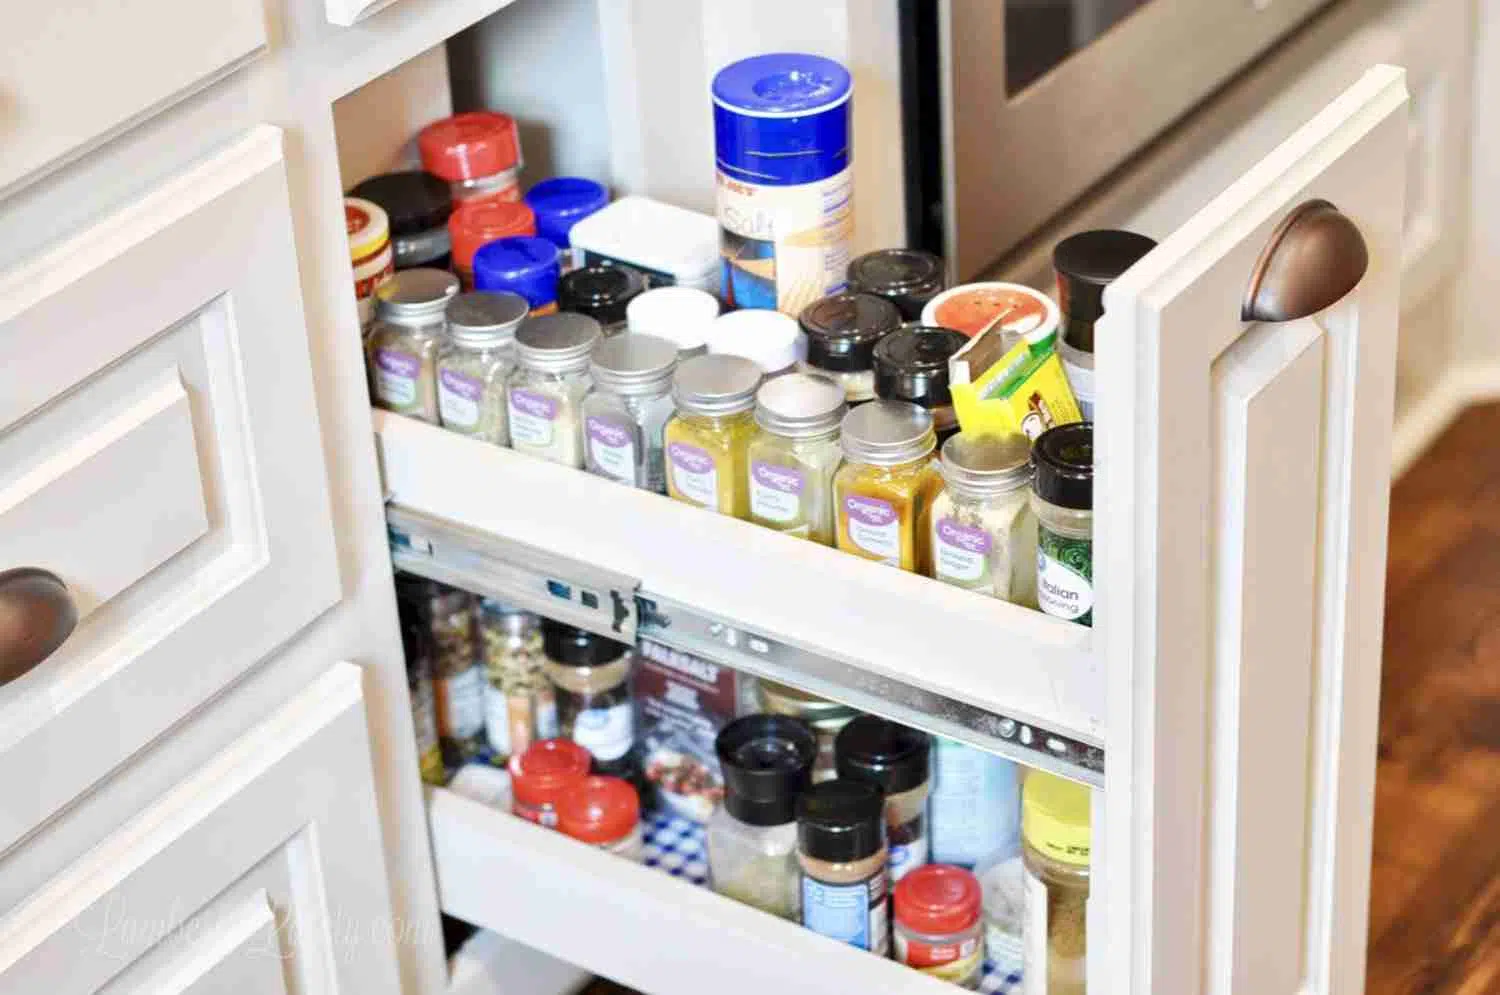
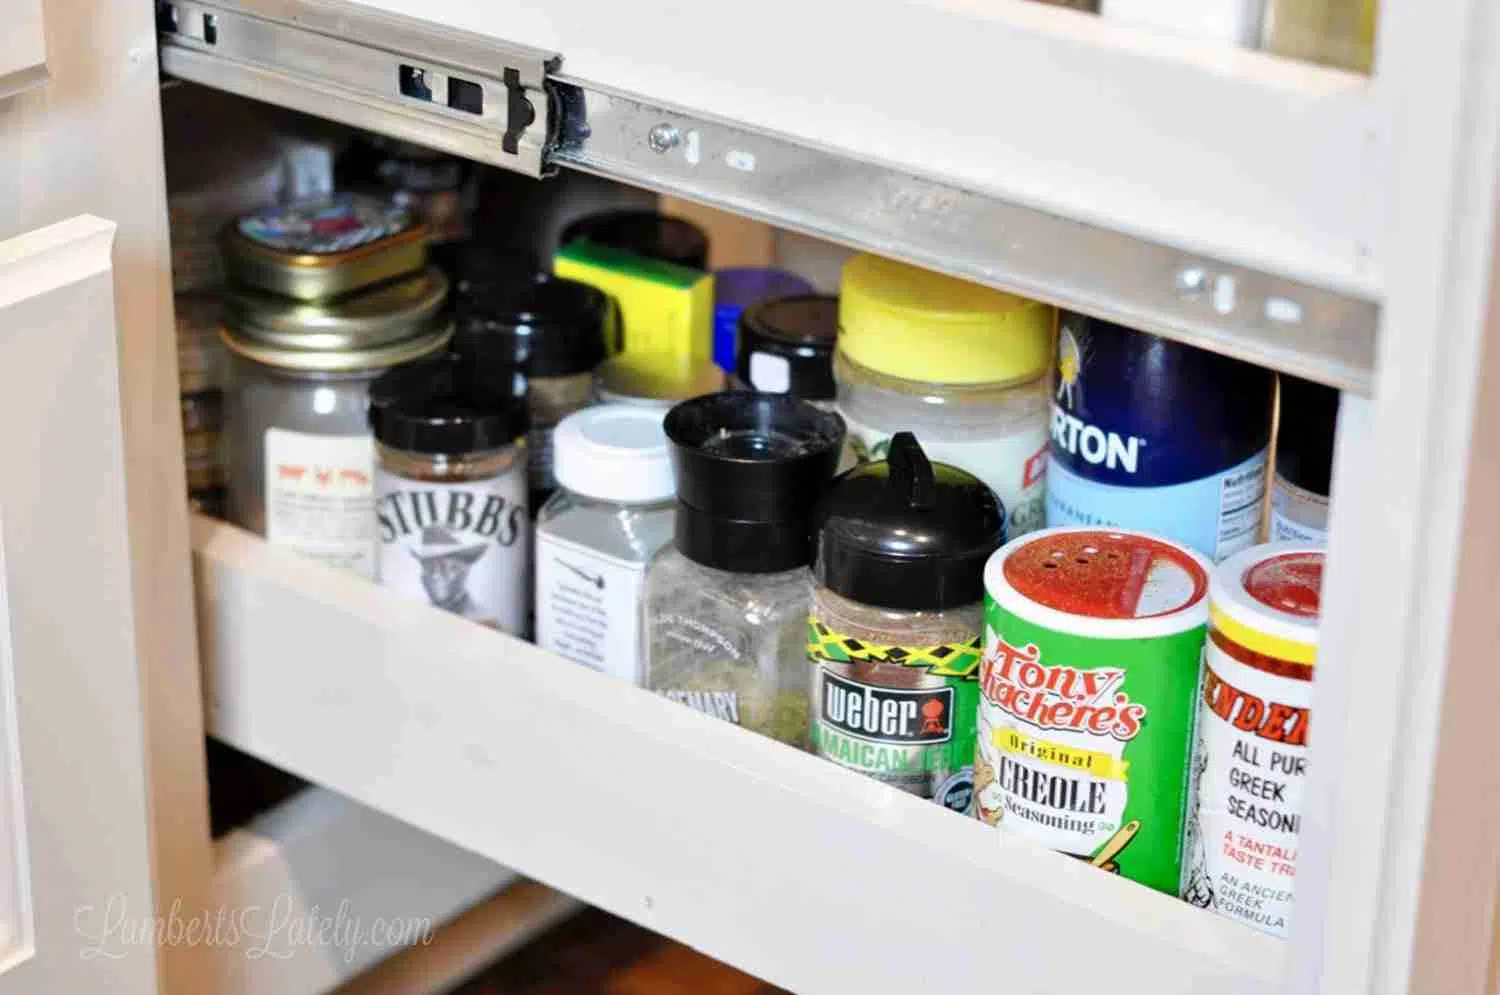
Not all that long ago, our spice cabinet looked like this. It bothered me constantly. It was so difficult to find what I needed in this space...there was no rhyme or reason to the organization, there were duplicates everywhere, and it was even kind of dirty from spilled spices.
One Saturday afternoon, I had had enough. I wanted to give this area an organization makeover for awhile...I finally carved out a few hours to do it! It just required a few uniform containers, a vinyl cutting machine machine, and a little bit of patience.
Step 1: Take all of your spices out and organize/clean/purge.
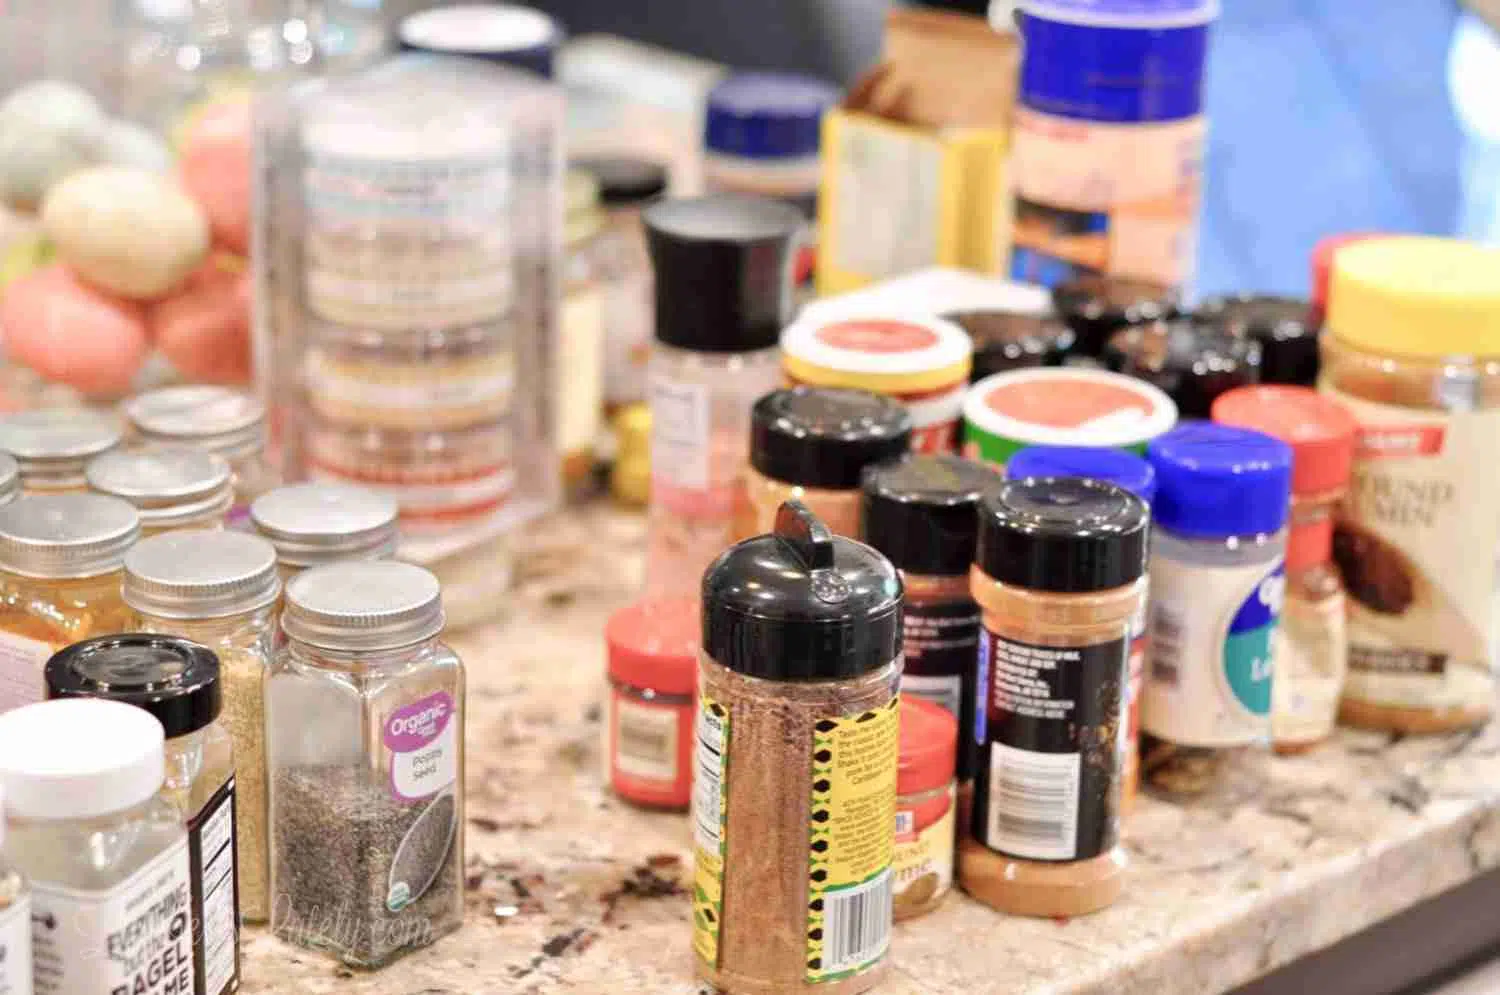
Just as I do with any organization project, the first thing I did was to remove every single bottle from the cabinet. Starting with a clean slate is a super important step - that includes wiping out your cabinet while it's empty.
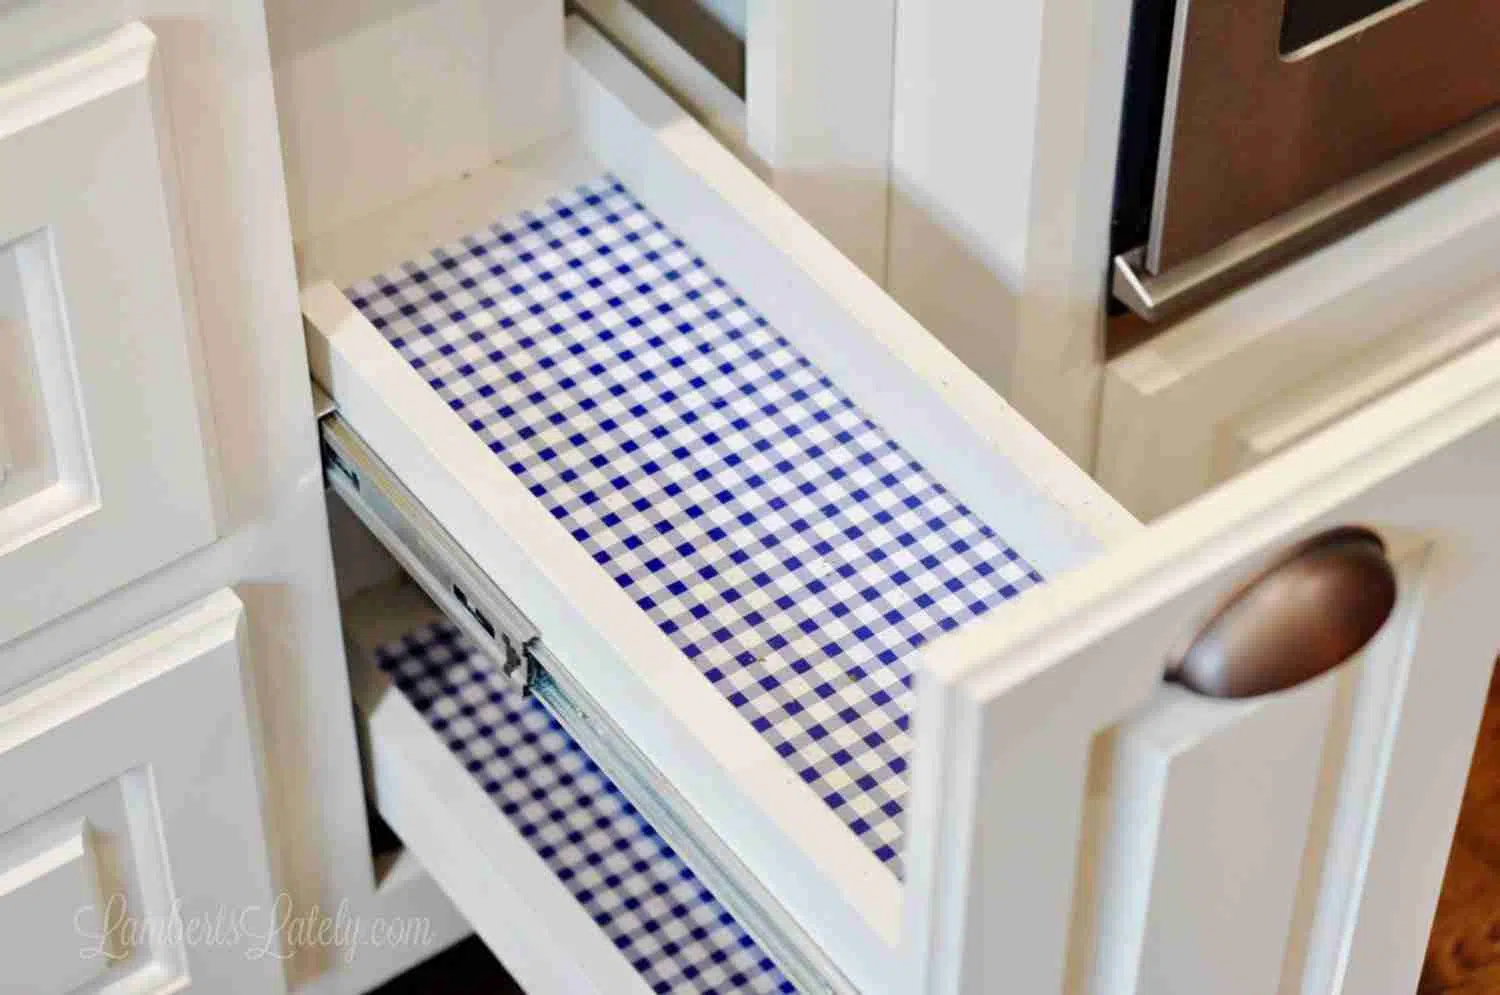
(Our shelf liner can be found here.)
Once the bottles were removed, I consolidated the duplicate spices I had (noting the soonest expiration date) and threw out expired containers. I also grouped together spices that needed to stay in their original bottle, grouped the bottles that could be reused, and ones that would need a new bottle.
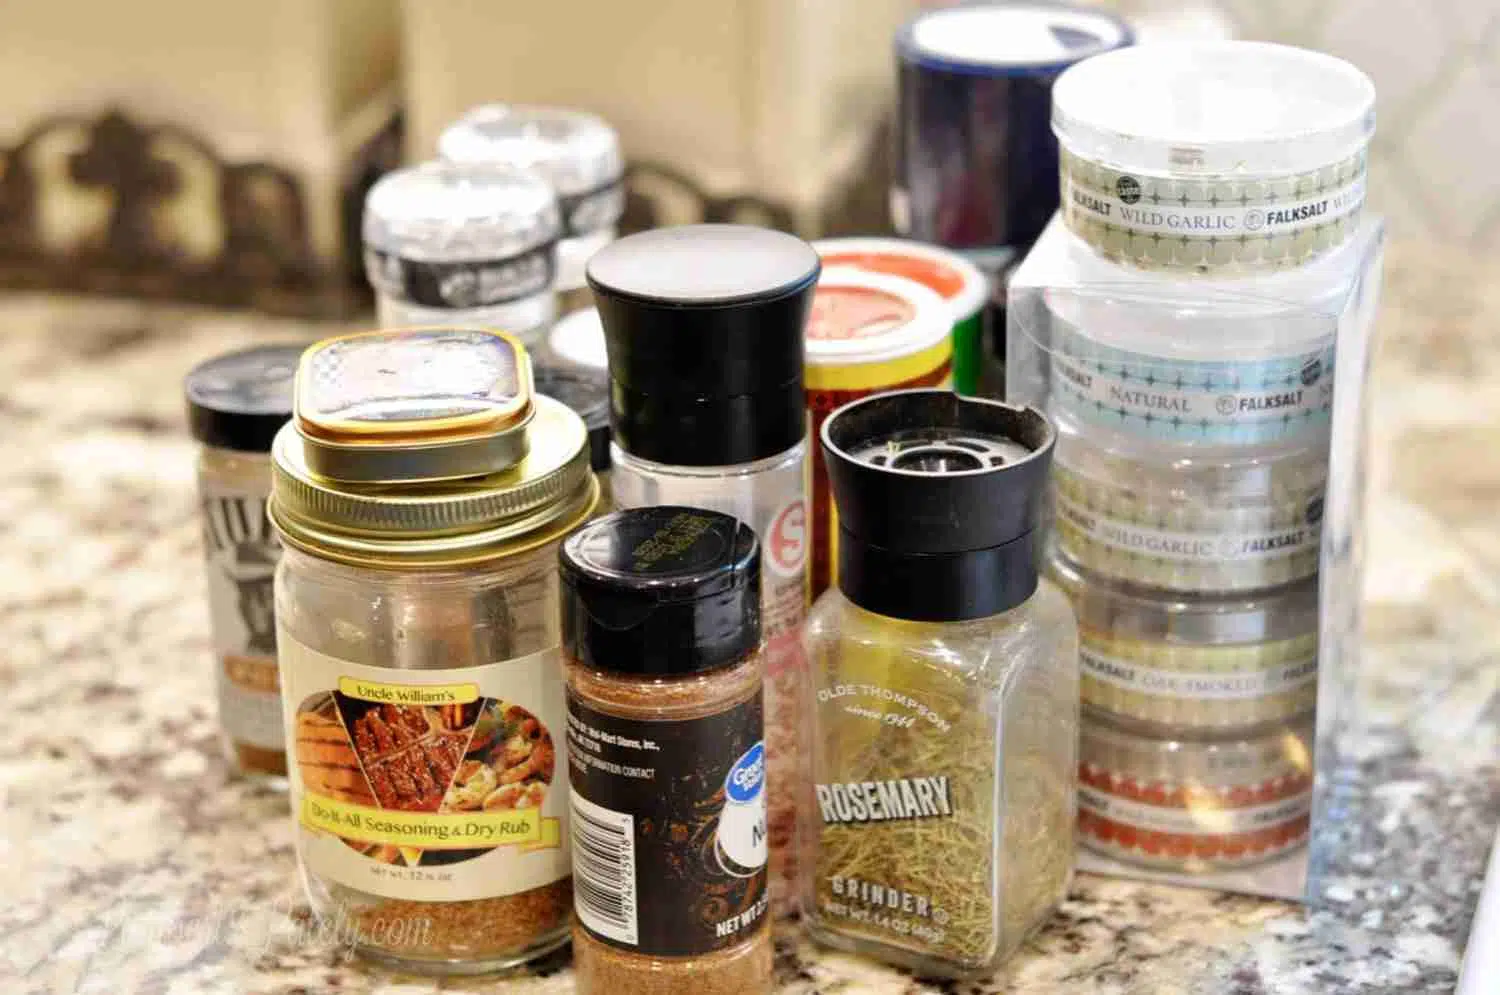
I kept a select group of spices in their original containers. These were oddly shaped bottles that wouldn't really work in what I was using (i.e. the Falksalt to the right), spices that are rarely used, and grinder bottles that required the original container for use. I ended up storing these on the bottom shelf of my spice cabinet...basically out of sight, but still accessible when needed.
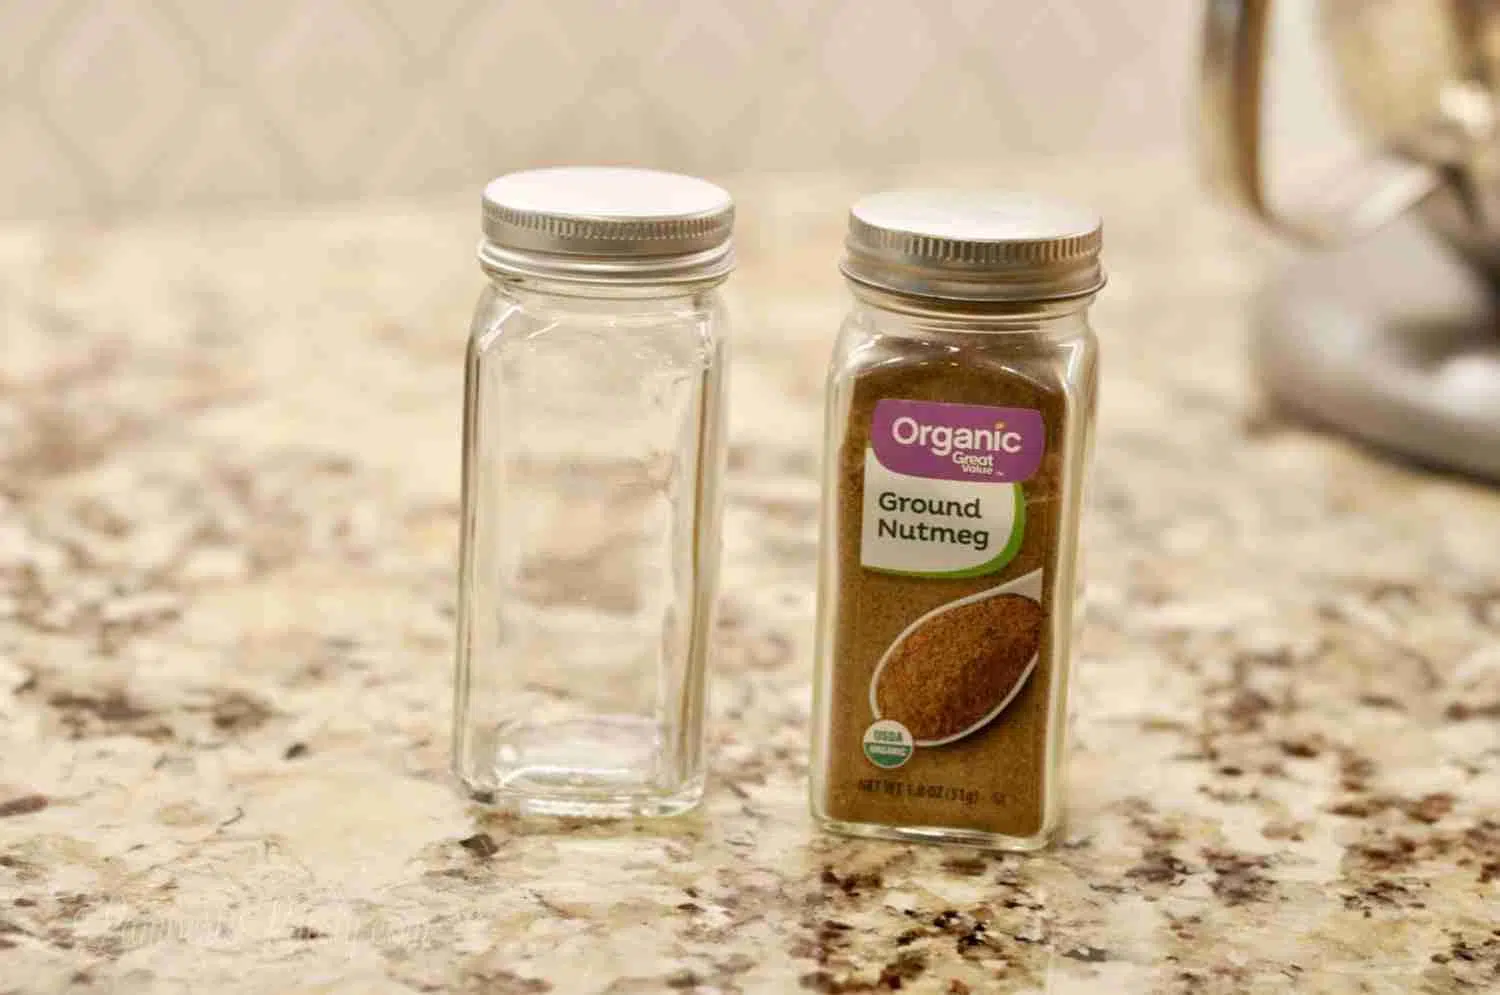
I really lucked up with the glass spice containers I purchased for this. I found them on Amazon - the pack of 25 was perfect for what I needed. They are square (so they store so much easier than round bottles) and happened to perfectly match several of the spice containers I already had! I probably had 10 of the organic spices from Walmart that came in glass containers - they were exactly the same as the ones I purchased, so I was able to reuse all of these as well.
So, that being said - I made a second group of containers from the Walmart organic pile that could be reused.
Step 2: Inventory
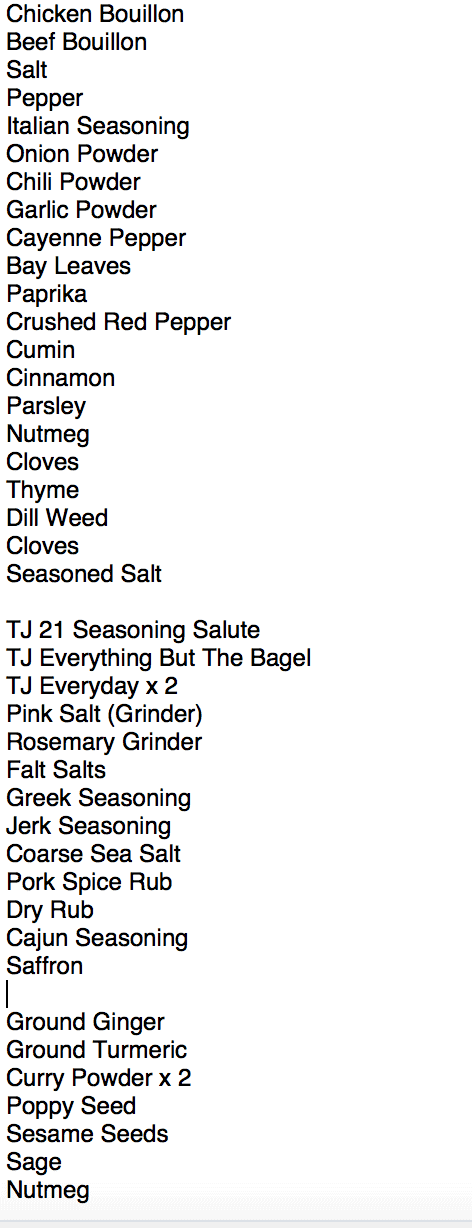
Once everything was sorted, I made three separate lists: spices being stored as is on the bottom rack, spices needing a new glass container, and spices staying in those perfect match containers (that just needed a new label). This way, I knew what labels were needed in the next step.
Step 3: Make pretty labels 🙂
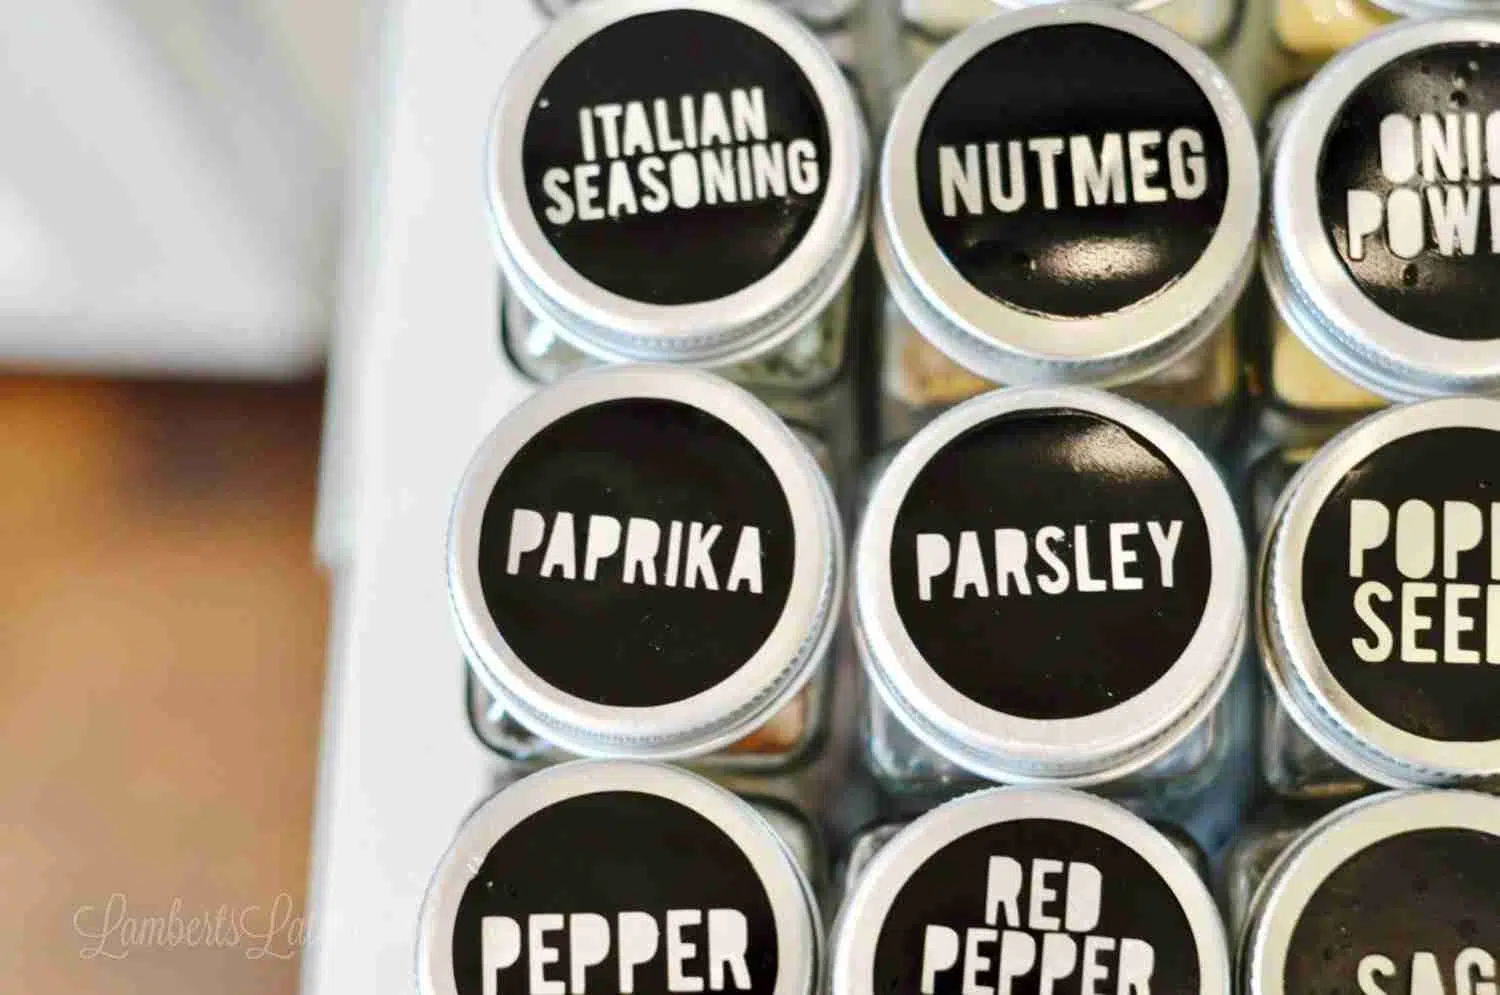
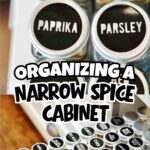
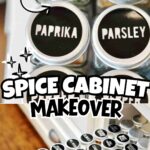
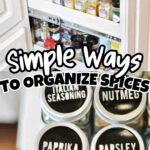
Of course, making everything pretty is the fun part of it all! I created simple labels using my vinyl cutting machine for the tops of the glass containers I purchased. Since we look down on our spice cabinet, it made sense to put the labels on the top - these labels would fit on the side of the containers if desired though. These circle labels are right at 1 ⅜" when printed to scale.

Of course, I had to share them with you guys! There are a couple of different ways to print these. If you simply want to print them on paper or sticky labels from your standard printer, click here for the first page and here for the second page...these versions are in pdf format. These would also be great for my easy packing tape label method.
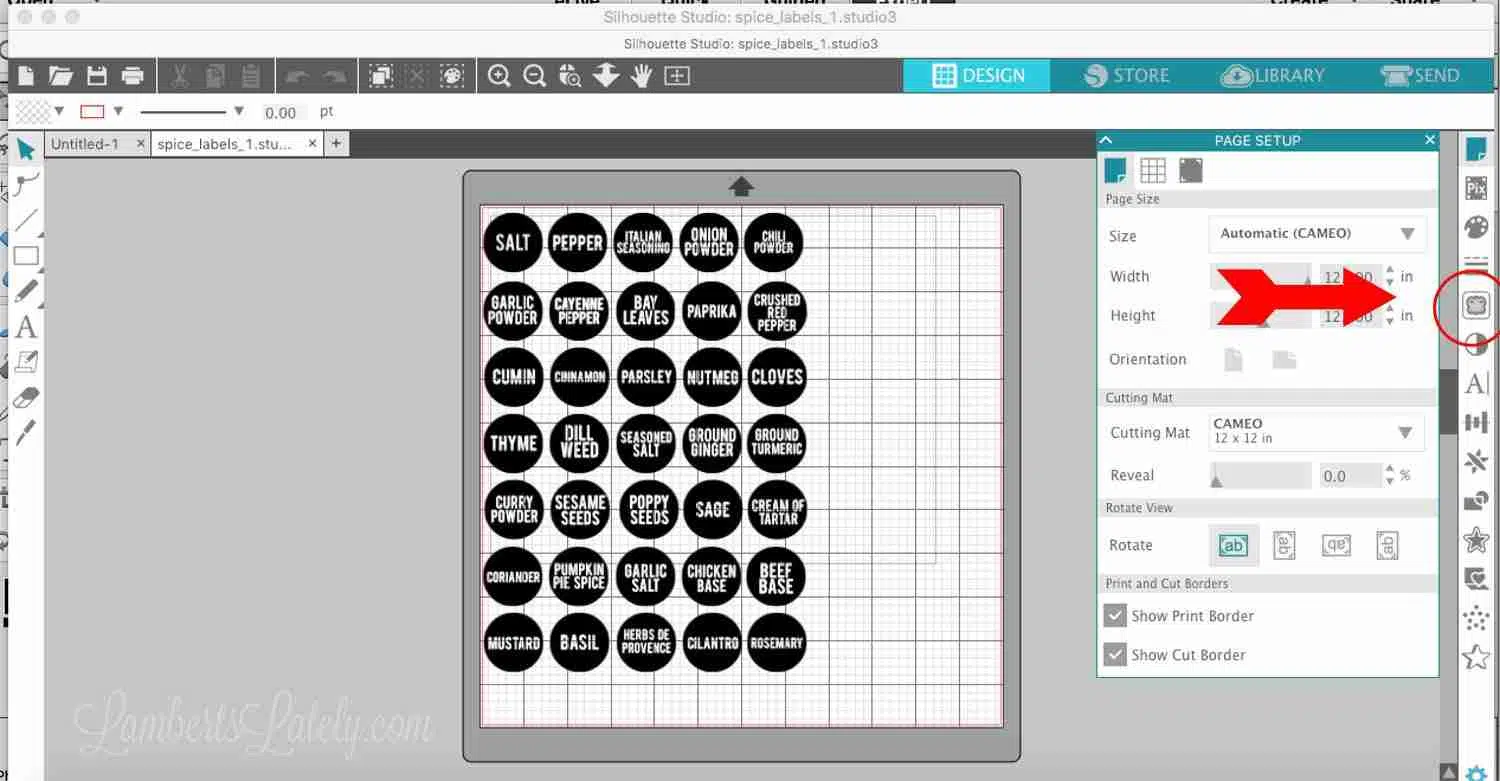
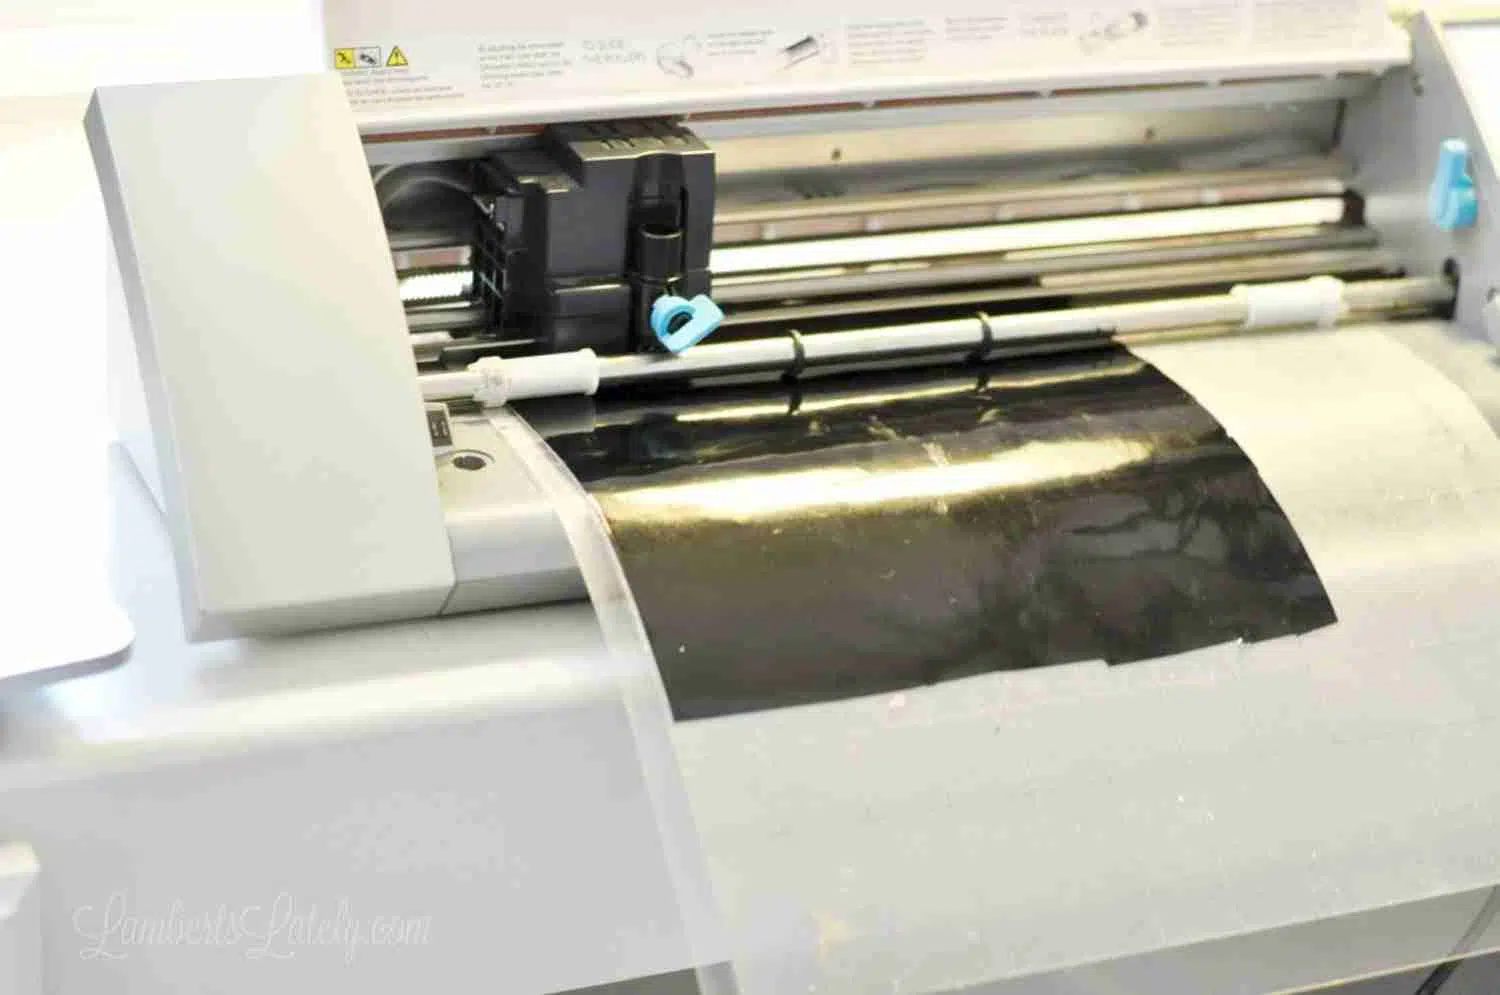
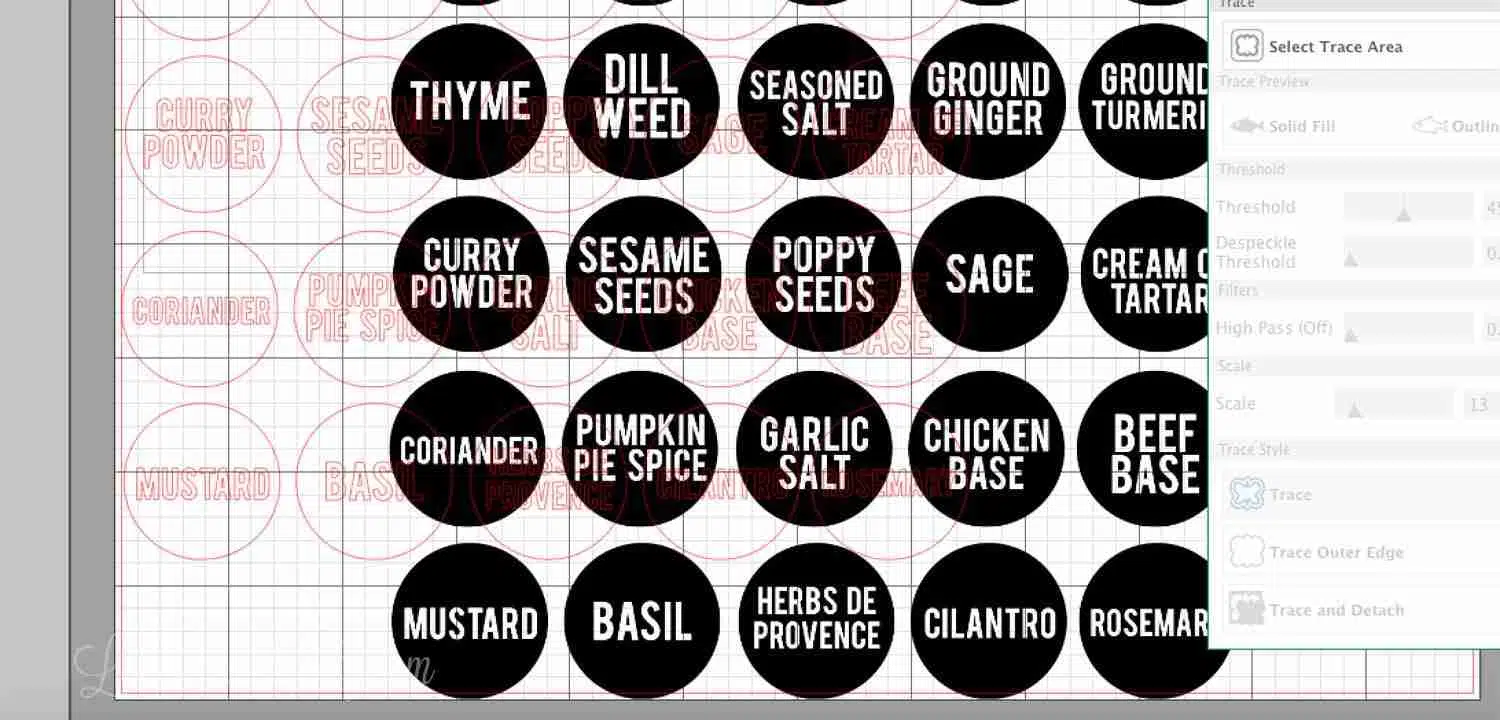
You can click here to download the first page in png format and click here to download the second page in png format. If you'd like to make vinyl labels from these files on a vinyl machine, the process is really easy. Just open one of these files in your cutter's software and click the trace button (circled above) on the right side of the page.
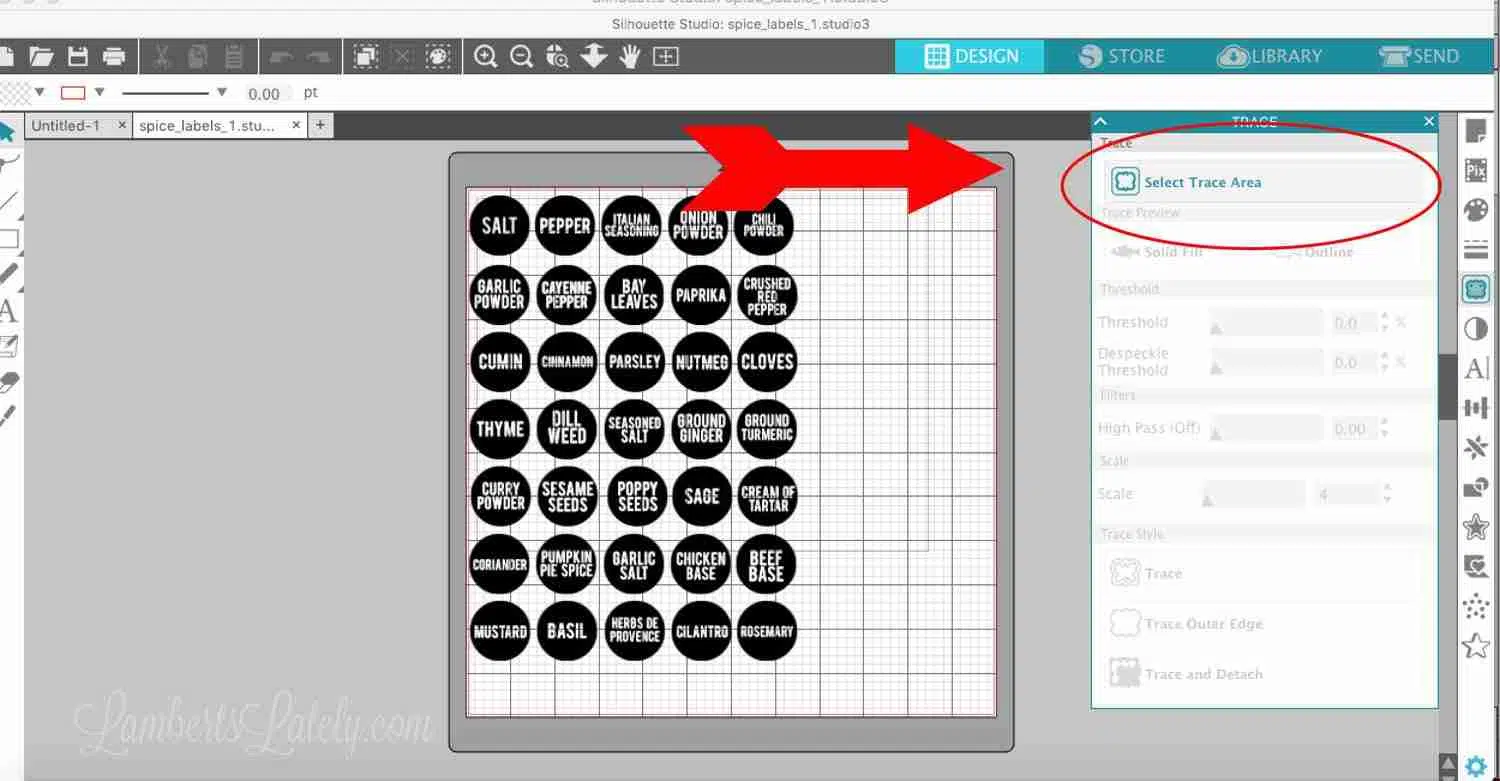
Click "select trace area" (circled) and use your mouse to select all of the labels.
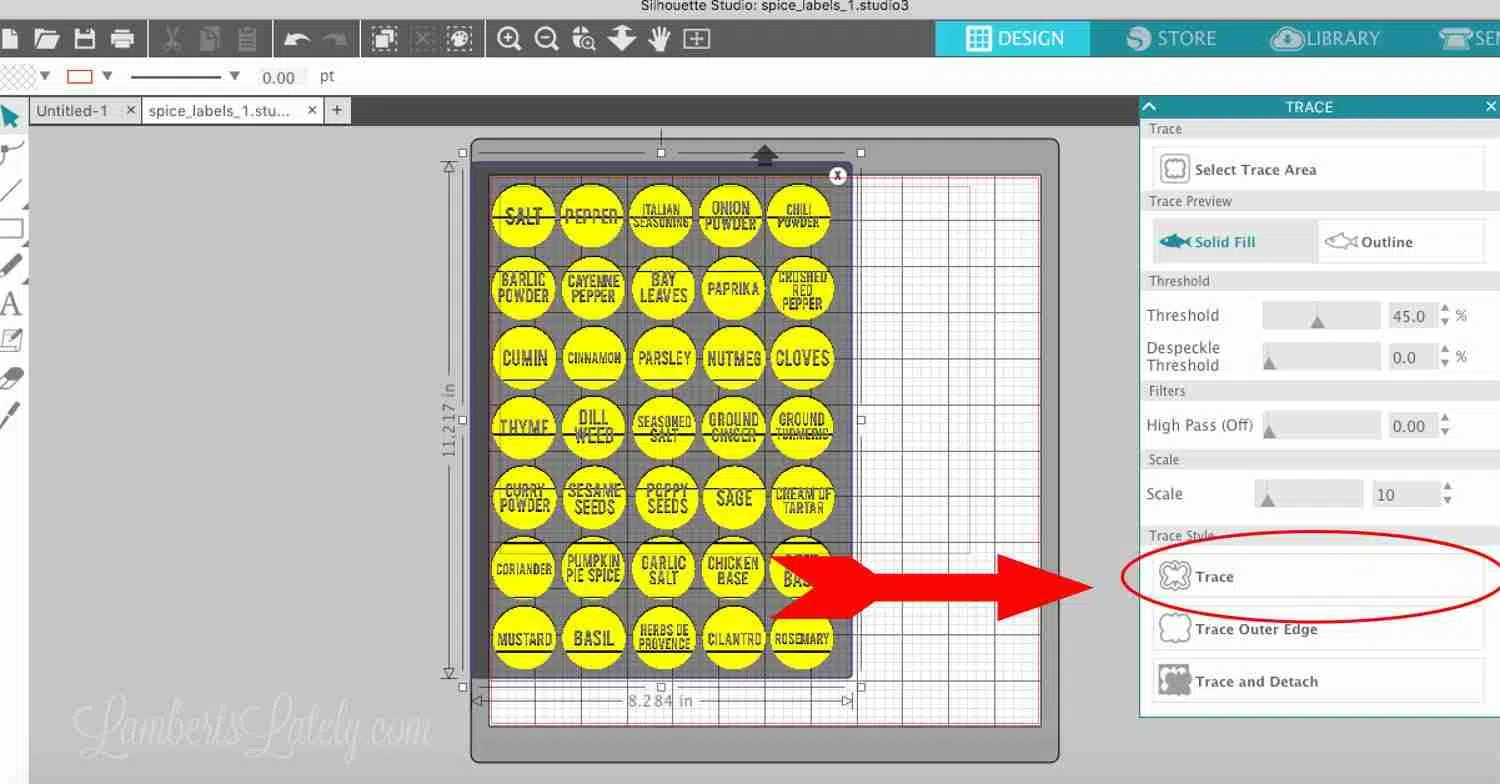
All of the labels selected will turn yellow. You might have to play around with the "scale" feature to make sure there are no lines in your labels (like you see in the image above). Sometimes, it works to just select things to trace in small batches when you have a large file. Once everything looks good and there are no lines, click the trace button.
When you drag the original png image away, you should see a red outline of what the machine will cut. Just load your machine and you're ready to cut!
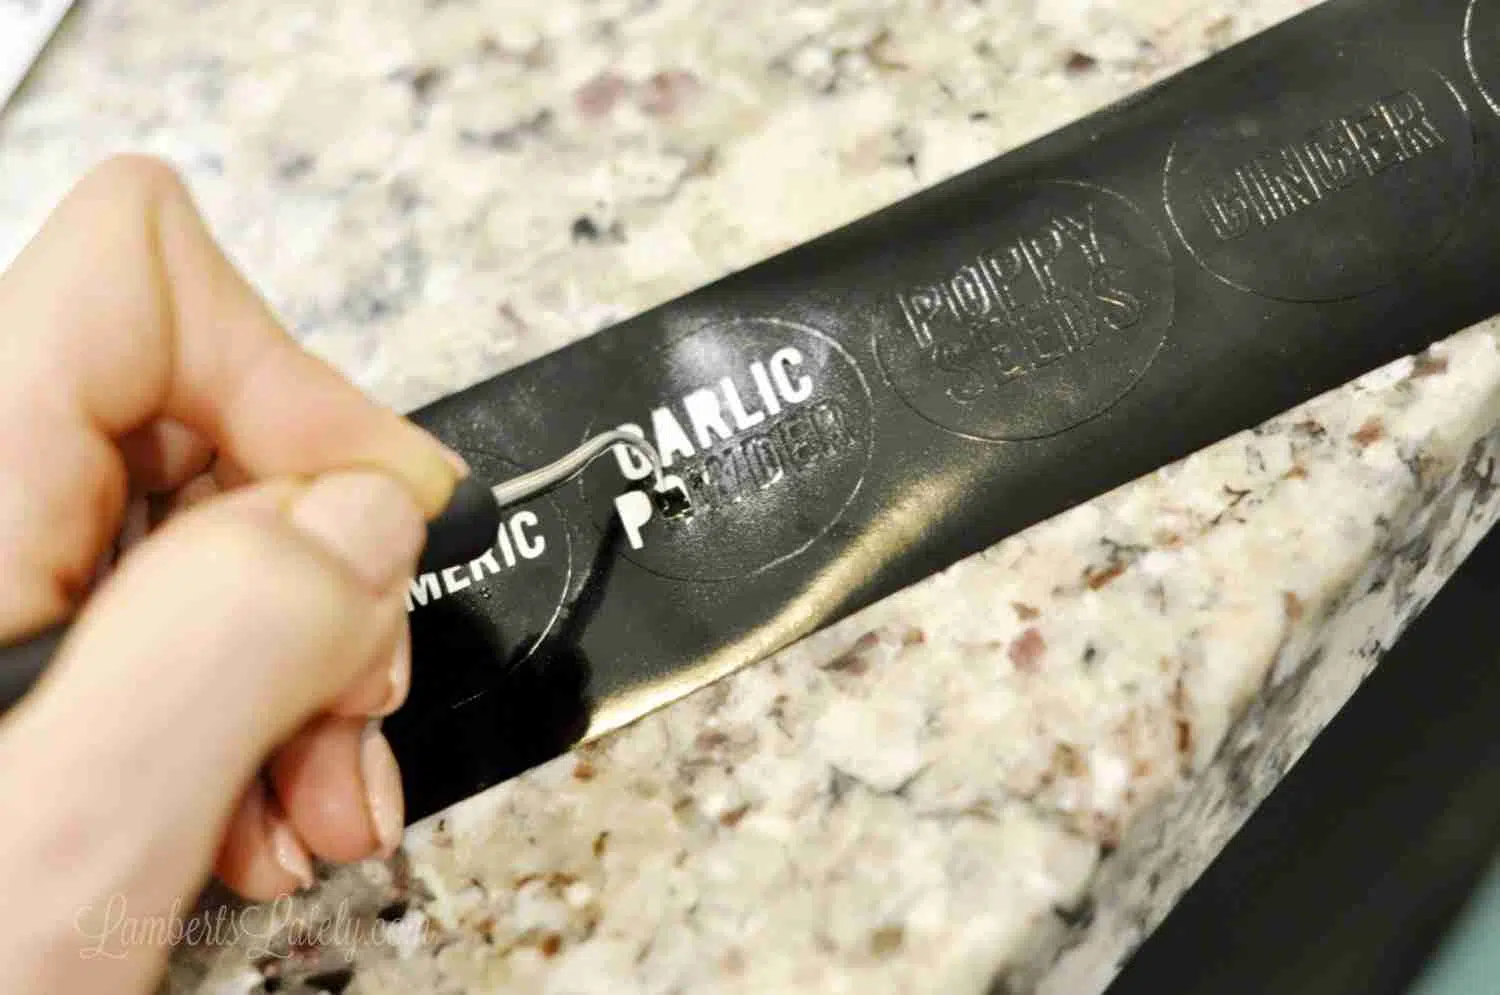
I will admit - these take forever to weed, but they are very worth it. I quickly decided to go on and weed out any detatched middle parts of any letters as well - it would have been super complicated to keep all of those little dots of vinyl in there, and by doing this, I was simply able to take the finished label off of the vinyl sheet and stick right on to the top of the containers without having to use transfer tape.
Plus, I think removing the inside of the letters gave it kind of a cool, artsy look!
Step 4: Transfer spices and note expiration dates
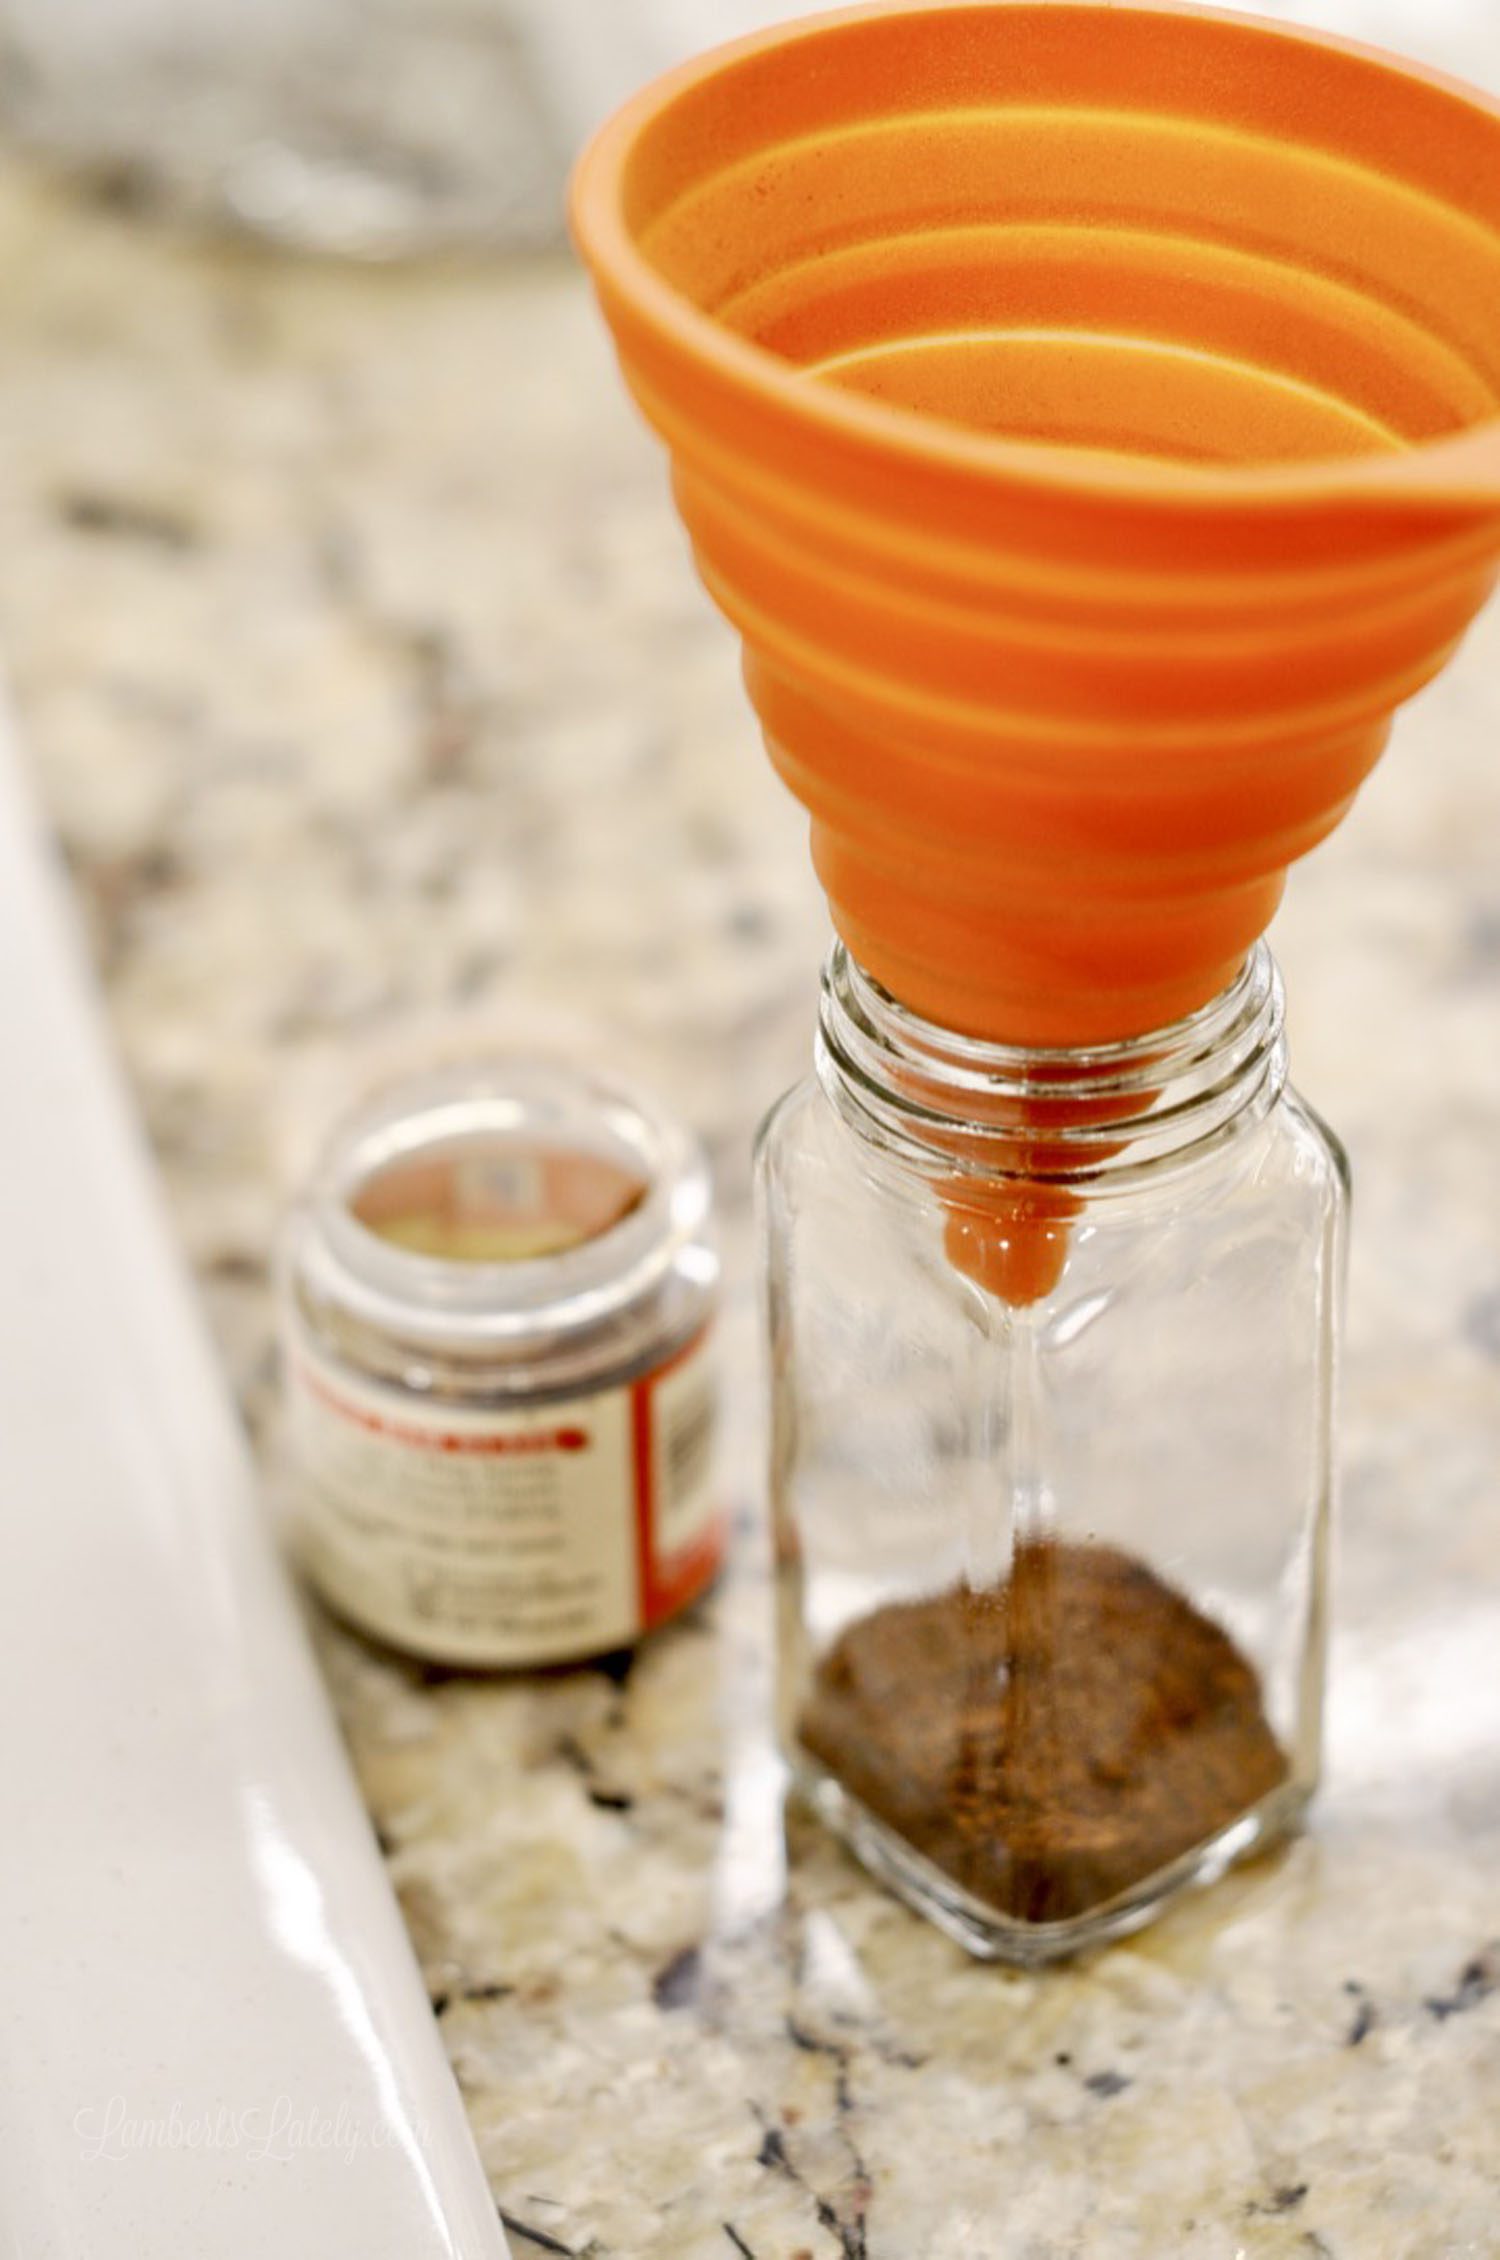
This handy dandy collapsible funnel came with my spice containers to make transfer really easy. One note: these containers might say that they hold 4oz, and that might be true for liquids, but they will not hold 4oz of spices. I'd say they hold about 2oz by weight...keep that in mind when planning your transfers.
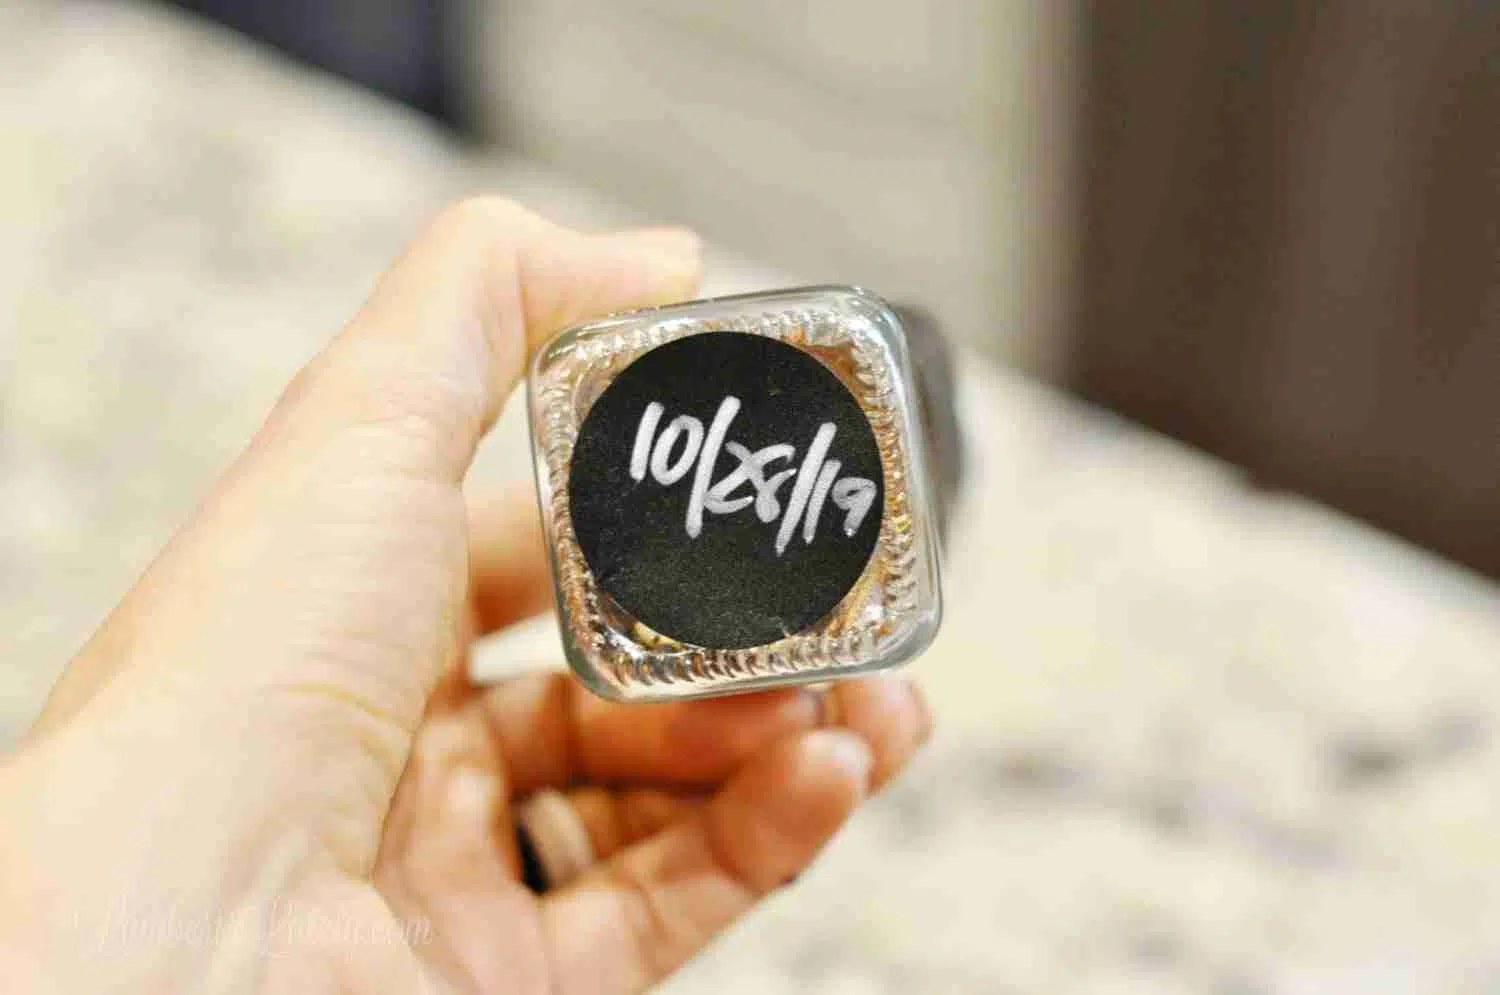
These little chalkboard labels (and a chalk marker) also came with the spice containers - I didn't use them for the traditional labeling, but I did use them to note expiration dates. Just stick the labels to the bottom of your containers and note the expiration dates (the soonest expiration date if you're consolidating containers). Out of sight, but easy to reference if needed!
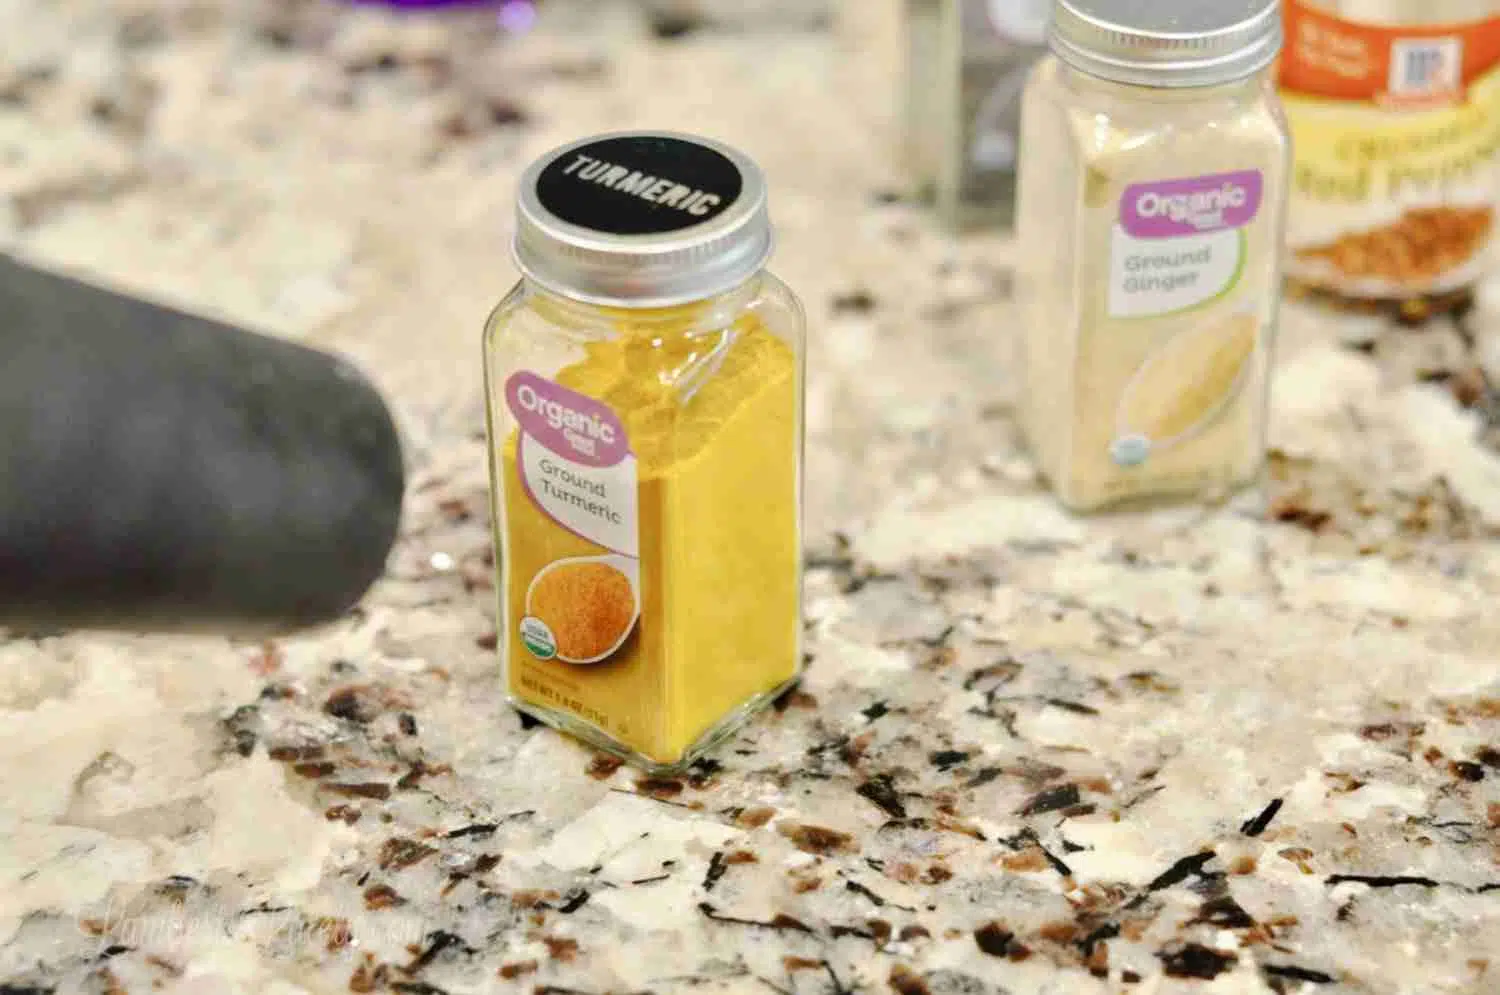
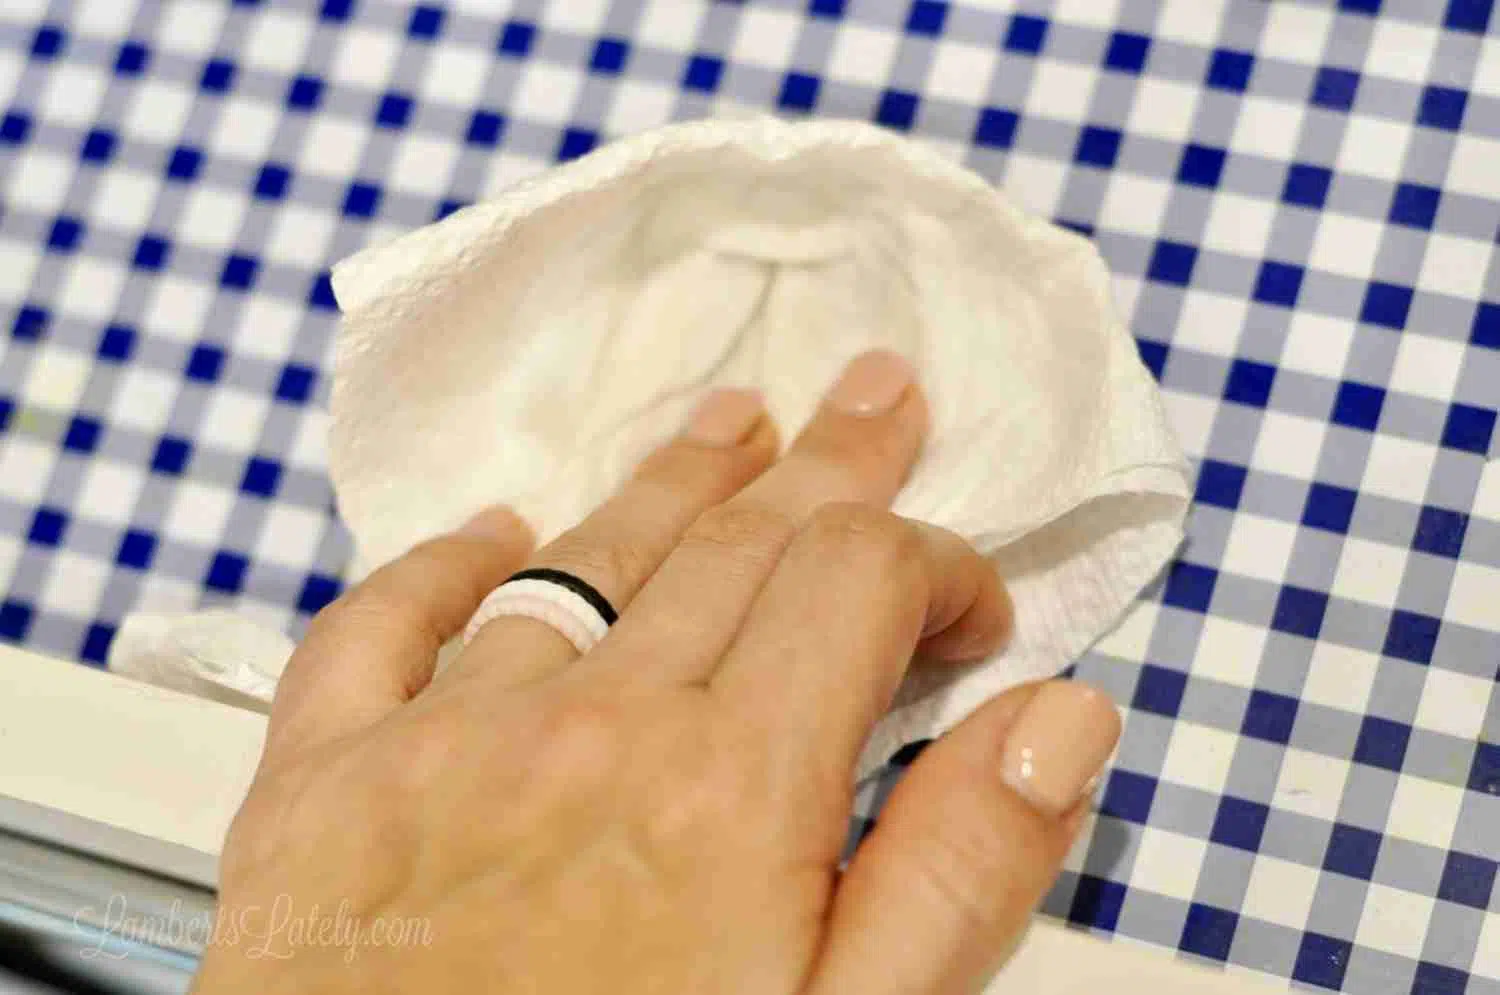
For the Walmart containers that I repurposed, I used a hairdryer to remove the labels. Just about 30 seconds did the trick - if any residue is left over, a bit of Goo Gone should get rid of it.

Now they're a perfect match!
Step 5: Sort
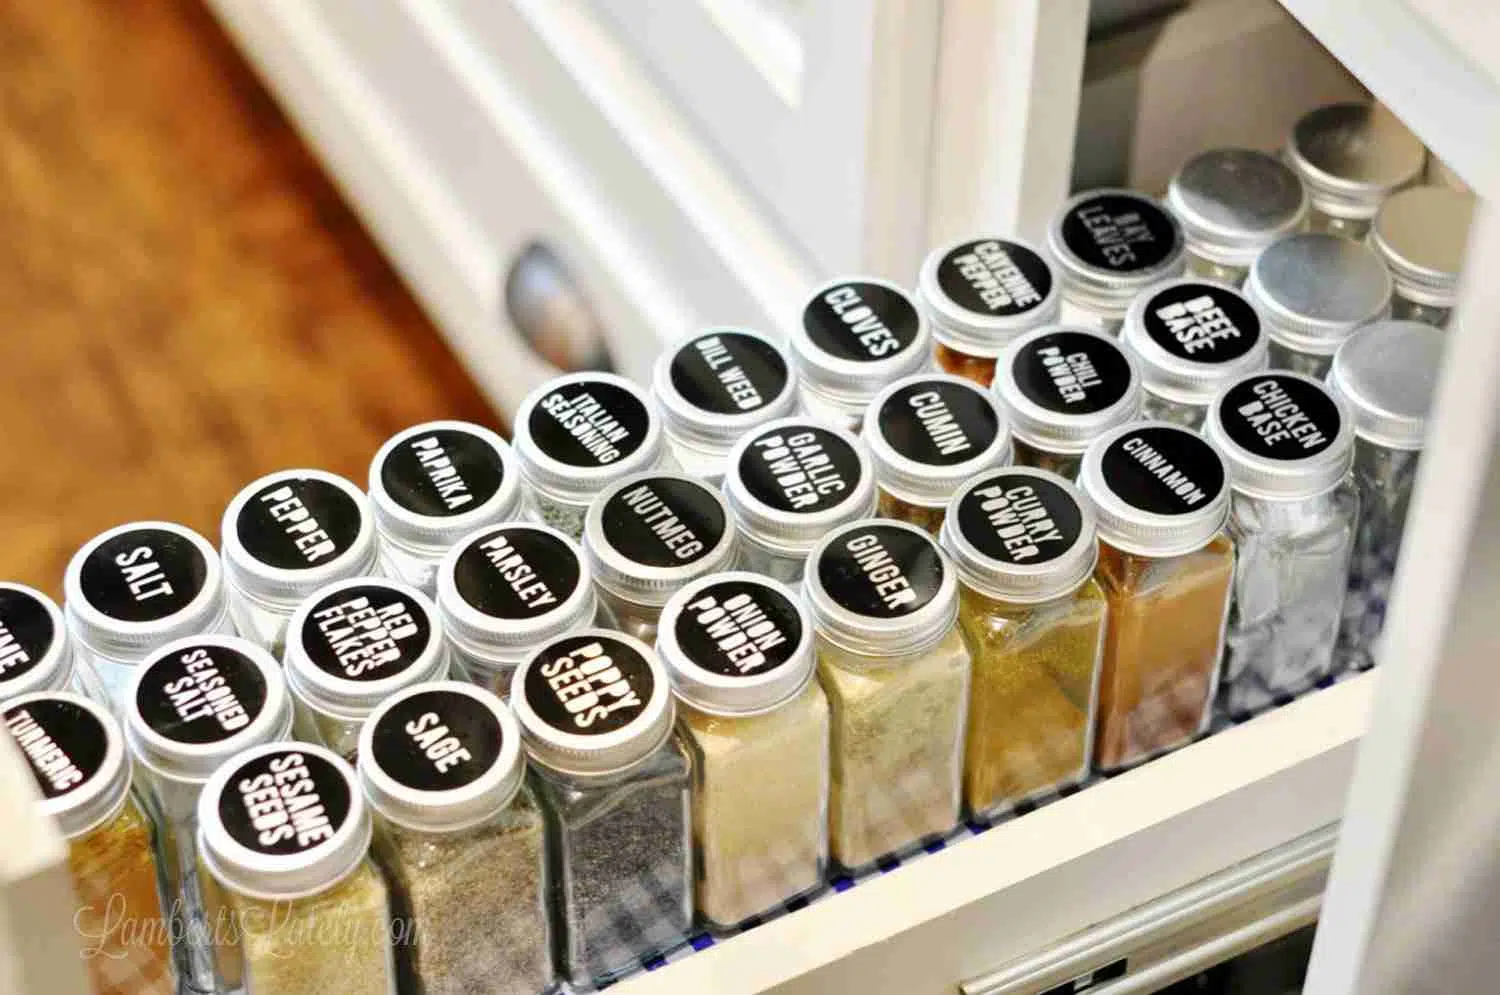
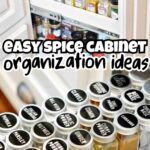
Then, the really fun part happened - sorting them into alphabetical order! This makes my neat freak heart grow two sizes. 😉
The few random spices that needed to stay in original containers went on the bottom rack.
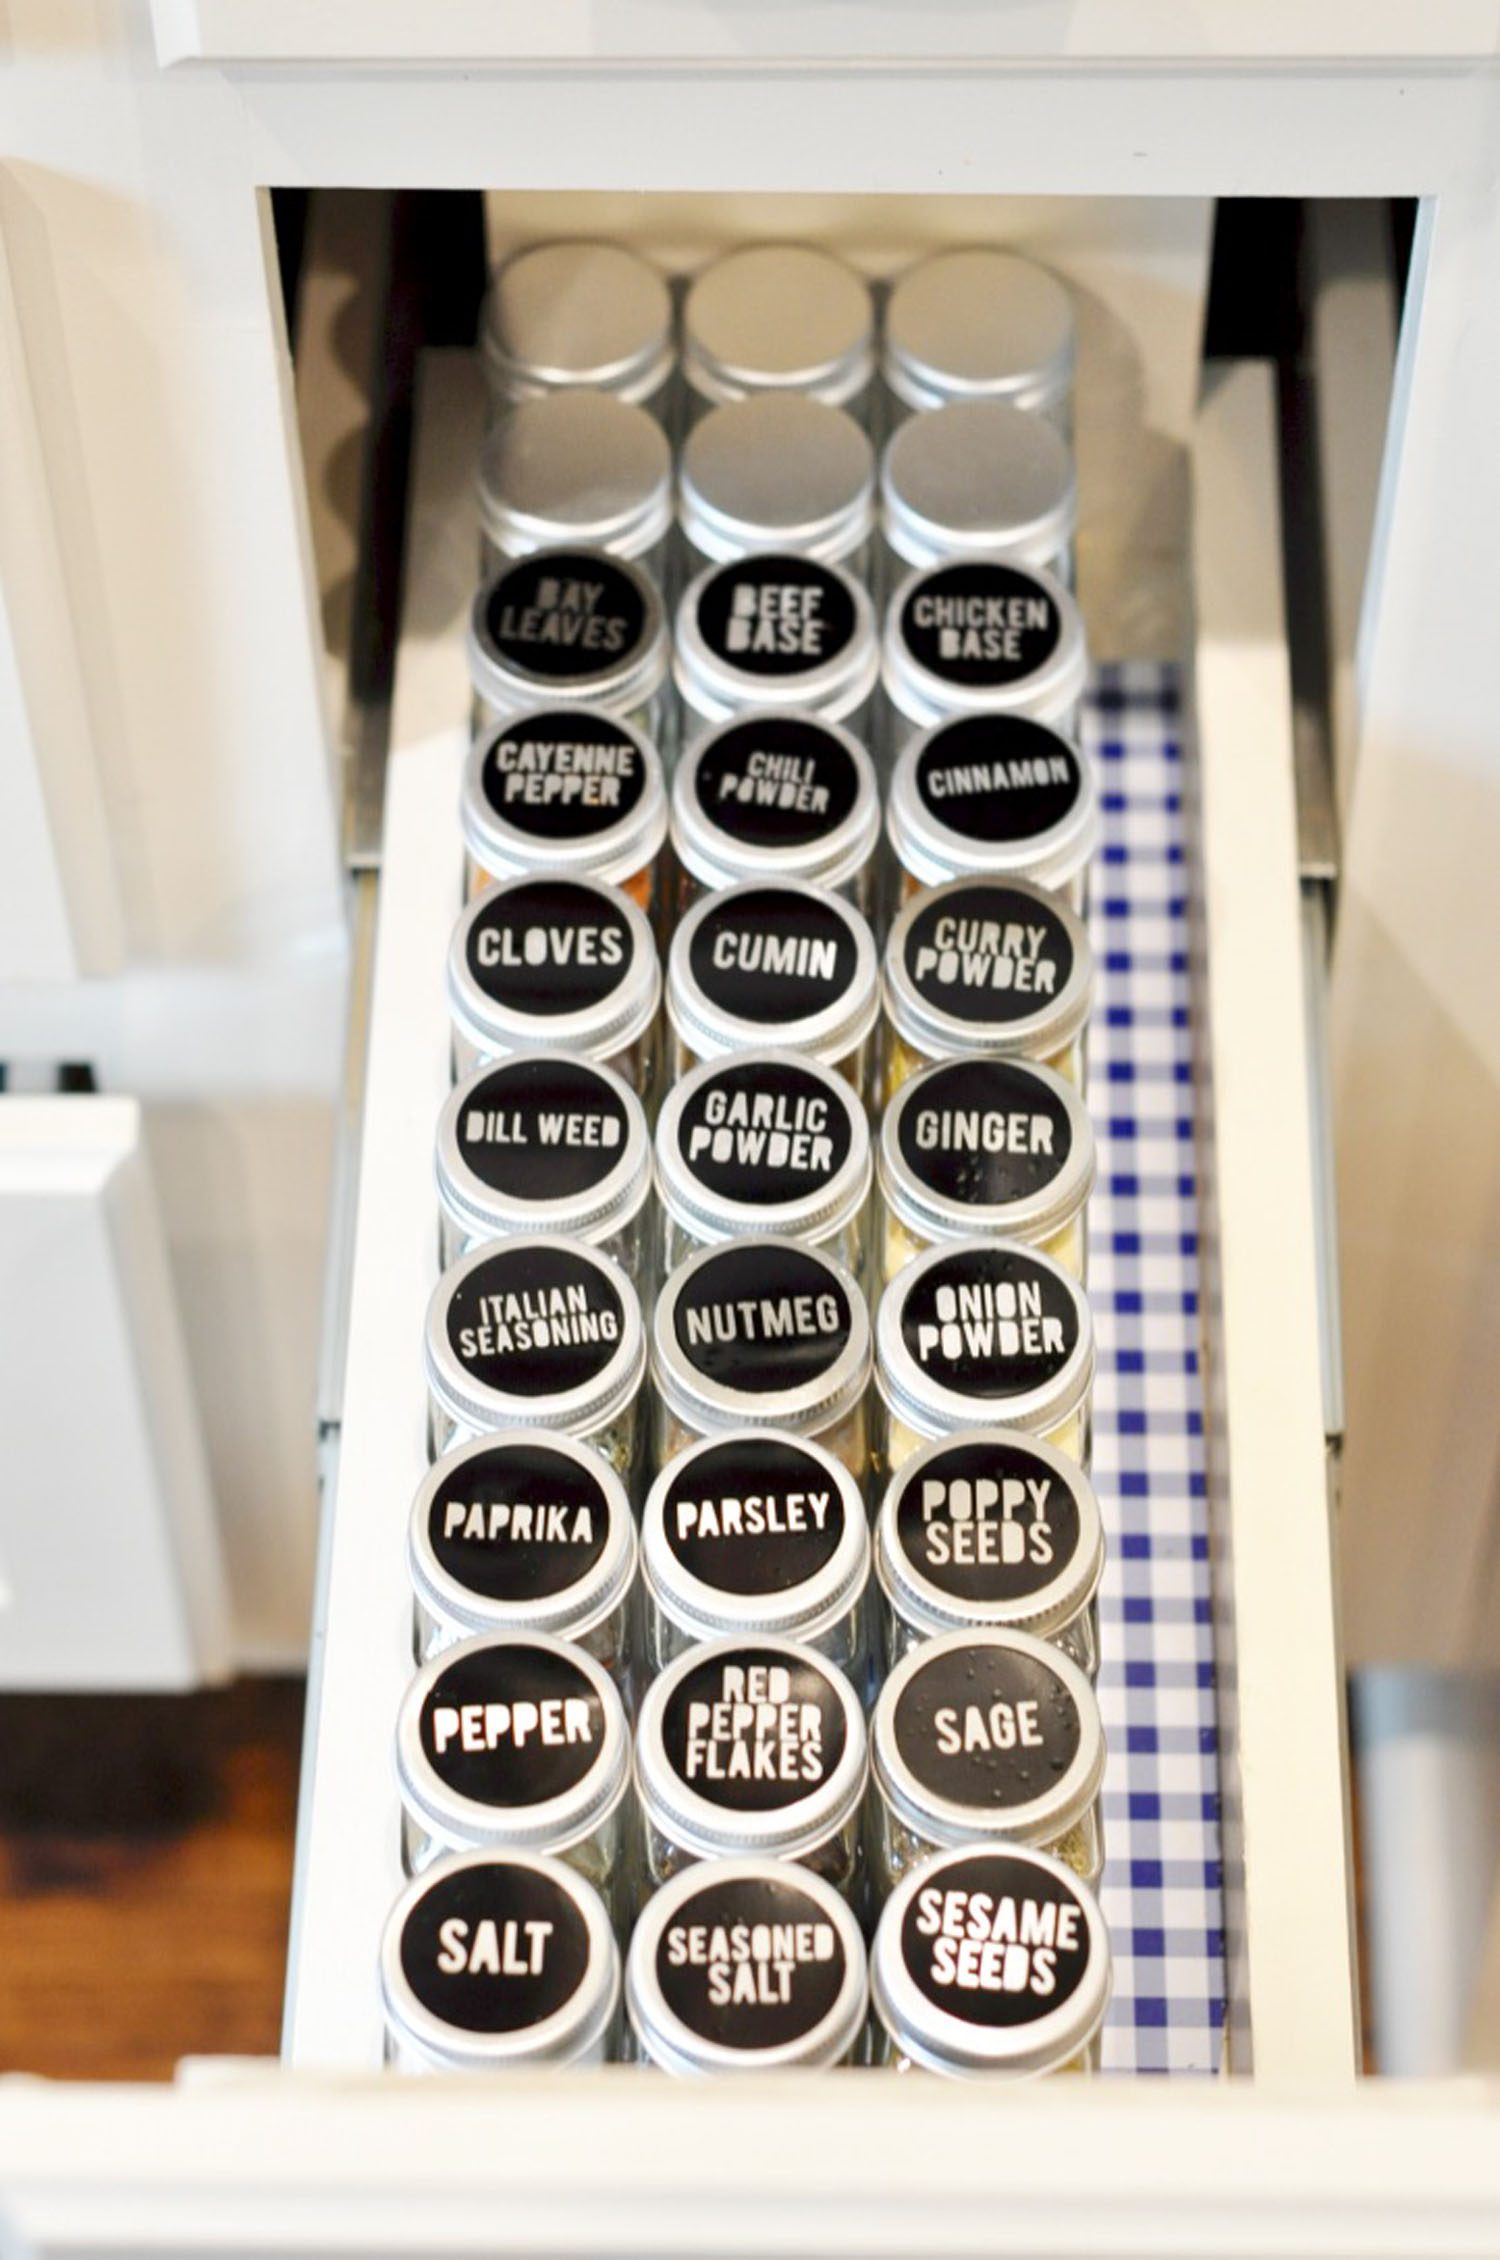
Then, the star of the show was on top - my pretty, organized, uniform containers! We had a few leftover containers that went in the back of the cabinet for future use. My standard-sized spice cabinet fits about 30 of these square glass containers - perfect for most spice collections.
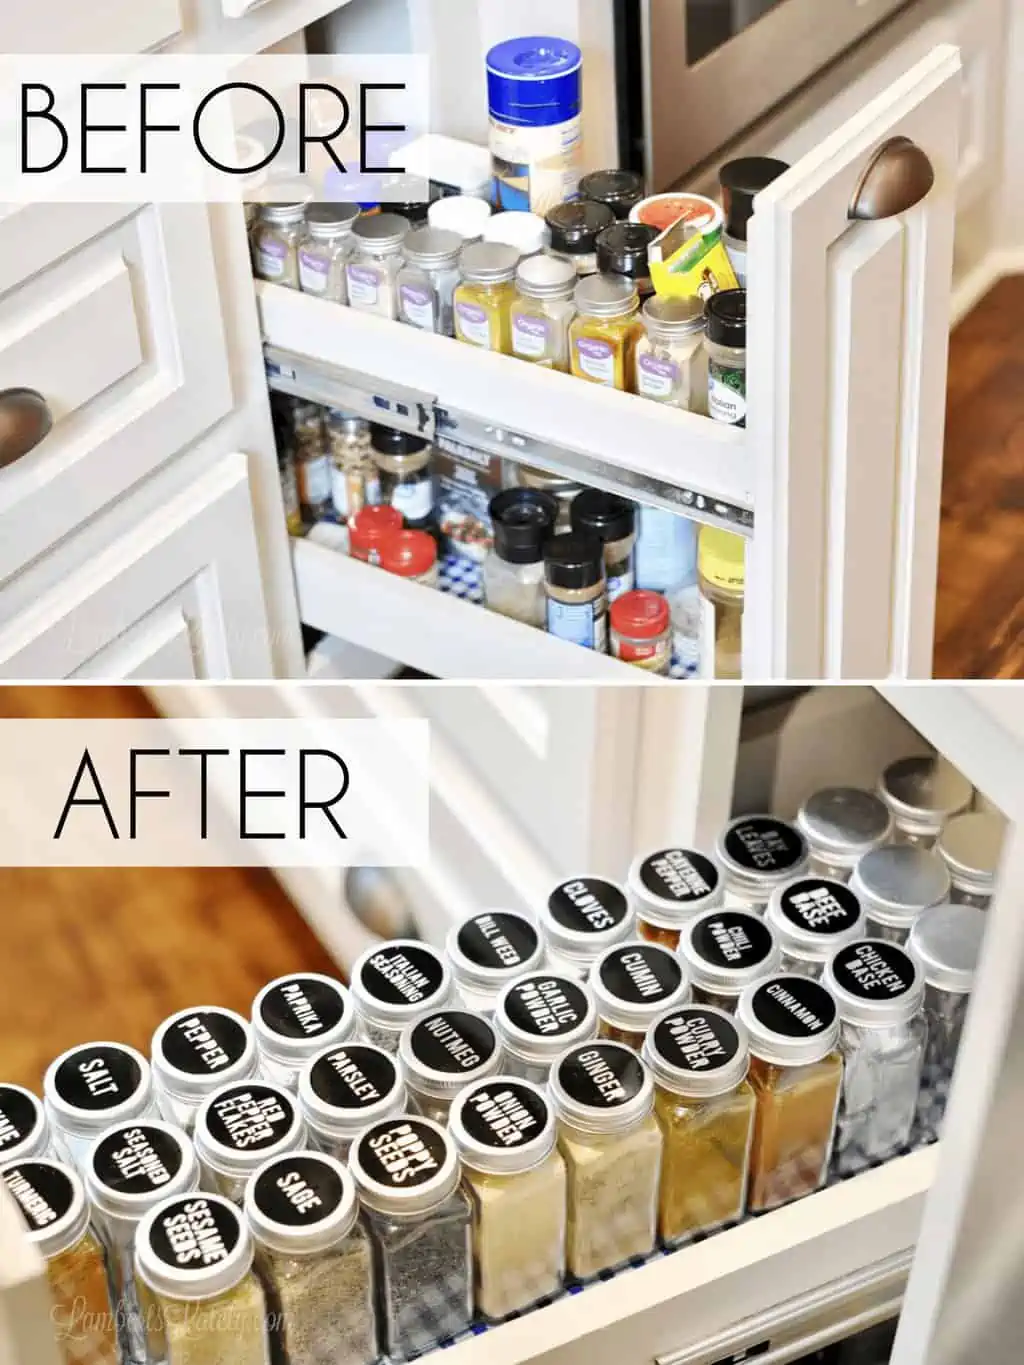
What a difference a Saturday afternoon makes! A problem spot that has bothered me for months is so perfectly organized with just a little bit of time and effort.

Leslie Lambert is a lifestyle writer and content creator specializing in home organization, family recipes, and intentional living. With 17 years of experience in blogging and digital storytelling, she helps busy women create calm, purposeful homes they love.
Have you dropped the containers? Have small kids, that's my husband's biggest concern with getting glass.
I haven't - it really hasn't been a big issue! I definitely wouldn't let the kids play in the cabinets with that glass (my kids are kind of past that stage), but they're also fairly durable for glass containers.
I love it thank you for sharing !
what font did you use? I love that font its bold big and very simple yet elegant.
It's called Bebas - one of my favorites! https://www.fontsquirrel.com/fonts/bebas?q%5Bterm%5D=bebas&q%5Bsearch_check%5D=Y
Do you sell your beautiful vinyl labels?
I am old enough that I do not use the computer for things like these labels.
I would love to have my spices matched like these in my cupboard. I am happy to buy the matching bottles from Amazon.
That's so kind of you! Unfortunately, I don't, but there are a few options available on Amazon now. You might even want to check etsy.